
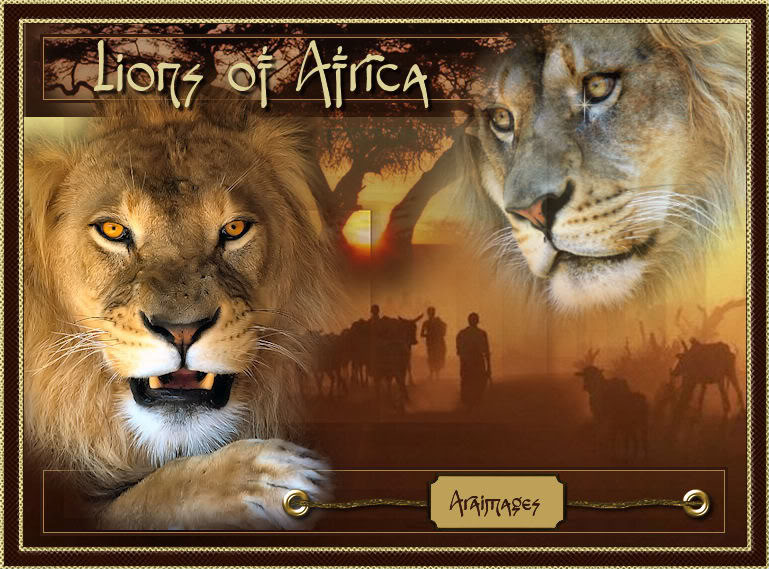
Lions of Africa
For Italian, Danish and German translation, click on the flags.


For this tutorial you will need the materials in the zip file below.

I would like to give recognition and thanks to the wonderful tubers without whose work our PSP world would be sorely lacking. For the tree, Misssilly_MistedSunset-Dec2007, for the male lion, nikita_ani(152) The plaque plaatje, the_dreamer (female lion), scraptube-06, and the background Slide0045_image094 are of unknown origins. If any of these are yours and you would like to be linked back, please let me know and I would be happy to do so and give you proper recognition.
Use the bookmark below to mark your place along the way.

This tutorial was written using PSPX2 and it is assumed you have a working knowledge of PSP. Let's get started and have some PSP fun!
1. In PSP open the background, lions, tree, and scrap tubes, make copies and close originals. Copy Mask to PSP/Mask folder.
2. In Materials palette, set the foreground to #eeeeb3, background to #602e13. Set it to Gradient, Style Linear, Angle 0, Vertical 0 and Invert checked.
3. Image/New Image 722px by 522px. Flood fill with Gradient.
4. Open background slide0045_image094, Copy/Paste as New Raster Layer. Image/Resize by 125%, All Layers unchecked. Lower opacity to 98. Pull to the right till animals are at the right edge.
5. Duplicate background, Image/Mirror. Pull the left side over till the edges meet, trying to make it appear seamless. Merge/Merge down. Pull background down till dark portion is at bottom of main image.
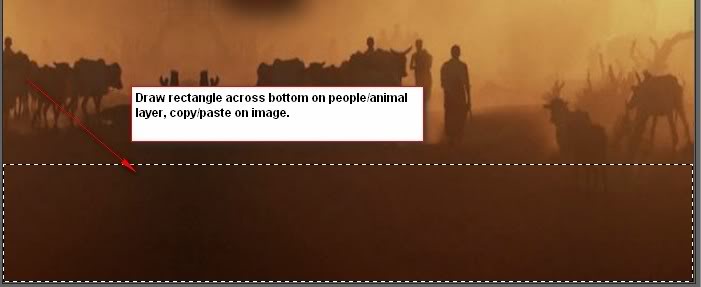
6. Using Selection tool from Tool bar, draw a rectangle encasing the bottom of the image. See example below. Copy/Paste as New Layer on image. Pull to the top of image. Duplicate the new copy. Selections/Selection None. Merge/Merge Down.
7. Open Misssilly_Misted Sunset (tree) tube. Copy/Paste as New Layer, dropping opacity to 71. Move tree so that the sunset is at treeline of background image so it looks natural.
8. Layers/New Raster Layer. Flood fill with background color #602e13.
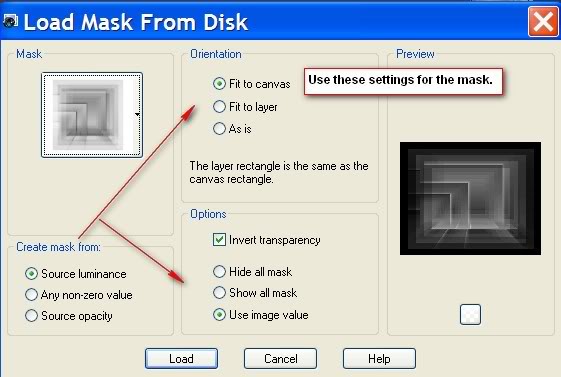
9. Layers/Load Save Mask/Load Mask from Disk. Choose jb-perspective mask, use the settings as in example and click Load. Merge/Merge Group.
10. Layers/New Raster Layer. Using Selection tool from Tool bar, inside the top rectangle, draw a rectangle smaller than the first rectangle you drew at the bottom. Flood fill with color #4b2515. Selections/Modify/Contract by 1. Hit Delete key on keyboard.
11. Using the still active selection, flood fill with color #b3803d. Selections/Modify/Contract by 1. Hit Delete key on keyboard. Selections/Select None.
12. Duplicate new rectangle, Image/Flip. Merge/Merge Down.
13. Open the_dreamer tube. Copy/Paste as New Layer. Place in upper right corner. Drop opacity to 76.
14. Highlight the inner top rectangle line (Raster layer 5), using the Eraser tool from the Tool bar, erase lines from head of lioness. Be careful not to erase into tree.
15. Highlight top rectangle, (Raster layer 3), using the eraser tool from the Tool bar, erase rectangle on right side of lioness. Go back to Raster layer 6, making sure it is highlighted to continue order of layers as you work.
16. Open nikita_ani(152) tube. Copy/Paste as New Layer. Place in lower left corner. Image/Resize by 75%, Resize All layers unchecked.
17. Open scraptube-06. Copy/Paste as New Layer. Move down to center right of bottom rectangle. Effects/3-D Effects/Drop Shadow of Vertical 4, Horizontal 4, Opacity 80, Blur 6, color Black.
18. Open Plaatje tube. Copy/Paste as New Layer. Place at center of scraptube-06.
19. Open font Fontasia Three Script, minimize to task bar. Sign your name inside the Plaatje tube, using color #321a11. I used font set to size 28, Vector setting. Convert Vector to Raster Layer. Use my settings or font and size of your choice. Duplicate name for more impact. Merge/Merge Down.
20. Choose Fontasia Three Script font, size 72, Vector setting, color #ddd298 and type Lions of Africa in left of top rectangle. Convert Vector to Raster Layer. Effects/3-D Effects/Drop Shadow of Vertical 4, Horizontal 4, Opacity 80, Blur 3, color Black. You may also use a font and size/color of your choice.
21. In Materials palette, set foreground to color #ddd298, background to color #2f1206.
22. Image/Add Borders 2px, Symmetric checked, background color #2f1206.
23. Image/Add Borders 4px, Symmetric checked, foreground color #ddd298. From Tool bar, select Magic wand and click 4px border to select. Effects/Artistic Effects/Halftone. Use settings as shown in example below.
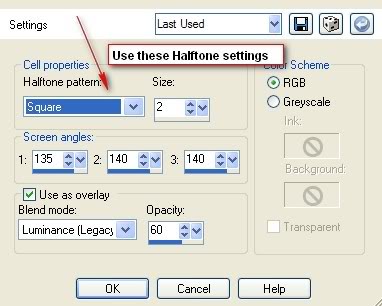
24. Image/Add Borders 15px, Symmetric checked, background color #2f1206. From Tool bar, select Magic wand and click the 15px border to select. Effects/Artistic Effects/Halftone. Use settings as shown in example above.
25. Image/Add Borders 4px, Symmetric checked, foreground color #ddd298. From Tool bar, select Magic Wand and click the 4px border to select. Effects/Artistic Effects/Halftone. Use settings as shown in example above. Selections/Select None.
You are finished!
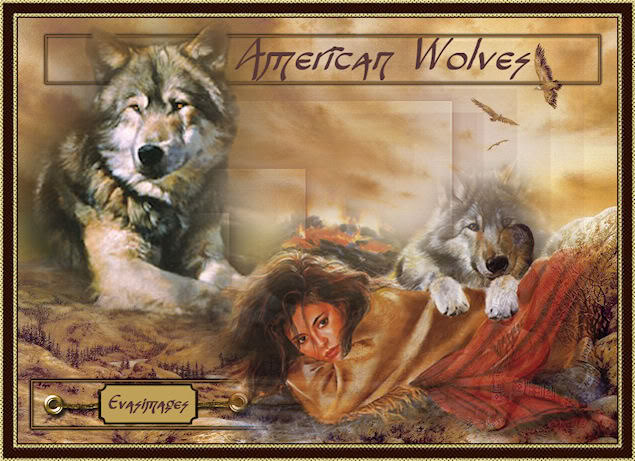
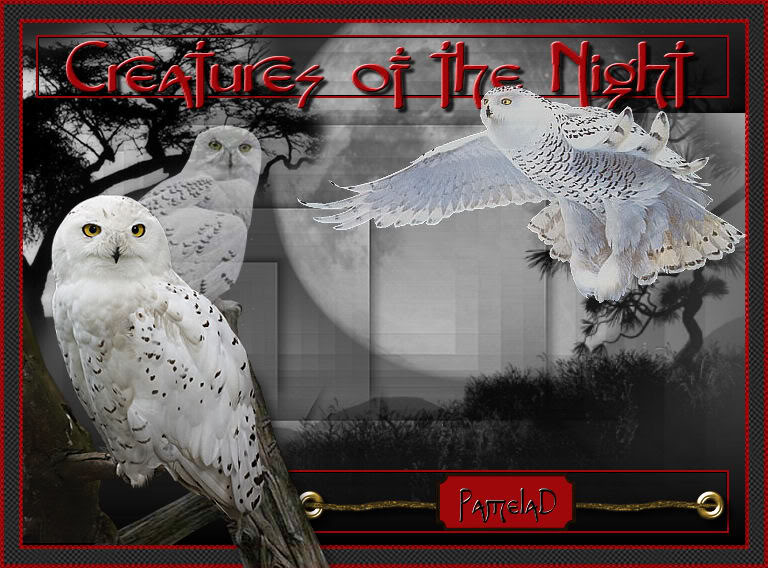
Thank you to my testers, Evatexas and PamelaD. Below are their versions of the tutorial using tubes and colors of their choice.
If you are going to use this tutorial for stationery, cards or place the tutorial/tag on another site, I would appreciate you contacting me for permission, giving Arasimages credit for the original tutorial and if possible, a link back to my site. Thank you.
Copyright © Arasimages All Rights Reserved