
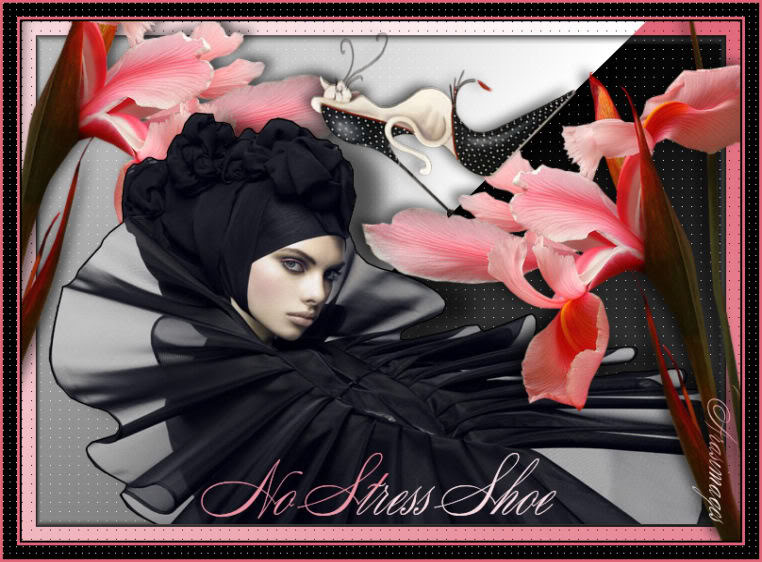
No Stress Shoe
For two Portuguese and a Danish translation, click on the flags.


For this tutorial you will need the materials in the zip file below.

You will need Plugin AP [Lines] for this tutorial.
Unzip materials into a folder you have named No Stress Shoe.
A big thank you to the tubers for their beautiful tubes used in this tutorial. Berna has tubed the lady, MTM-Bridgette the flower and the shoe is from Mou. Please visit the tuber sites listed on my Links page.
Use the bookmark below to mark your place along the way.
Open the tubes in PSP, duplicate and close originals.
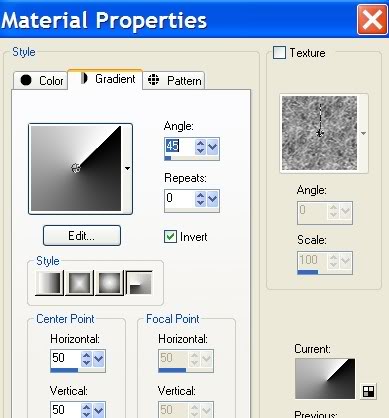
1. In Materials Palette, set foreground color to #ffffff, background color to #000000. Set to Gradient to Style Radial, Angle 45, Repeats 0, Invert checked.
2. New/New Image 762px by 562px. Flood fill with Gradient.
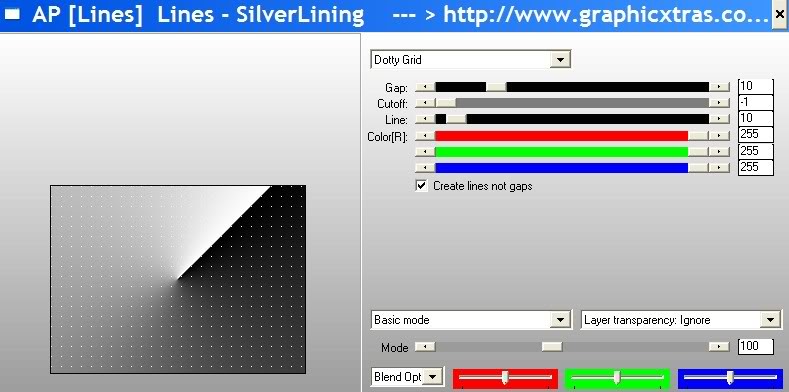
3. Effects/AP [Lines]/Lines-SilverLining. Use settings as in Example below. Please click on Advanced before you change the red, green and blue colors to 255. Then click OK.
4. Layers/New Raster Layer.
5. In Materials Palette, change Background color to #e06577. New Gradient color is now in Foreground. Flood fill the new raster layer with the new Gradient.
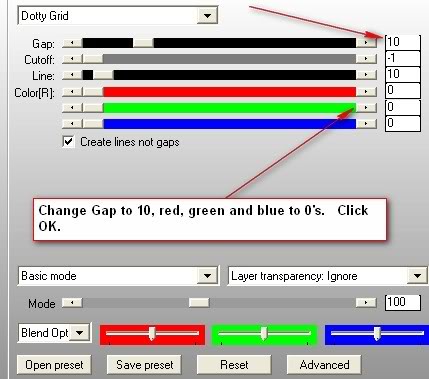
6. Effects/AP [Lines]/Lines-SilverLining. Use settings as in Example below. Please click on Advanced before you change the red, green and blue colors each to 0. Then click OK.
7. Selections/Select All. Selections/Modify/Contract by 15. Press Delete key.
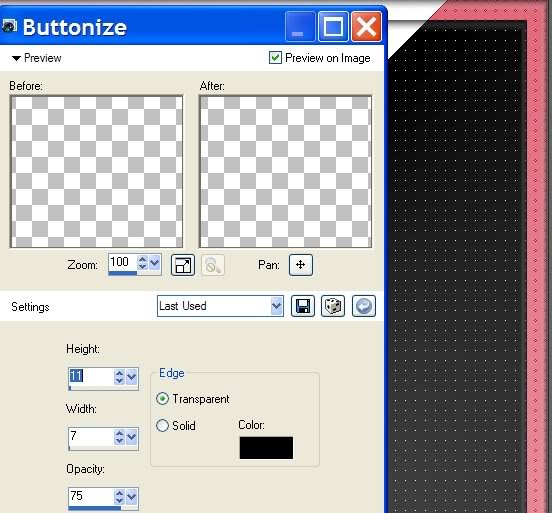
8. Effects/3-D Effects/Buttonize. Use settings as in example below.
9. Selections/Select None.
10. Open Berna-Womans-29 tube. Copy/Paste as new layer. Image/Mirror. Pull down to bottom of image.
11. Effects/3-D Effects/Drop Shadow. Vertical -4, Horizonal 29, Opacity 61, Blur 30, color #000000.
12. Open Mtm_Bloemen_267_3 Maart flower tube. Copy/Paste as new layer.
13. Pull flower to right side of image and have stem over bottom of pink border as I have in my tag.
14. Effects/3-D Effects/Drop Shadow. Vertical -4, Horizonal 8, Opacity 61, Blur 18, color #000000.
15. Paste flower tube on again as new layer.
16. Image/Mirror. Pull over to top left as I have in my tag.
17. Effects/3-D Effects/Drop Shadow. Vertical -4, Horizonal 8, Opacity 61, Blur 18, color #000000.
18. In Layers Palette, Pull Raster 5 of flower beneath Raster 3 of woman.
19. Highlight Raster 4.
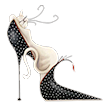
20. Open Mou_no stress shoe tube. Copy/Paste as new layer.
21. Image/Resize/Resize by 90%, Resize all layers unchecked.
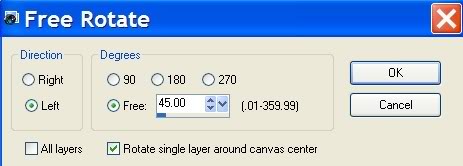
22. Image/Free Rotate. Direction Left, Free 45 degrees, Rotate single layer around canvas center checked, All layers unchecked. See Example below.
23. Pull shoe into place along dark/light diagonal line. See my tag for visual direction.
24. Effects/3-D Effects/Drop Shadow. Vertical -4, Horizonal 8, Opacity 61, Blur 18, color #000000.
25. Adjust/Sharpness/Sharpen.
26. Image/Add Borders, 2px border, Symmetric checked, color #000000.
27. Image/Add Borders, 3px border, Symmetric checked, color #e06577.
28. Image/Add Borders, 15px border, Symmetric checked, color #000000.
29. From Tool bar, select your Magic Wand and click inside 15px border.
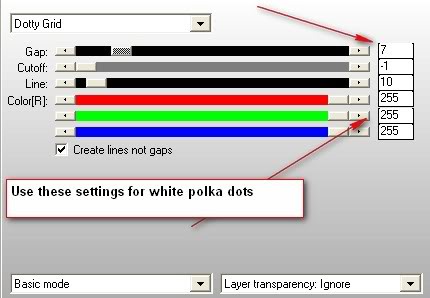
30. Effects/AP [Lines]/Lines-SilverLining. Use settings as in Example below. Please click on Advanced before you change the red, green and blue colors to 255. Set the Gap to 7. Then click OK.
31. Selections/Select None.
32. Image/Add Borders, 3px border, Symmetric checked, color #e06577.
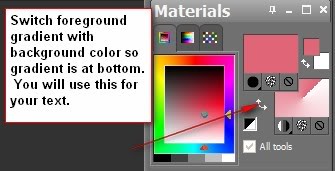
33. In Materials Palette, having foreground set to #ffffff, background set to #e06577, set Gradient to Style Radial, Angle 45, Repeats 0, Invert checked. Switch foreground Gradient with background color by clicking on arrows. See example below.
34. From Tool bar, activate the text tool. Choose your font and size, using Vector setting and the Gradient you just made. Type in No Stress Shoe. I used Splendid Ornamentry, size 72. You may use any font and size you wish.
35. Convert to Raster Layer. Layers/Duplicate for enhanced text.
36. Sign your work with your name or watermark. Merge/Merge Visible. Save as .jpg.
A big thank you to my testers, Evatexas and PamelaD...love you dear ladies!
If you are going to use this tutorial for stationery, cards or place the tutorial/tag on another site, I would appreciate you contacting me for permission, giving Arasimages credit for the original tutorial and if possible, a link back to my site. Thank you.
Copyright © Arasimages All Rights Reserved