
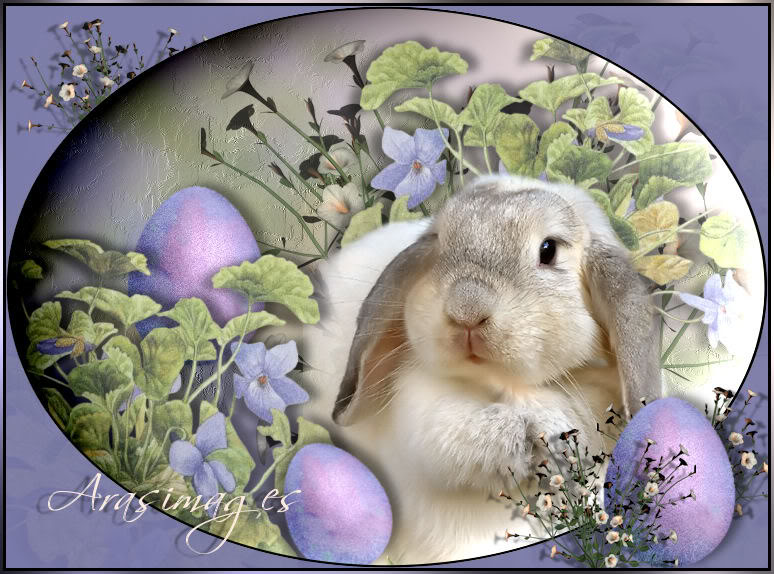
Violet Easter
For French and Danish translation, click on the flags.

For this tutorial you will need the materials in the zip file below.

You will need Plugins Bordermania and Graphics Plus for this tutorial.
Unzip materials into a folder you have named Purple Easter.
A big thank you to the tubers for their beautiful tubes used in this tutorial. The Petunias are by Wigh and the bunny is from MarcioC. Origins of the others are unknown. Please visit the tuber sites listed on my Links page.
Use the bookmark below to mark your place along the way.

Open the tubes in PSP, duplicate and close originals.
1. In Materials Palette, set foreground color to #fdeabd, background color to #7879a8. Set to Gradient to Style Linear, Angle 45, Repeats 0, Invert checked.
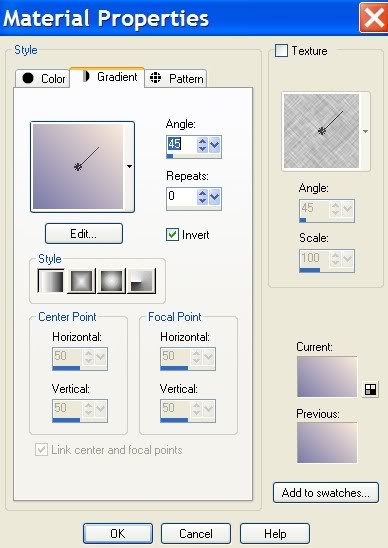
2. New/New Image 762px by 562px. Flood fill with Gradient.
3. Open MB-15-AB.tub. Copy/Paste as new layer. Move to lower right corner.
4. Paste as new layer again the MB-15-AB.tub (still in Copy.) Move to upper left corner. Merge Down.
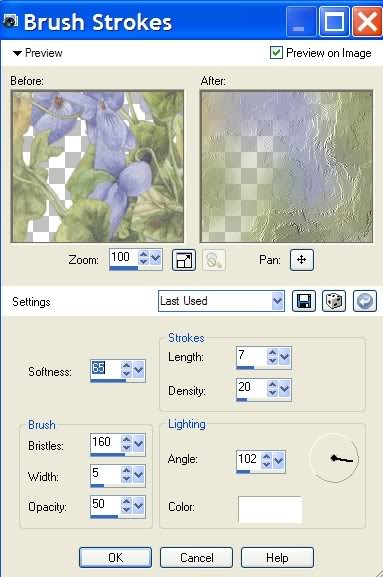
5. Effects/Art Media Effects/Brush Strokes. Apply settings as in example below.
6. In Layers Palette, lower Opacity to 75.
7. Open Petuniabunchwhite2Wigh flower. Copy/Paste as new layer.
8. Image/Resize/Resize by 40%, Resize all layers unchecked.
9. Move to upper right corner. In Layers Palette, lower Opacity to 70.
10. Open MB-15-AB flower. Copy/Paste as new layer. Move a little to right and upward.
11. Effects/3-D Effects/Drop Shadow, Vertical -3, Horizontal 11, Opacity 43, Blur 13, color #000000.
12. Effects/3-D Effects/Drop Shadow, Vertical 3, Horizontal -11, Opacity 43, Blur 13, color #000000.
13. Paste MB-15-AB flower as new layer again (still in Copy).
14. Image/Mirror. Move to left and down.
15. Effects/3-D Effects/Drop Shadow, Vertical -3, Horizontal 11, Opacity 43, Blur 13, color #000000.
16. Effects/3-D Effects/Drop Shadow, Vertical 3, Horizontal -11, Opacity 43, Blur 13, color #000000.
17. Open C-Orchidmarbleegg. Copy/Paste as new layer. Pull into place on left side.
18. Effects/3-D Effects/Drop Shadow, Vertical -3, Horizontal 11, Opacity 43, Blur 13, color #000000.
19. Move down below Raster 5.
20. Highlight Raster 5.
21. Open MC1678 rabbit image. Copy/Paste as new layer.
22. Image/Resize/Resize by 75%, Resize all layers unchecked.
23. Layers/Duplicate. Merge/Merge Down. Move into place.
24. Highlight Raster 3, using Eraser tool from Tool bar, erase excess of Raster 3 off right ear of rabbit.
25. Pull Raster 7 (merged rabbit) under Raster 5.
26. Highlight Raster 5.
27. Open C-Orchidmarbleegg tube. Copy/Paste as new layer.
28. Image/Resize/Resize by 75%. Resize all layers unchecked.
29. Effects/3-D Effects/Drop Shadow, Vertical -3, Horizontal 11, Opacity 43, Blur 13, color #000000.
30. Effects/3-D Effects/Drop Shadow, Vertical 3, Horizontal -11, Opacity 43, Blur 13, color #000000.
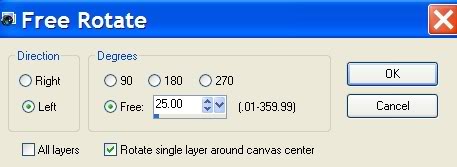
31. Image/Free Rotate, apply settings as in example below. Place egg as in image.
32. Merge/Merge Visible.
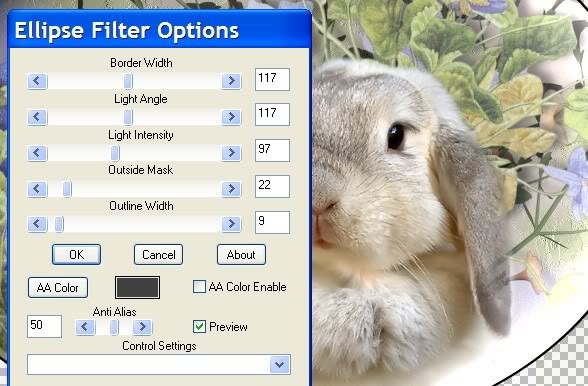
33. Effects/Bordermania/Ellipse. Apply settings as in example below.
34. Layers/New Raster Layer. Flood fill with background color #7879a8.
35. Layers/Arrange/Move Ellipse layer to top.
36. Open Petuniabunchwhite2Wigh flower. Copy/Paste as new layer
37. Image/Resize/Resize by 25%, Resize all layers unchecked. Again Resize/Resize by 50%, Resize all layers unchecked.
38. Image/Mirror. Pull to left top.
39. Effects/3-D Effects/Drop Shadow, Vertical 3, Horizontal -11, Opacity 43, Blur 3, color #000000.
40. Layers/Duplicate Raster 2.
41. Image/Mirror. Pull down to bottom right corner.
42. Layers/Duplicate Copy of Raster 2.
43. Image/Mirror. Leave in the left corner for now so it is out of the way.
44. Open Orchidmarbleegg tube. Copy/Paste as new layer.
45. Image/Resize/Resize by 95%, Resize all layers unchecked. Pull below Copy 2 of Raster Copy 2. Place near bottom right corner.
46. Effects/3-D Effects/Drop Shadow, Vertical -3, Horizontal 11, Opacity 43, Blur 13, color #000000.
47. Move Copy 2 of Raster 2 (that was moved out of the way), just over the left edge of egg.
48. Pull Raster 2 flower beneath Merged Ellipse image so it is behind it.
49. Image/Add Borders, 1px Symmetric, color #000000.
50. Image/Add Borders, 3px Symmetric, color #ffffff.
51. From Tool bar, select Magic Wand. Click inside 3px border. Flood fill with Gradient still in place in Materials palette.
52. Effects/Graphics Plus/Cross Shadow, use default settings of 6X 50, 2X 128.
53. Selections/Select None.
54. Sign your name or watermark. Convert to raster layer. (I used Scriptina Font set to Size 48, Vector). You may use my choice or your own.
55. Merge/Merge Visible. Save as .jpg.
You are finished!
A big thank you to my testers, Evatexas and PamelaD...love you dear ladies!
If you are going to use this tutorial for stationery, cards or place the tutorial/tag on another site, I would appreciate you contacting me for permission, giving Arasimages credit for the original tutorial and if possible, a link back to my site. Thank you.
Copyright © Arasimages All Rights Reserved