
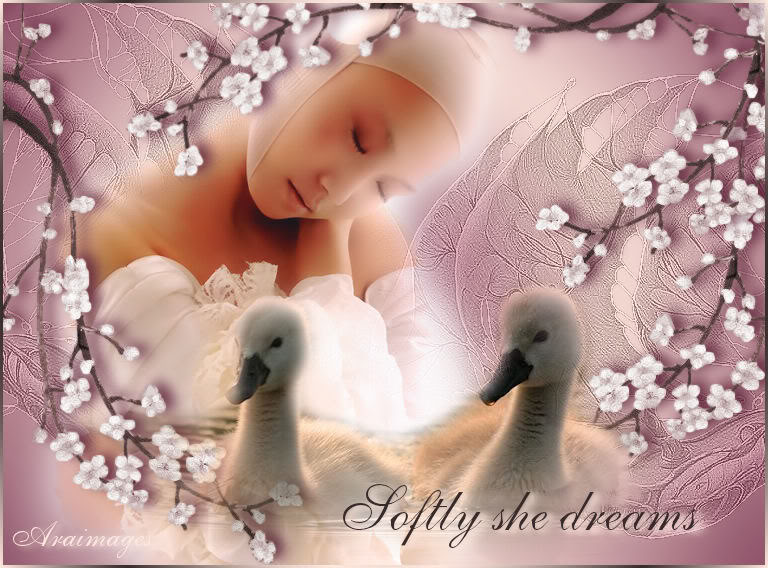
Softly She Dreams
For Danish and German translation, click on the flags.


For this tutorial you will need the materials in the zip file below.

A big thank you to the tubers Patries, Fanou66 & Melie Creations, MarioC and MTM for their beautiful tubes used in this tutorial. Please visit the tuber sites listed on my Links page.
Use the bookmark below to mark your place along the way.
Open the tubes in PSP, duplicate and close originals.
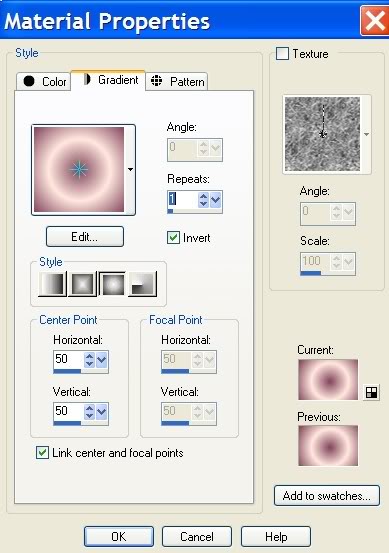
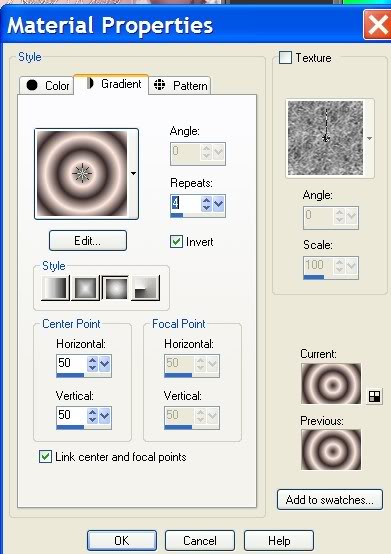
1. In Materials Palette, set foreground color to #ffe8de, background color to #5b2138. Set to Gradient, Style Sunburst, Angle 0, Repeats 1, Invert checked.
2. New/New Image 762px by 562px. Flood fill with Gradient.
3. Adjust/Blur/Gaussian Blur, Radius at 37.
4. Open Mtm-surrealism-13 tube. Copy/Paste as new layer.
5. Layers/Set Blend Mode to Luminance (Legacy). Layers/Set Opacity to 50%. Pull to right so left edge is at center.
6. Layers/Duplicate. Image/Mirror. Pull up toward top.
7. Layers Palette/Merge/Merge Down.
8. Effects/Edge Effects/Enhance More.
9. Open by-Sterner-Bellissima woman. Copy/Paste as new layer. Move so head is in upper middle area.
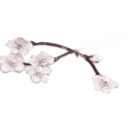
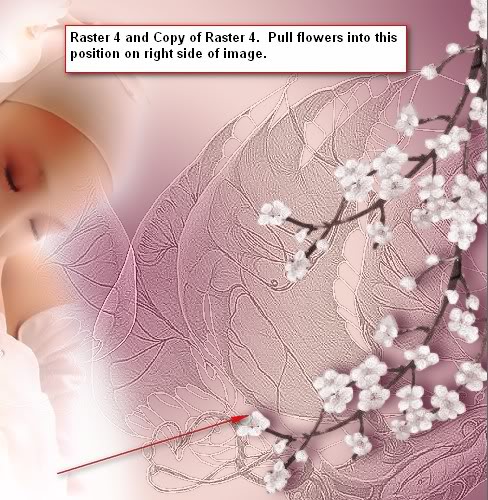
10. Open 1Patries-Spring chorus flowers tube. Copy/Paste as new layer. Pull to right side as I have it placed in my finished image.
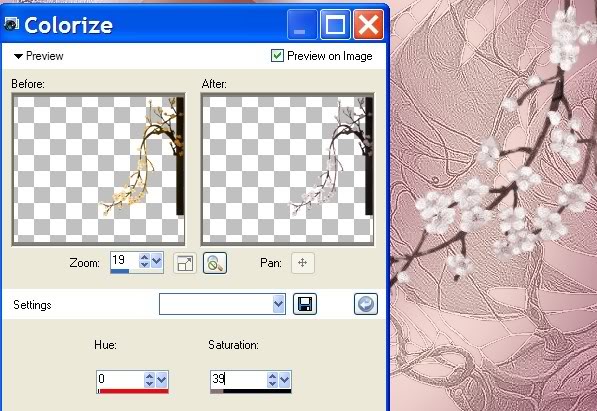
11. Adjust/Hue and Saturation/Colorize. Hue of 0, Saturation of 39.
12. Image/Duplicate. Pull up toward top of right side, having both Raster 4 and Copy of Raster 4 layers in position as in example below.
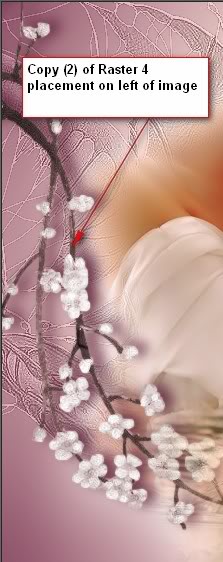
13. Image/Duplicate. Image/Mirror. Pull to left and down as in my example.
14. Image/Duplicate. Image/Free Rotate 105 degrees Right.
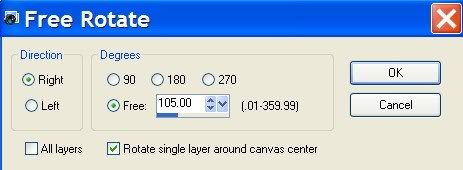
15. Pull into place as in example below.
16. Layers/Raster 4, Copy of Raster 4, Copy (2) of Raster 4 and Copy (3) of Raster 4 (this is all four of the flower layers), highlight each one, one at a time and apply a drop shadow as in settings below.
17. Effects/3-D Effects/Drop Shadow, Vertical -3, Horizontal 10, Opacity 86, Blur 20, color #5b2138.
18. Open DI-tube 1049 of swan babies. Copy/Paste as new layer.
19. Image/Resize/Resize by 80%, Resize all layers unchecked.
20. Highlight Raster 4 and using Eraser tool, erase flower off swan on right.
21. Highlight Raster 2, erase background image off swan on right and off head of swan on left.
22. Highlight Raster 3, erase dress of woman off swan head on left.
23. Highlight top layer to keep work in order.
24. In Materials Palette, change background (bottom) color to #372a2a.
25. From Tool bar, choose Text tool. Choose Font Sheer Elegance, Size 62, (see example below).

26. At the bottom, write the words Softly she Dreams. (You may also choose some other font and size to use).
27. Convert to Raster layer.
28. Effects/3-D Effects/Drop Shadow, Vertical 2, Horizontal 5, Opacity 86, Blur 8, color #ffe8de. Repeat drop shadow.
29. In Materials Palette, change the Gradient now showing to Repeats 4.
30. Image/Add Borders of 3px, white.
31. From the Tool bar, activate the Magic Wand, click on the 3px white border.
32. Flood fill the 3px border with the Gradient. Selections/Select None. Save as .jpg.
You are finished!
A big thank you to my testers, Evatexas and PamelaD whose time I so appreciate!
If you are going to use this tutorial for stationery, cards or place the tutorial/tag on another site, I would appreciate you contacting me for permission, giving Arasimages credit for the original tutorial and if possible, a link back to my site. Thank you.
Copyright © Arasimages All Rights Reserved