
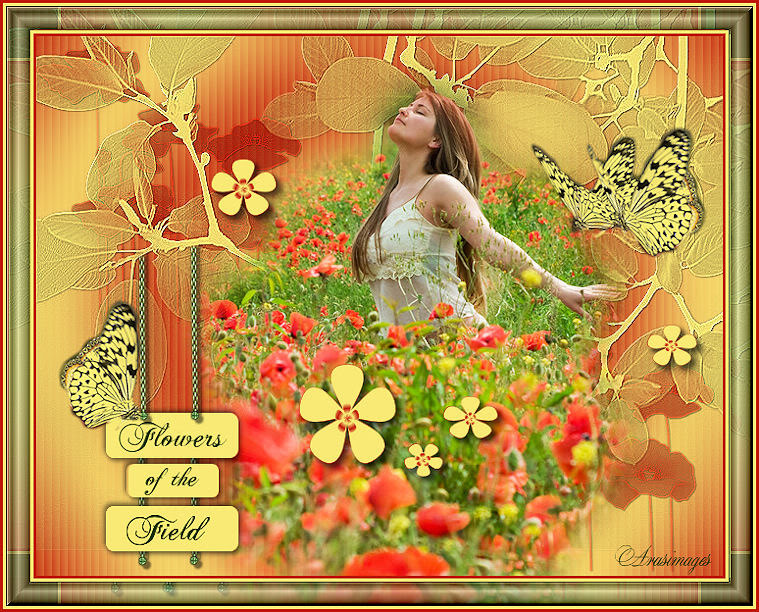
Flowers of the Field
For Italian, Danish, German and French translation, click on the flags.


For this tutorial you will need the materials in the zip file below.

Unzip the materials into a working folder. Open the materials in PSP, copy and close originals. Place the Font Chopin Script in your Fonts folder or open it from your working folder and keep it minimized while using it. It will show up in your PSP Font selection. You will need plugins Filters Unlimited2 and 2Manekenai(tm)/MezzoForce-Ice for this tutorial.
I have used PSPX3 to create this tutorial but you may use an earlier version. It is assumed you have a working knowledge of PSP.
The tube of the woman with flowers used in this creation is from Arasimages. Please visit the Links page and Arasimages Tubes for lots of beautiful tubes.
Use the flower below to mark your place along the way.

1. In Materials Palette, set the Foreground color to #f9ea75, Background to #c1180a.
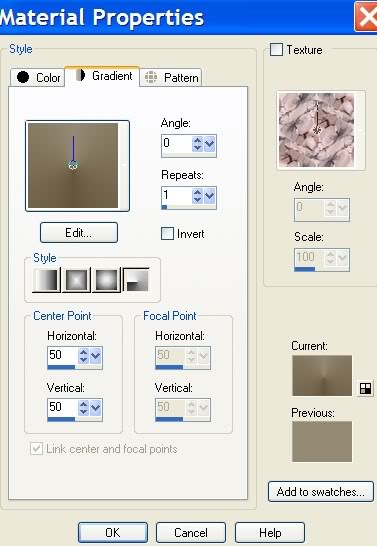
2. In Materials Palette, set to Gradient Sunburst, Angle 0, Repeats 3, Invert checked.
3. New/New Image 700px by 550px. Flood fill with Gradient.
4. Adjust/Blur/Gaussian Blur, Radius 23.
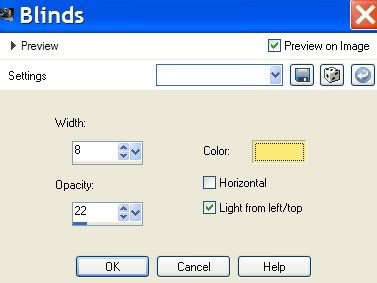
5. Effects/Texture Effects/Blinds. Use settings shown below, color #f9ea75.
6. Layers/New Raster Layer.
7. Choose the Paint Brush tool from the Tool bar. Select Gwyn_Fiori01-5 brush.

8. Stamp in upper left corner and bottom right corner, using the Background color #c1180a.
9. Select the brush Leaves&Trees9. Stamp in center using Foreground color #f9ea75.

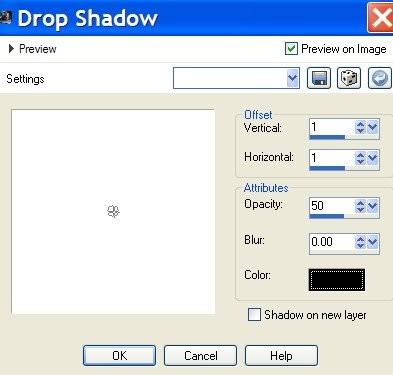
10. Effects/3-D Effects/Drop Shadow, Vertical 1, Horizontal 1, Opacity 50, Blur 0, color #000000.
11. Effects/Edge Effects/Enhance.
12. Open PoppyFieldPrincess.pspimage. Copy/Paste as New Layer. Place her just a little to right of center and down.
13. Highlight Raster 2 and erase the leaves off her face and hair. Go back to Raster 3.
OPTIONAL: I have created the flower layer called ReadyMadeFlowers and include it in the materials for those of you who wish to skip making them yourself. Just Open/Copy/Paste as New Layer instead of doing Steps #14 through #20. For a challenge, try making your own.
14. From Tool bar, select the Preset Shape Tool. Choose a flower to your liking.

15. Swap the Foreground color with the Background color in Materials Palette. (Yellow should be on bottom).
16. Layers/New Raster Layer.
17. Using the preset shape of flower, draw several flowers in yellow, in various sizes. See my finished image for how I did mine.
18. In Materials Palette, make your Gradient again and switch it to bottom (Background).
19. Using Gradient, Draw small centers in the yellow flowers.
20. Convert to Raster Layer.
21. Effects/3-D Effects/Drop Shadow, Vertical 4, Horizontal 4, Opacity 50, Blur 7, Color #000000.
22. Layers/New Raster Layer.
23. Using Selections tool set to example below, draw three selections to put your text in. (I duplicated the larger one, moved it up and drew small one in between them). See my finished image.

24. Flood fill Selections with Foreground color #f9ea75.
25. Effects/3-D Effects/Drop Shadow, Vertical 3, Horizontal 2, Opacity 50, Blur 7, Color #000000. Repeat with V-3, H-2, all other settings the same. Put this drop shadow on all three text boxes.
26. Selections/Selection None. Merge/Merge Down all of the box layers.
27. Select the Text tool, Chopin Script, Size 36 (or size to fit your Selection) and write "Flowers" in color #1a3208 in top box. Convert to Raster Layer.
28. Using same text and size, write "Field" in bottom box. Convert to Raster Layer.
29. Using same text but lower size to 30, write "of the" in center box. Convert to Raster Layer.
30. Open Chains.pspimage. Copy/Paste as New Layer.
31. Place chains with bottom resting at top/center of top text box. Adjust chains/boxes if need be so they appear to be hanging from tree branch.
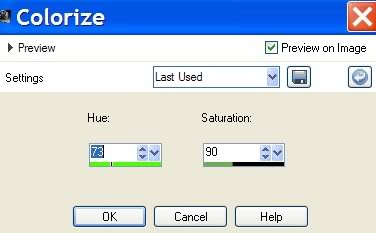
32. Adjust/Hue and Saturation/Colorize. Set Hue to 73, Saturation to 76.
33. Using Eraser tool, erase excess chains from above tree branch.
34. Effects/3-D Effects/Drop Shadow Vertical 4, Horizontal 4, Opacity 50, Blur 0, color #000000.
35. Adjust/Sharpness/Sharpen.
36. Duplicate/Pull chains down so the ball is below the bottom Selection Text box, lining up with top chains.
37. Pull chain layer beneath the Selection box layers.
38. Go back to top layer. Open Butterflies.pspimage. Copy/Paste as New Layer.
39. Resize/Resize by 80%, Resize all layers unchecked.
40. Place Butterflies to hover above her hand.
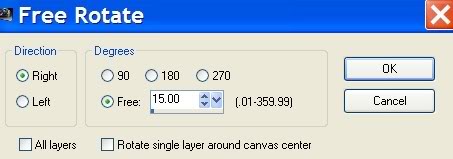
41. Image/Free Rotate/Rotate Right, 15 degrees.
42. Adjust/Sharpness/Sharpen.
43. Open SingleButterfly.pspimage. Copy/Paste as New Layer.
44. Resize/Resize by 80%, Resize all layers unchecked.
45. Place butterfly on left top selection text box.
46. Image/Free Rotate/Rotate Right, 15 degrees.
47. Adjust/Sharpness/Sharpen. Merge/Merge Visible.
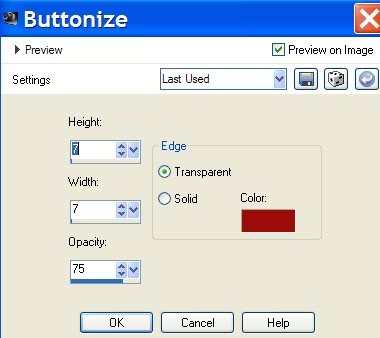
48. Effects/3-D Effects/Buttonize. Use settings below.
49. Image/Add Borders/3px, Symmetric checked, color #c1180a.
50. Image/Add Borders/3px, Symmetric checked, color #f9ea75.
51. Image/Add Borders/25px, Symmetric checked, color #2d3f15.
52. Using Magic Wand, select 25px border to activate it.
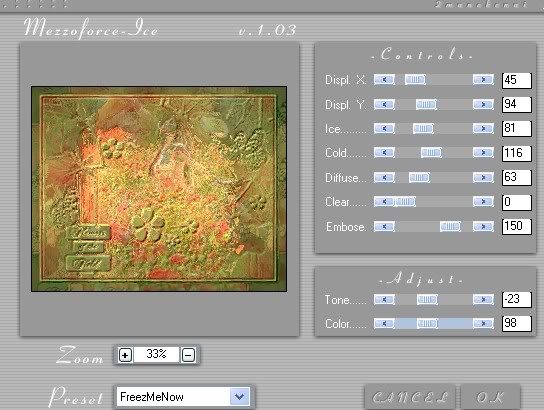
53. Effects/2Manekenai(tm)/MezzoForce/Freeze Me Now. See settings below.
54. Effects/FiltersUnlimited2/Buttons&Frames/3D Glass Frame 1. Use settings below.

55. Adjust/Sharpness/Sharpen.
56. Image/Add Borders/3px, Symmetric checked, color #f9ea75.
57. Image/Add Borders/3px, Symmetric checked, color #c1180a.
58. Sign your name or leave watermark. Convert to Raster Layer.
59. Merge/Merge Visible.
You are finished with your creation! I hope you have enjoyed the tutorial.
Big hugs to my testers, PamelaD and Evatexas.
If you are going to use this tutorial for stationery, cards or place the tutorial/tag on another site, I would appreciate you contacting me for permission, giving Arasimages credit for the original tutorial and if possible, a link back to my site. Thank you.
Copyright © Arasimages All Rights Reserved