
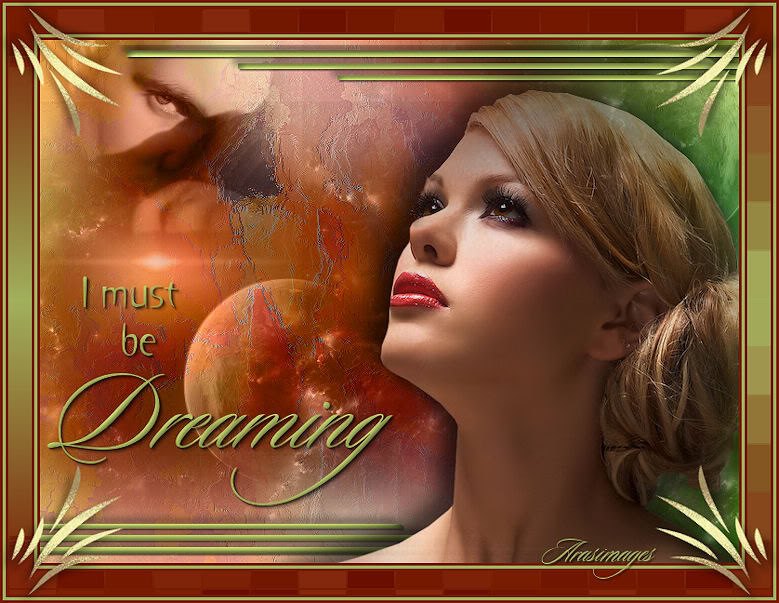
I Must Be Dreaming
For Danish translation, click on the flags.

For this tutorial you will need the materials in the zip file below.

Credit is given for materials used when original author is known. Tubes used in this tutorial are from Corinne Vicaire, Nikita of Reveries.fr and Arasimages. Thank you ladies for your beautiful work. Please visit the tuber sites listed on my Links page. You will also find many more tubes in my all-free Tubes section.
Use the bookmark below to mark your place along the way.

Unzip the materials into a working folder. Open the materials in PSP, copy and close originals. Export the brush into your PSP folder for Brushes. You will need plugins Color Rave, Simple and Xero for this tutorial. I have used PSPX3 to create this tutorial but you may use an earlier version. It is assumed you have a working knowledge of PSP to do this tutorial.
1. In Materials Palette, set Foreground to color #e4c9d0, Background to color #d68d97.
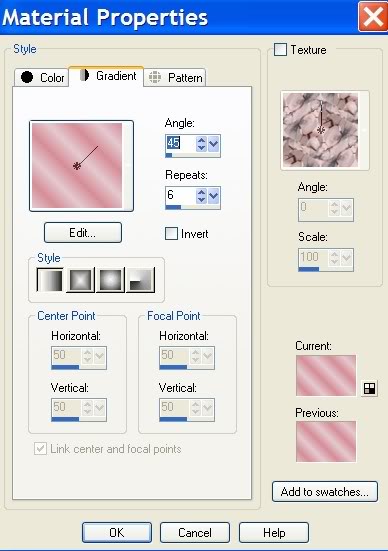
2. Create Gradient using the Foreground/Background colors, Style set to Linear, Angle 45, Repeats 6, Invert unchecked.
3. New/New Image 762px by 562px. Floodfill the new image with the Gradient.
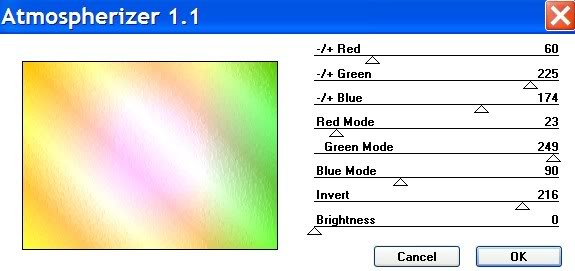
4. Effects/Color Rave/Atmospherizer1.1, settings as below.
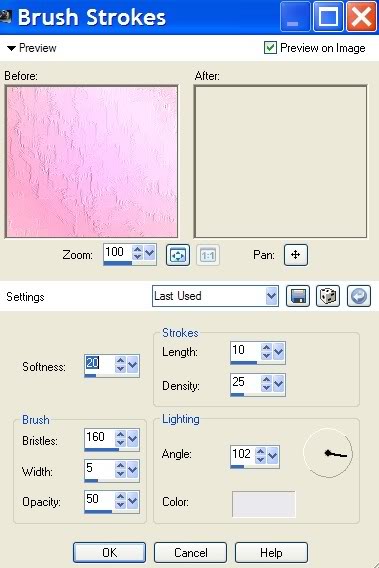
5. Effects/Art Media Effects/Brush Strokes. Use settings as seen below, color used is #eae9ee.
6. Layer/New Raster Layer. Using Paint Brush tool, find Background Texture brush.
7. Using default settings of the brush, Background color in Materials Palette, right click to stamp toward upper left corner, bottom left corner, and use left click Foreground color to stamp on bottom right side. Just do it randomly.

8. Open Peaches.pspimage. Copy/Paste as New Layer. Lower Opacity to 85%. Move to left and down a little.
9. Effects/Art Media Effects/Brush Strokes. Use same settings and color as you did in Step #5.
10. Open Mist corinne.vicaire - divers 01.02.11.pspimage. Copy/Paste as New Layer.
11. Set Blend Mode to Luminance (Legacy). Opacity to 76%. Move toward left bottom corner.
12. Duplicate. Image/Mirror. Pull to right upper corner of image so moon is showing.
13. Duplicate. Image/Flip. Pull down into right lower corner so clouds are showing.
14. Open 1220640160_hommes.pspimage. Copy/Paste as New Layer.
15. Move male image into upper left corner. Lower Opacity to 84%, set Blend Mode to Luminance (Legacy).
16. Open Green bars Arasimages.pspimages. Copy/Paste as New Layer. Move to lower left corner.
17. Effects/3-D Effects/Drop Shadow, Vertical -6, Horizontal -6, Opacity 50, Blur 12, color #000000.
18. Effects/3-D Effects/Drop Shadow, Vertical 2, Horizontal 2, Opacity 50, Blur 2, color #000000.
19. Paste bars again as New Layer. Image/Mirror. Image/Flip. Move into place at top right corner.
20. Repeat the Drop Shadows as you did in Steps #17 and #18.
21. Open Tube corinne.vicaire-femme 24.03.11.pspimage. Copy/Paste as New Layer. Image/Mirror.
22. Duplicate. Merge/Merge Down. Move to right side of image.
23. Effects/3-D Effects/Drop Shadow, Vertical -12, Horizontal -12, Opacity 50, Blur 22, color #000000. Do this step twice.
24. Effects/3-D Effects/Drop Shadow, Vertical 12, Horizontal 12, Opacity 50, Blur 22, color #000000. Do this step once.
25. Open text "I must be Dreaming". Copy/Paste as New Layer.
26. Place the text above the bottom left corner green bars.
27. Effects/3-D Effects/Drop Shadow, Vertical 2, Horizontal 2, Opacity 50, Blur 2, color #000000.
28. In Materials Palette, change Foreground color to #761b00, Background color to #a1b05b.
29. Using current colors, create a new Gradient of Linear, Angle 0, Repeats 1, Invert unchecked.
30. Image/Add Borders/Add border of 3px, color #761b00, Symmetric checked.
31. Image/Add Borders/Add border of 3px, color #a1b05b, Symmetric checked.
32. Image/Add Borders/Add border of 3px, color #761b00, Symmetric checked.
33. Image/Add Borders/Add border of 28px, color #ffffff, Symmetric checked.
34. Activate 28px border with Magic Wand.
35. Flood fill border with new Gradient. Keep active.
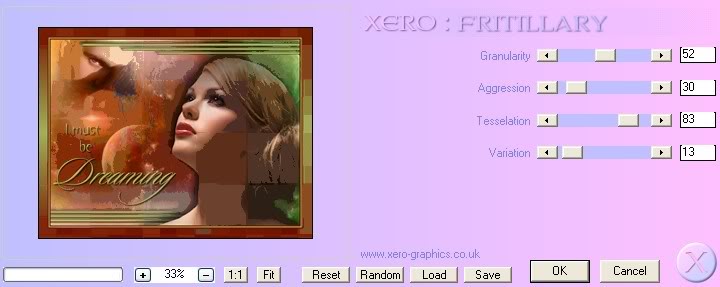
36. Effects/Xero/Fritillary. Use settings below.
37. Selections/Select None.
38. Image/Add Borders/Add border of 3px, color #761b00, Symmetric checked.
39. Image/Add Borders/Add border of 3px, color #a1b05b, Symmetric checked.
40. Image/Add Borders/Add border of 3px, color #761b00, Symmetric checked.
41. Open accents_Dani5.pspimage. Select layer #13, Copy/Paste as New Layer.
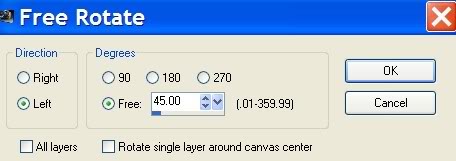
42. Image/Free Rotate by 45 degrees Left. See example.
43. Image/Mirror. Image/Flip. Place into upper left corner.
44. Effects/3-D Effects/Drop Shadow, Vertical -8, Horizontal -8, Opacity 50, Blur 12, color #000000.
45. Effects/Simple/Top Left Mirror.
46. Sign your name or leave watermark. Convert to Raster Layer.
47. Merge/Merge Visible.
A big thank you to PamelaD and Evatexas for testing my tutorials for me.
If you are going to use this tutorial for stationery, cards or place the tutorial/tag on another site, I would appreciate you contacting me for permission, giving Arasimages credit for the original tutorial and if possible, a link back to my site. Thank you.
Copyright © Arasimages All Rights Reserved