
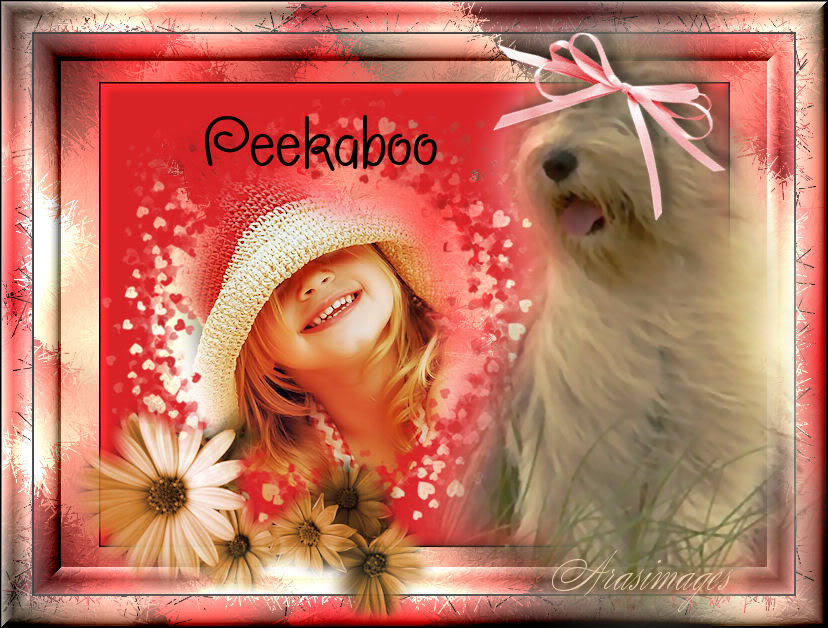
Peek a Boo
For Italian and Danish translation, click on the flags.


For this tutorial you will need the materials in the zip file below.

Credit is given for materials used when original author is known. Tubes used in this tutorial are from Nikita at Reveries.fr, SDT and Sorensen_Designs. Thank you tubers for your beautiful work and permission to use. Please visit the tuber sites listed on my Links page. You will also find many more tubes in my all-free Tubes section.
Use the bookmark below to mark your place along the way.

Unzip the materials into a working folder. Open the materials in PSP, copy and close originals. Place the Mask into your PSP Mask Folder. You will need the plugins Mehdi, Graphics Plus and Filters Unlimited for this tutorial. I have used PSPX3 to create this tutorial but you may use an earlier version. It is assumed you have a working knowledge of PSP to do this tutorial.
1. Create a New Image 760px by 560px, transparent.
2. In Materials Palette, set Foreground to color #ecd4b1, Background to color #db2327.
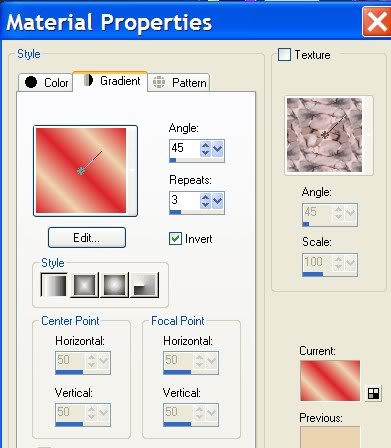
3. Create a Gradient using the Foreground/Background colors, Style Linear, Angle at 45, Repeats at 3, Invert checked.
4. Flood fill the transparent image with the Gradient.
5. Effects/Graphics Plus/Cross Shadow. Use default settings.
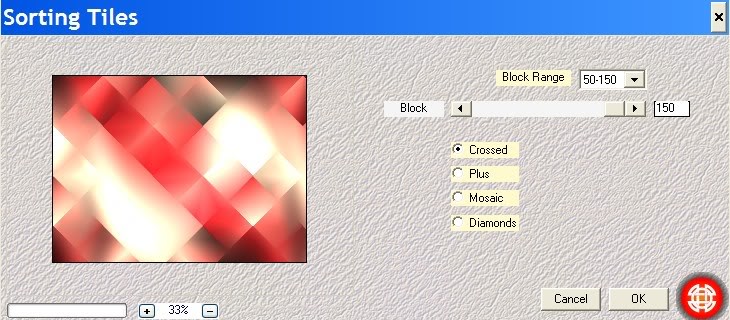
6. Effects/Mehdi/Sorting Tiles/Use settings as in my example below.
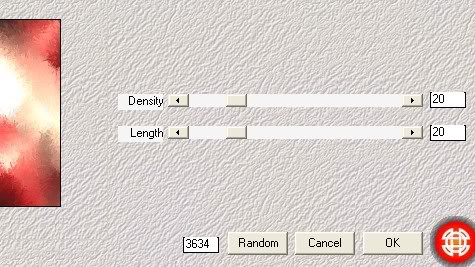
7. Effects/Mehdi/Fur/Use settings as in my example below.
8. Layers/New Raster Layer.
9. Flood New Raster Layer with Background color #db2327.
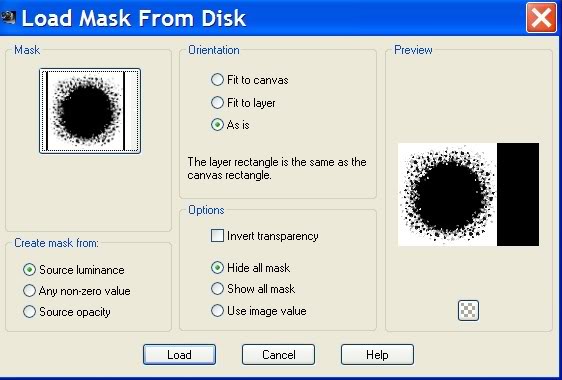
10. Layers/Load/Save Mask/Load Mask From Disk. Choose sg_heart-burst Mask. Apply. Use settings as I show below.
11. Merge/Merge Group. Flood fill the right side of the Mask layer with Background color #db2327.
12. Open 1228506540_enfants.pspimage. Copy/Paste as New Layer.
13. Move little girl layer below the Mask layer so she shows nicely in center of opening.
14. Adjust/Sharpness/Sharpen. Go back to Mask layer. Merge/Merge down.
15. Layers/New Raster Layer. Flood fill layer with #000000, black.
16. Selections/Select All.
17. Selections/Modify/Contract by 2px. Press Delete key.
18. Selections/Select None. Merge/Merge Down.
19. Image/Resize/Resize by 83%/Resize all layers unchecked.
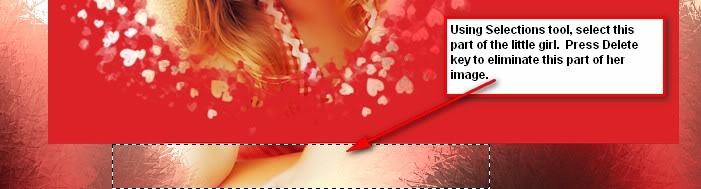
20. Using Selections tool, Mode set to Replace, select the section below the little girl that shows on Raster 1. Press Delete key. Selections/Select None. See example below.
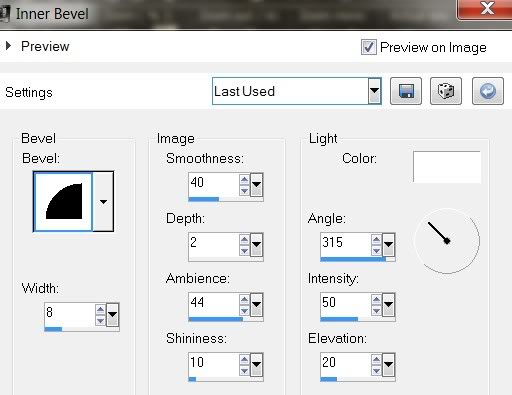
21. Effects/3-D Effects/Inner Bevel. Apply as shown below.
22. Image/Add Borders/Add border of 2px, Symmetric checked, color #000000.
23. Image/Add Borders/Add border of 30px, Symmetric checked, color #ecd4b1.
24. Using Magic Wand, select the 30px border.
25. In Materials Palette, under Gradient, uncheck Invert.
26. Flood fill the 30px border with Gradient.
27. Repeat layers #5 through #7. Selections/Select None.
28. Image/Add Borders/Add border of 2px, Symmetric checked, color #000000.
29. Effects/Filters Unlimited/Buttons and Frames/3D Glass Frame 1. Use default setting.
30. Open Sorensen_Designs Mist Aug 105-11.pspimage. Copy/Paste as New Layer.
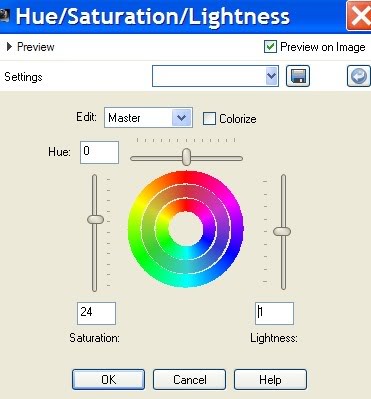
31. Image/Mirror. Adjust/Hue and Saturation. Hue/Saturation/Lightness. Use settings in example below.
32. Image/Resize/Resize by 83%, Resize all layers unchecked.
33. Move doggy over to right side of image.
34. Open Bows.pspimage. Using Selections tool, select one of the bows. Copy/Paste as New Layer in working image.
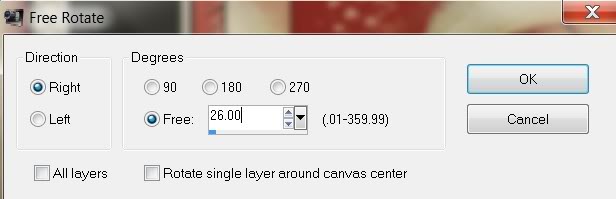
35. Image/Free Rotate/Rotate Right by 26.
36. Adjust/Hue and Saturation/Colorize. Saturation at 255, Hue at 185.
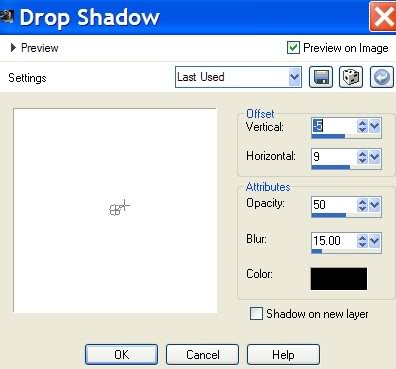
37. Effects/3D Effects/Drop Shadow, Vertical -5, Horizontal 9, Opacity 50, Blur 15, color #000000.
38. Open Tube2348_Flower_Misted_02_02_08.pspimage. Copy/Paste as New Layer.
39. Image/Free Rotate Left by 90. (See Step 35 for example set at 90).
40. Adjust/Hue and Saturation/Colorize/Hue 24, Saturation 156.
41. Image/Resize/Resize by 67%, Resize all layers unchecked.
42. Move into bottom left corner. Opacity set to 93.
42. Change Background color to #000000. From Text tool, select Font Morning Limerink BTN (Mornlb ttf).

43. Using Size 72, type the words "Peekaboo". Convert to Raster Layer. Place above little girl's head.
42. Sign your work. Merge/Merge Visible.
Big hugs for PamelaD and Evatexas for their faithful checking of my written tutorials.
If you are going to use this tutorial for stationery, cards or place the tutorial/tag on another site, I would appreciate you contacting me for permission, giving Arasimages credit for the original tutorial and if possible, a link back to my site. Thank you.
Copyright © Arasimages All Rights Reserved