
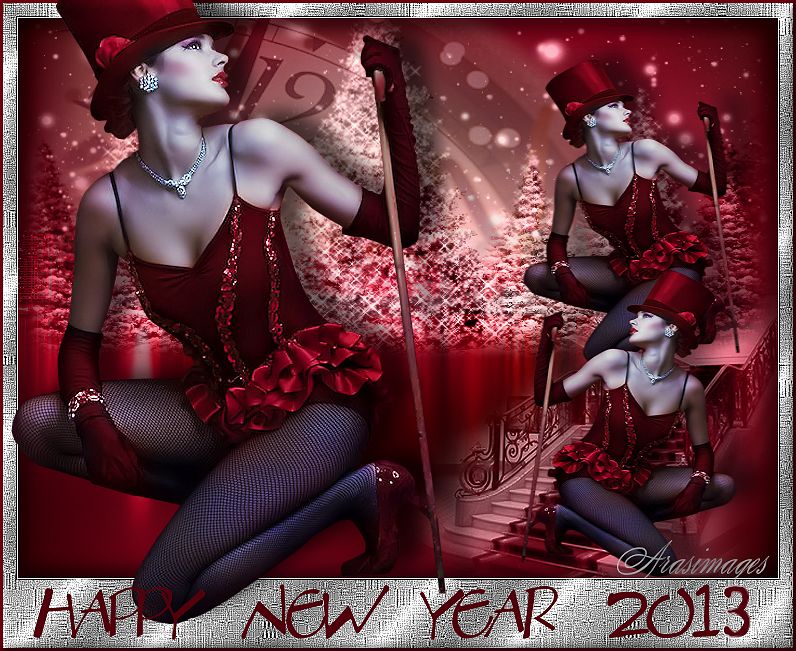
Dance in the New Year
For Italian and Danish translation, click on the flags.


For this tutorial you will need the materials in the zip file below.

Thanks go to Macha; to Nikita; Sorensen_Designs and STD for the beautiful tubes used. Please visit the tuber sites listed on my Links page.
Use the bookmark below to mark your place along the way.

Unzip the materials into a working folder. Open the materials in PSP, copy and close originals. You will need no plugins to do this tutorial. I have used PSPX3 to create this tutorial but you may use an earlier version. It is assumed you have a working knowledge of PSP although this may be considered an easy tutorial.
1. In Materials Palette, set Foreground to #8c0620, Background to #2b0000.
2. Create Gradient using Style Sunburst, Angle 0, Repeats 2, Invert unchecked.

3. New/New Image 760px by 560px. Flood fill with Gradient.
4. Adjust/Blur/Gaussian Blur, Radius set to 30.
5. Open Macha_020811_ville.pspimage. Copy/Paste as New Layer.
6. In Layers Palette, set Blend Mode to Luminance, Opacity 42. Move to left side.
7. Open Sorensen_Designs Mist jan 129-10.pspimage. Copy/Paste as New Layer.
8. In Layers Palette, set to Luminance (L). Move toward top of image.
9. Using Pick Tool, pull both left and right edges out toward the edges of image.
10. Open Tube3594_happy_new_years_23_12_0_.psp image. Copy/Paste as New Layer.
11. In Layers Palette, drop Opacity to 24. Move clock into upper area of image.
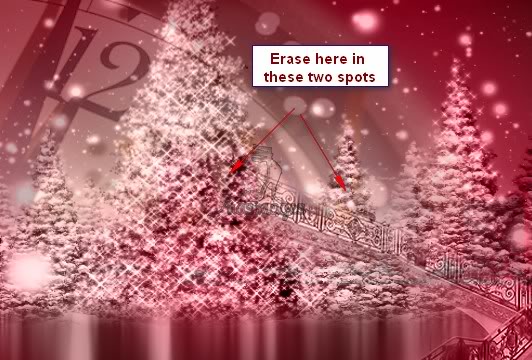
12. Using Eraser tool, erase the gold color of the clock from the pine trees.

13. Open 12283242267_divers.pspimage. Copy/Paste as New Layer.
14. In Layers Palette, set to Luminance (L).
15. Move to right lower side of image.
16. Using Eraser tool as before, increasing size of eraser to 23, erase the top of the stairs off the pine trees.
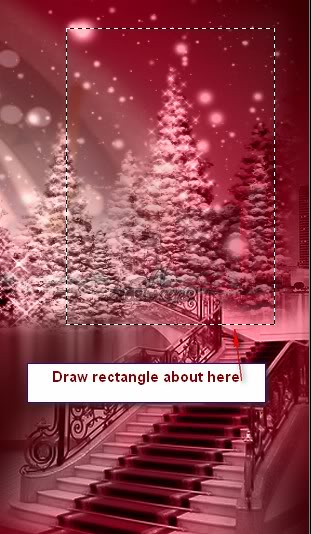
17. Using the Selections tool, set to Rectangle, draw a rectangle on the upper right corner.

18. Layers/New Raster Layer.
19. Open 13154694104_femmes.pspimage. Copy/Paste into Selection.
20. Image/Mirror. There will now be an activated duplicate of the top lady.
21. Move the ladies into position on the right side if they are not already where you want them.
22. Selections/Select None. Adjust/Sharpness/Sharpen.
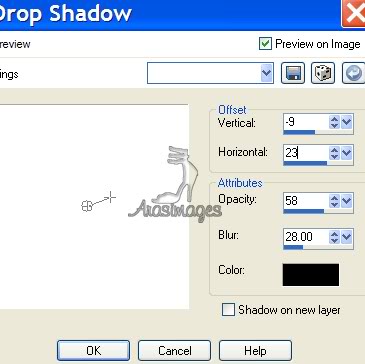
23. Effects/3D Effects/Drop Shadow, Vertical -9, Horizontal 23, Opacity 58, Blur 28, color #000000.
24. Image/Add Borders. Set top, sides at 15px, bottom at 70px, Symmetric unchecked. Color #ffffff.
25. Select the border using the Magic Wand.
26. Layers/New Raster Layer.
27. In Materials Palette, change Foreground color to Pattern SILVER Sharon.
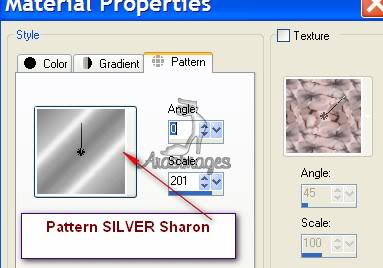
28. Flood fill with Pattern.
29. Effects/Edge Effects/Enhance More, 2 times.
30. Effects/3D Drop Shadow, Vertical -10, Horizontal 10, Opacity 57, Blur 24, Color #000000.
31. Selections/Select None.
32. Image/Add Borders/Add border 3px, Symmetric checked, Color #53020d.
33. Open 13154694104_femmes.pspimage. Copy/Paste as New Layer.
34. Place woman on left side of image with shoe on bottom border.
35. Effects/3D Drop Shadow, Vertical -9, Horizontal 23, Opacity 58, Blur 28, Color #000000.
36. Using the Text tool, color #53020d, Font Aberration, Size 68, type the words Happy New Year 2013 (or appropriate year).

37. Convert to Raster Layer and move into place across bottom border. Duplicate
38. Sign your name or leave your watermark. Convert to Raster Layer if needed.
39. Merge/Merge Visible.
40. Effects/3D Effects/Inner Bevel.

41. Adjust/Sharpness/Sharpen.
42. You are finished! I hope you have a wonderful new year full of good health, prosperty and love!
A big thank you to Evatexas and PamelaD who tested this tutorial for me.
If you are going to use this tutorial for stationery, cards or place the tutorial/tag on another site, I would appreciate you contacting me for permission, giving Arasimages credit for the original tutorial and if possible, a link back to my site. Thank you.
Copyright © Arasimages All Rights Reserved