
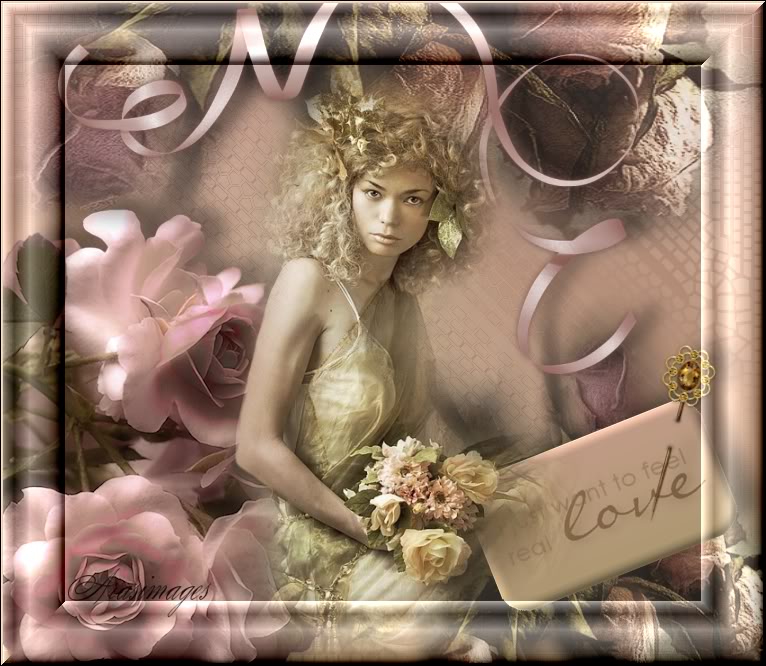
Feel Real Love
For Danish and German translation, click on the flags.


For this tutorial you will need the materials in the zip file below.

Thanks go to JHanna; to Lizzytish and to Maria Tereza FP for the lovely tubes used. If any of the other tubes used are yours, please mail me so I can give you credit. Please visit the tuber sites listed on my Links page for other lovely tubes.
Use the bookmark below to mark your place along the way.
You will need Filters Unlimited 2 to do this tutorial. I have used PSPX4 to create this tutorial but you may use an earlier version.
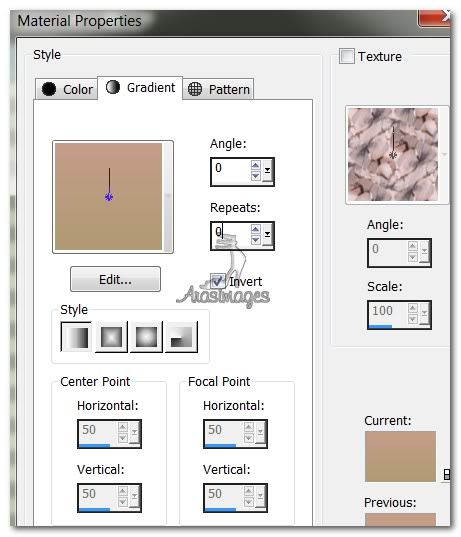
1. In Materials Palette, set Foreground to #c49d89, Background to #af9a72.
2. Create a Gradient in Materials Palette using the above colors in Foreground/Background, Style set to Linear, Angle 0, Repeats 0, Invert checked.
3. New/New Raster Layer 760px by 660px. Selections/Select All.
4. Open ArasimagesPink.pspimage. Copy/Paste into Selections.
5. Selections/Select None.
6. New/New Raster Layer. Flood fill with Gradient. Lower Opacity to 82.
7. Open JHanna_09c.pspimage. Copy/Paste as New Layer.
8. Using the Pick tool, stretch the flower image horizontally till it nearly reaches both sides.
9. Drop the Opacity to 77 on the flowers. Move to top of image having top part of flowers not showing.
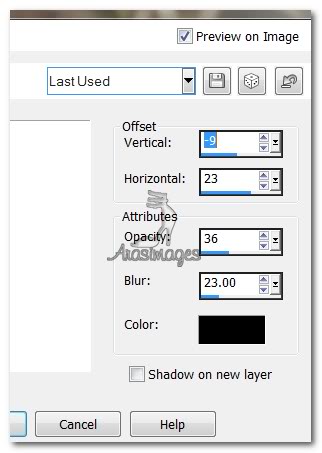
10. Effects/3D Effects/Drop Shadow. Vertical -9, Horizontal 23, Opacity 36, Blur 23, color #000000.
11. Using Selections tool set to Rounded Rectangle/Replace, draw out a rounded rectangle to put your words in.

12. Layers/New Raster Layer. Flood fill with Gradient.
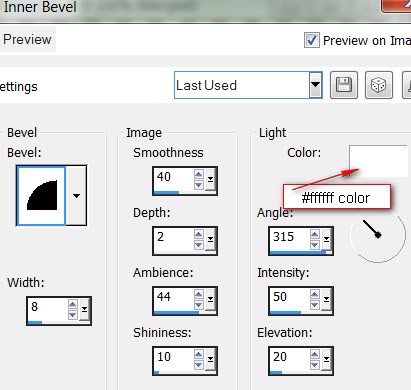
13. Effects/3D Effects/Inner Bevel. Use settings below, color #ffffff.
14. Effects/3D Effects/Drop Shadow. Vertical -9, Horizontal 23, Opacity 36, Blur 23, color #000000.
15. Selections/Select None.
16. Layers/New Raster Layer.
17. Select the Paint Brush tool, find the brush called agibrush15.

18. Change the Background color in Materials Palette to #806548. Stamp the words on the rounded Rectangle.
19. Merge/Merge Down. Adjust/Sharpness/Sharpen.
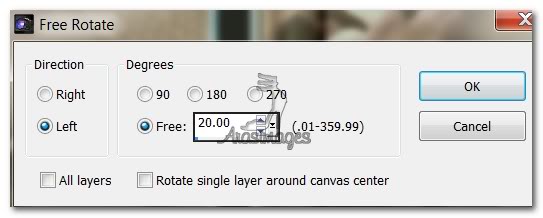
20. Image/Free Rotate. Rotate Left by 20 degrees. Move to right lower corner.
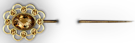
21. Open Scrap Pin SEG 29.pspimage. Copy/Paste as New Layer.
22. Image/Resize/Resize by 50%, Resize all Layers unchecked.
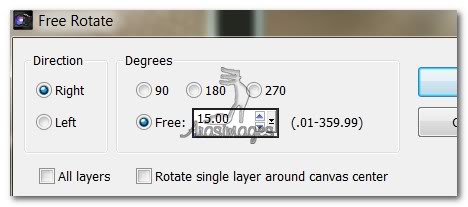
23. Image/Free Rotate. Direction/Right, Degrees 15.
24. Move pin over the upper right corner of the rectangle.
25. Effects/3D Effects/Drop Shadow. Vertical -9, Horizontal 23, Opacity 36, Blur 23, color #000000.
26. Open JHanna_09c.pspimage. Copy/Paste as New Layer.
27. Image/Resize/Resize by 70%, Resize all layers unchecked.
28. Lower Opacity down to 83.
29. Image/Free Rotate. Direction Left, Degrees 20.
30. Move flowers below the rounded rectangle layer so some of the flowers shows at the bottom.
31. Duplicate. Image/Mirror.(Flip Horizontal in PSPX4) Image Flip. (Flip Vertical in PSPX4). Don't you dislike that Corel changed this feature? Please let them know if you agree with me).
32. Pull duplicated flowers up and to the left into place above the rounded rectangle.
33. On both layers of the flowers, please place a Drop Shadow: Effects/3D Effects/Drop Shadow. Vertical -9, Horizontal 23, Opacity 36, Blur 23, color #000000.
34. Go back to the top layer to continue.
35. Open the pink_ribbon.pspimage. Copy/Paste as New Layer.
36. Place the ribbon at the top center edge of the image.
37. Adjust/Hue and Saturation/Colorize. Hue set to 6, Saturation set to 55.
38. Effects/3D Effects/Drop Shadow. Vertical -9, Horizontal 23, Opacity 36, Blur 23, color #000000.
39. Open mtfp_beautiful_roses.pspimages. Using the Foreground color #c49d89 in the Materials Palette and the Color Changer tool, settings at tolerance 6, Edge Softness 37, click on the darker pink of the roses tube. You may have to undo and redo to achieve just the proper coloring. When it seems right to you, Copy/Paste as New Layer.
40. Undo the color changes you made to the copy of the tube and close it.
41. Image/Resize/Resize by 80%, Resize all layers unchecked.
42. Move the recolored roses into the bottom left corner.
43. Effects/3D Effects/Drop Shadow. Vertical -9, Horizontal 23, Opacity 36, Blur 23, color #000000.
44. Open shades-of-gold1_lizztish3.pspimage. Copy/Paste as New Layer.
45. Place lady down toward bottom and center~her hair should be between ribbon loop at the top. Move ribbon if necessary.
46. Highlight the mtfp_beautiful_roses layer. Using Eraser tool, erase roses off her arm. (Use the Freehand Selections tool, select her arm and Press Delete key, then Selections/Select None if this is easier for you.)
47. Image/Add Borders/3px border, color #806548.
48. Effects/Filters Unlimited2/Buttons & Frames/3D Glass Frame 1. Use Frame size of 50, change Contrast color to 112.
49. Stamp your name or leave your watermark. Finished!...I hope you have enjoyed working this tutorial.
Thank you Evatexas and PamelaD for testing this tutorial for me.
If you are going to use this tutorial for stationery, cards or place the tutorial/tag on another site, I would appreciate you contacting me for permission, giving Arasimages credit for the original tutorial and if possible, a link back to my site. Thank you.
Copyright © Arasimages All Rights Reserved