
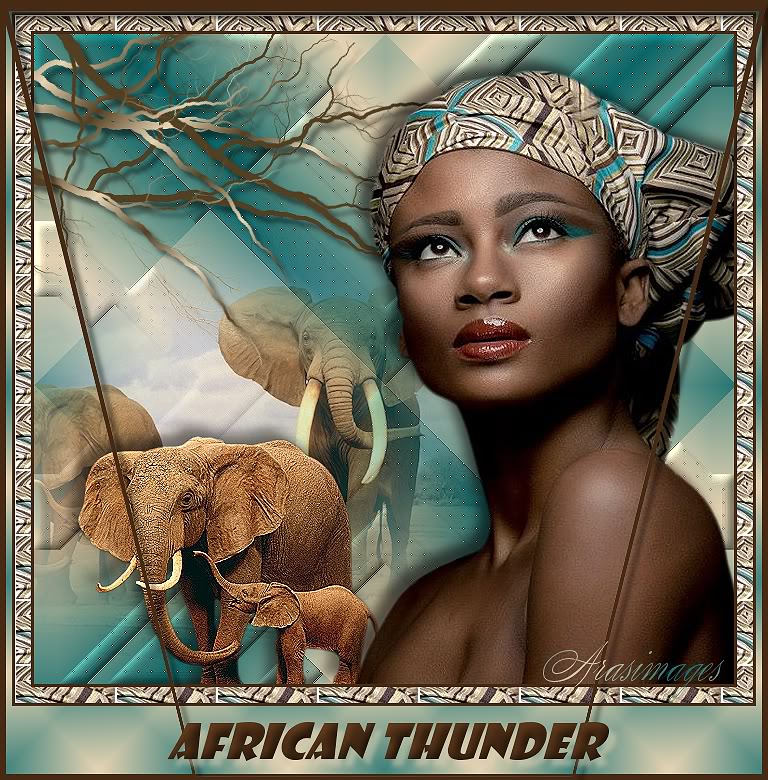
African Thunder
For Italian and Danish translation, click on the flags.


For this tutorial you will need the materials in the zip file below.

Thanks go to Silvie and to our own PamelaD of Arasimages for the beautiful tubes used. Please visit the tuber sites listed on my Links page.
Use the bookmark below to mark your place along the way.

Unzip the materials into a working folder. Open the materials in PSP, copy and close originals. Export the Tree bare branch2 brush into your PSP/Brushes folder. You will need plugins VM Instant Art and Penta to do this tutorial. I have used PSPX4 to create this tutorial but you may use an earlier version. It is assumed you have a working knowledge of PSP.
1. In Materials Palette, set Foreground to #e7d4b3, Background to #0a686a.
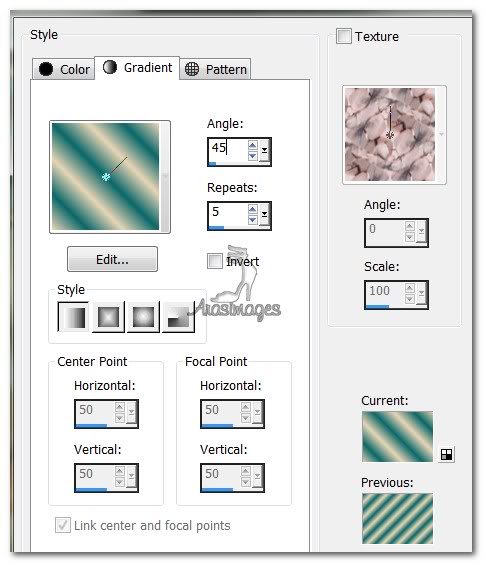
2. In Materials Palette, create a Gradient using Linear, Angle 45, Repeats 5, Invert unchecked.
3. New/New Image 700px by 650px. Flood fill with Gradient.
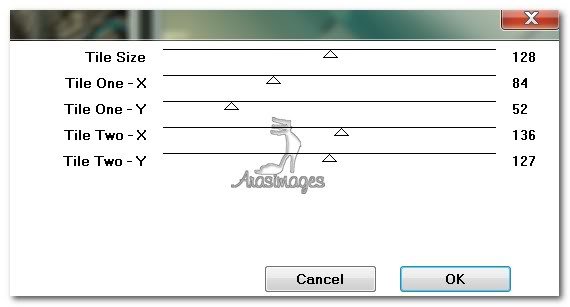
4. Effects/VM Instant Art/Tripolis. Use settings seen below.
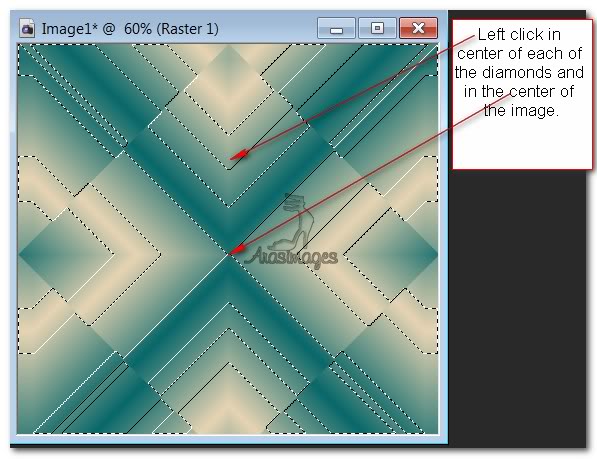
5. Using Magic Wand, click inside each of the four triangle shapes and in center of image while holding down Shift key. See example below. (You will get variations in your selections, depending on where you click on the triangle shapes. This is where you can get creative on your own; it need not be exactly like mine.)
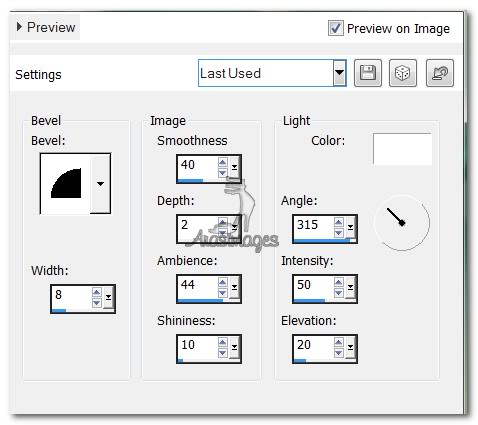
6. Effects/3D Effects/Inner Bevel, settings as seen below.
7. Effects/Penta/Color Dot. Use settings below.

8. Effects/Edge Effects/Enhance. Selections/Select None.
9. Open Elephants.pspimage. Copy Misted layer/Paste as New Layer.
10. Image/Resize/Resize by 85%/Resize all layers unchecked.
11. Move Elephants to left side of image. Drop Opacity to 80.
12. Using Elephant Cow and Calf layer, Copy/Paste as New Layer. Move to bottom left corner.
13. Effects/3D Effects/Drop Shadow, Vertical -10, Horizontal -10, Opacity at 60, Blur 17, color #000000.
14. Effects/Edge Effects/Enhance.
15. From Tool bar, select the Paint Brush tool. Select Tree bare brush2 brush. Use default settings.
16. In Materials Palette, change Background color to #533f21. Set Gradient Angle to 135/Repeats to 15, Invert unchecked.
17. Layers/New Raster Layer.
18. Using both the new Background color and the newly formed Gradient, stamp on the left upper corner three times with Background color, twice with Gradient. You may like to play with the Rotation setting here.
19. Move the branches further left into the corner so they look nice.
20. Effects/3D Effects/Drop Shadow, Vertical 7, Horizonal 7, Opacity at 50, Blur 7, color #000000.
21. Open BlackLady1Lady_16.02.2012.pspimage. Copy/Paste as New Layer.
22. Move BlackLady to right side, fitting to bottom border.
23. Effects/3D Effects/Drop Shadow, Vertical -10, Horizonal -10, Opacity at 60, Blur 17, color #000000.
24. Image/Add Borders/Add border 3px, Symmetric checked, color #462a14.
25. Image/Add Borders/Add border 16px, Symmetric checked, color #e7d4b3.
26. Using Magic Wand, select the 16px border.
27. Open Pattern. In Materials palette, select Patterns and find and select the Pattern.
28. Flood fill the 16px border with Pattern. Selections/Select None.
29. Image/Add Borders/Add border of 3px, Symmetric checked, color #462a14.
30. Image/Add Borders/Add border of 6px top and both sides, with the bottom at 68px, Symmetric unchecked, color #e7d4b3. Select the 6px with Magic Wand.
31. Layers/New Raster Layer.
32. In Materials Palette, change Background color to #0a686a, Gradient set to Angle 45, Repeats at 15, Invert checked.
33. Flood fill the 6/6/6/68px border with the Gradient. Opacity at 60.
34. Layers/New Raster Layer. Change Gradient Angle to 135 and flood fill new layer.
35. Set Opacity to 40. Selections/Select None.
36. Image/Add Borders/Add border of 6px, Symmetric checked, color #462a14.
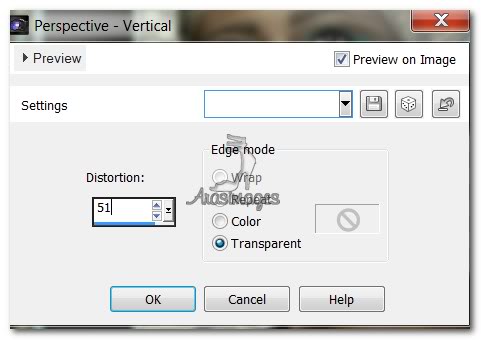
37. Activate with Magic Wand. Effects/Geometric Effects/Perspective-Vertical. Distortion set to 51, transparent selected.
38. Effects/3D Effects/Drop Shadow/Vertical 7, Horizontal 7, Opacity 50, Blur 7, color #000000.
39. Selections/Select None.
40. From Tool bar, select Text tool. Choose Font Showcard Gothic, Size 48, Italized. Type African Thunder in color #462a14.

41. Convert to Raster Layer. Move into place in center of 68px bottom border.
42. Effects/3D Effects/Inner Bevel using settings as seen below.
43. Effects/3D Effects/Drop Shadow, Vertical 7, Horizontal 7, Opacity 60, Blur 7, color #e7d4b3.
44. Sign your name or leave watermark. Merge/Merge Visible.
45. Adjust/Sharpness/Sharpen. Save as .jpg file.
A big thank you to Evatexas and PamelaD who tested this tutorial for me.
If you are going to use this tutorial for stationery, cards or place the tutorial/tag on another site, I would appreciate you contacting me for permission, giving Arasimages credit for the original tutorial and if possible, a link back to my site. Thank you.
Copyright © Arasimages All Rights Reserved