
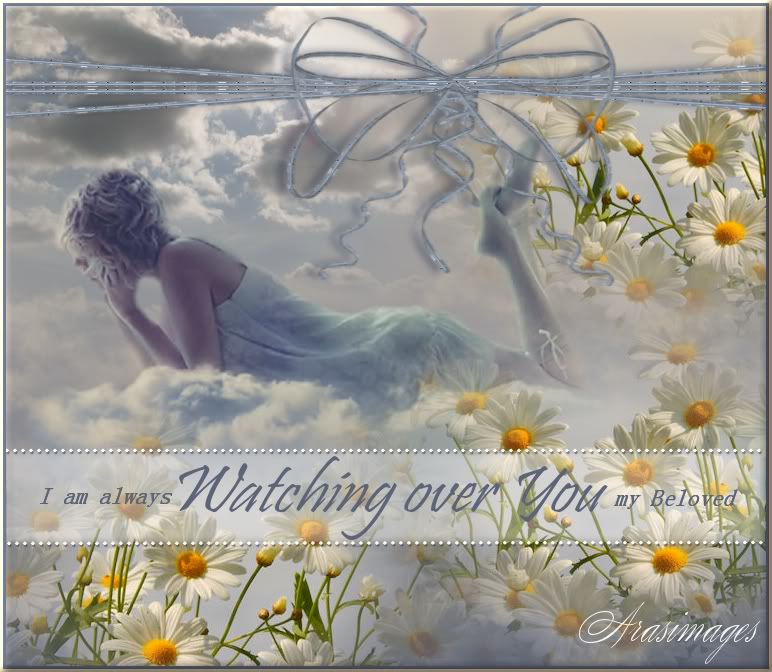
Watching over You
For Italian and Danish translation, click on the flags.


For this tutorial you will need the materials in the zip file below.

Thanks go to Sorensen_Designs and to Arasimages for the beautiful tubes used, and a big thanks to Melanie for sharing her beautiful M-S_Blue Scrap Kit. It appears her site is now closed.
Use the bookmark below to mark your place along the way.

Unzip the materials into a working folder. Open the materials in PSP, copy and close originals. You will need no plugins to do this tutorial. I have used PSPX4 to create this tutorial but you may use an earlier version. It is assumed you have a working knowledge of PSP.
1. In Materials Palette, set Foreground to #dacdb9, Background to #5e667b.
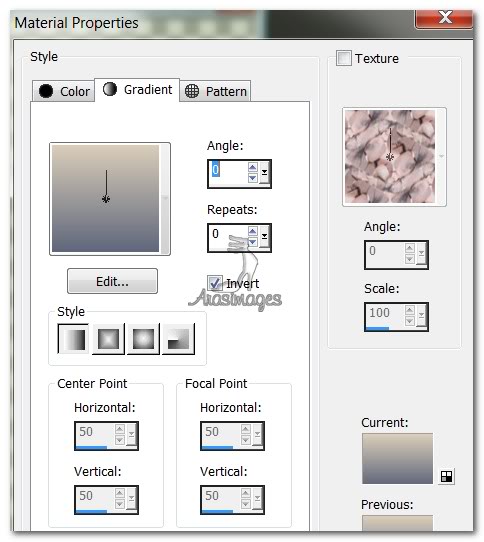
2. Create a Gradient using Style Linear, Angle 0, Repeats 0, Invert checked.
3. New/New Raster Layer 760px by 660px. Flood fill with Gradient.
4. Open Clouds1.pspimage. Copy/Paste as New Layer. Move to top left corner. Opacity set to 73.
5. Open S.D. Tube and Mist May 168-12.pspimage. Copy/Paste as New Layer.
6. Move lady on cloud upwards till she floats about in center of image.
7. Layers/New Raster Layer.
8. Change Foreground color to #e7d4b3 in place of Gradient.
9. From Tool bar, select the Paint Brush tool. Find the brush Fog131. Use settings below.

10. Using left mouse click (Foreground color), randomly stamp Fog131 on bottom dark part of cloud. Do not do too many so as to cover the cloud completely. Stamp once on right and left sides of cloud also.
11. Open Daisies.pspimage. Copy Misted Layer/Paste as New Raster Layer.
12. Move to right bottom corner. Duplicate.
13. Image/Flip Horizontal (Image/Mirror) and move into bottom left corner.
14. Paste as New Layer again. Image/Resize/Resize by 90%/Resize all layers unchecked.
15. Move the daisies into top right corner. Pull daisies layer below lady on cloud layer.
16. Go back to top layer and highlight to continue.
17. Open M_S_Blue_Elements_31.pspimage. Copy/Paste as New Layer.
18. Using Pick tool, stretch ribbon both on right and left sides and a little to the top to fit.
19. Effects/3D Effects/Drop Shadow/Vertical -1, Horizontal -9, Opacity 50, Blur 11, color #273251.

20. Layers/New Raster Layer.
21. Change Foreground color to #ffffff.
22. Using Selections Tool/Selections. Draw a rectangle from left to right as I have done.

23. Flood fill with Foreground #ffffff. Drop Opacity to 40. Keep activated.
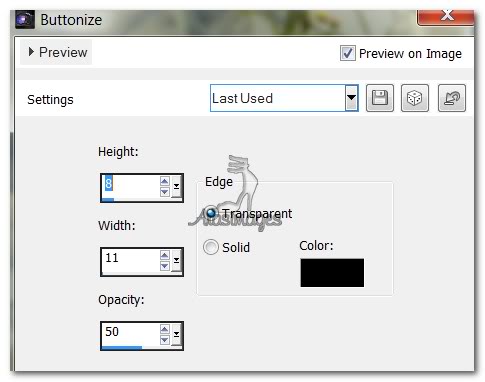
24. Effects/3D Effects/Buttonize. Use settings below.
25. Selections/Select None.
26. From Tool bar, select Pen tool. Have settings as seen below in examples #1 and #2, using Line Style Diamond setting.


27. Using Pen tool, draw a straight line from left to right on bottom of rectangle. Convert to Raster Layer.
28. Effects/3D Effects/Drop Shadow/Vertical 2, Horizontal 1, Opacity 50, Blur 1, color #273251.
29. Repeat Steps #27 and #28 on the top of rectangle.
30. From the Tool bar, select the Text tool. Choose Font Pristina, Size 68, Italic, Background color to #5e667b.

31. Type out the words "Watching over You". Convert to Raster Layer. Center in rectangle.
32. Change font to NSimSun, size 24, Italic, color #5e667b. Type out "I am always". Convert to Raster Layer.
33. Duplicate. Merge/Merge down. Move to left of Watching over You text.
34. Type out "my Beloved" using same settings as in Step #32. Convert to Raster Layer.
35. Duplicate. Merge/Merge down. Move to right of Watching over You text.
36. Image/Add Borders/add 3px border, color #5e667b, Symmetric checked.
37. Image/Add Borders/add 3px border, color #e7d4b3, Symmetric checked.
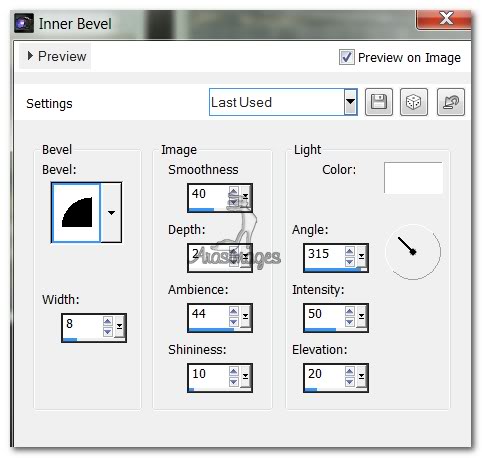
38. Effects/3D Effects/Inner Bevel. Use settings below.
Thank you for working this tutorial...I hope you enjoyed it!
A big thank you to Evatexas and PamelaD who tested this tutorial for me.
If you are going to use this tutorial for stationery, cards or place the tutorial/tag on another site, I would appreciate you contacting me for permission, giving Arasimages credit for the original tutorial and if possible, a link back to my site. Thank you.
Copyright © Arasimages All Rights Reserved