
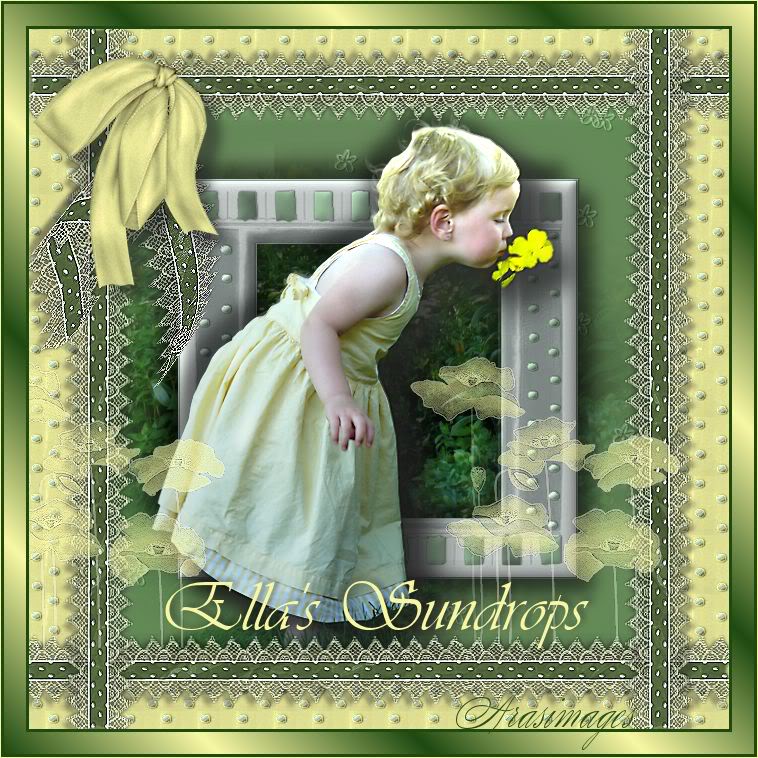
Ella's Sundrops
For Italian and Danish translation, click on the flags.


For this tutorial you will need the materials in the zip file below.

Thanks go to Gwyneth Cration, Scrapkit-Vintage Wispers Chris Young/Heavenly Scraps for the bow and to PamelaD of Arasimages for tubing my sweet great-granddaughter Ella which is used as the subject of this tutorial.
Use the bookmark below to mark your place along the way.

Unzip the materials into a working folder. Open the materials in PSP, copy and close originals. You will need no plugins to do this tutorial. I have used PSPX4 to create this tutorial but you may use an earlier version. It is assumed you have a working knowledge of PSP.
1. In Materials Palette, set Foreground to #b8c8ab and Background to #1e4911.
2. Create a Gradient using Style Sunburst, Angle (grayed out), Repeats 0, Invert unchecked.
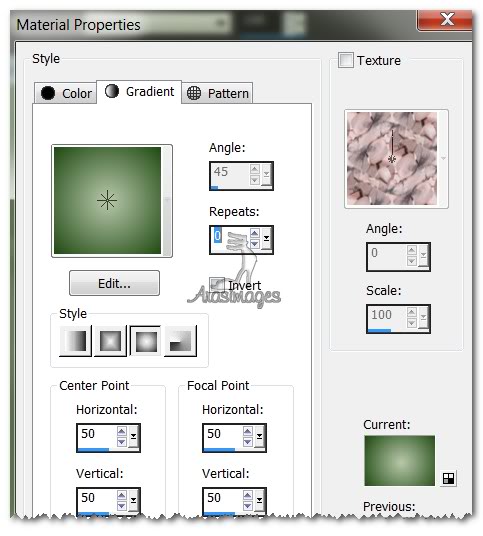
3. New/New Raster Layer 550px by 550px. Flood fill with Gradient.
4. Open gwyn_kit19, Copy Raster Layer 1, Paste as New Layer.
5. Set Blend Mode to Luminance (L).
6. Open Ella.pspimage. Highlight the Misted Layer, Copy/Paste as New Layer.
7. Move toward bottom left a little. You can pull it into place after the frame is applied, so don't worry too much about it being exact now.
8. Open gwyn_kit19, Copy Raster Layer 5, Paste as New Layer.
9. Adjust/Sharpness/Sharpen.
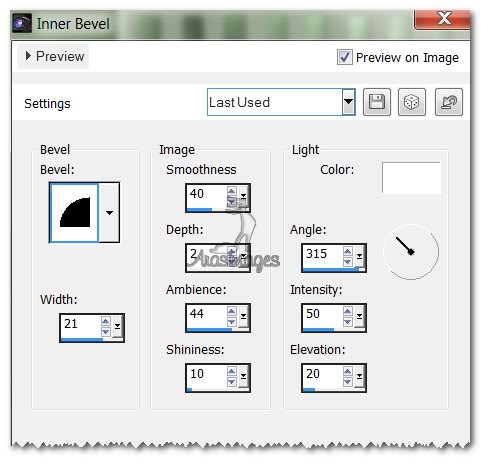
10. Effects/3D Effects/Inner Bevel. Use settings below.
11. Effects/3D Effects/Drop Shadow. Vertical 15, Horizontal 15, Opacity 50, Blur 23, color #000000. Repeat with Vetical at -15, Horizontal at -15, all the rest the same.
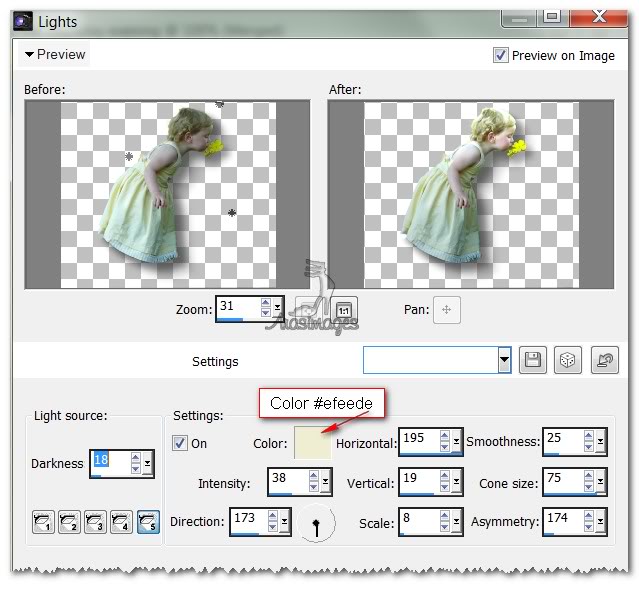
OPTION: I have used Effects/Illumination Effects/Lights with the settings below to achieve a light shining on Ella's hair. It is up to you if you wish to use the settings along with Steps #12 and #13 or simply use the Ella lights layer provided in the tube. If you use the layer, then Copy/Paste it as New Layer, then move her in place over the misted layer. Omit Step #12.
12. Open Ella.pspimage. Highlight the Tubed layer, Copy/Paste as New Layer.
13. Place to fit over the misted layer so it sits nicely.
14. Effects/3D Effects/Drop Shadow. Vertical -15, Horizontal -15, Opacity 50, Blur 23, color #000000.
15. It is OPTIONAL to use the feet layer (Raster 6). If you do, highlight Raster 6, Copy/Paste as New Layer. Place at bottom of her dress so it fits.
16. Lower Opacity to 75. Merge/Merge Visible
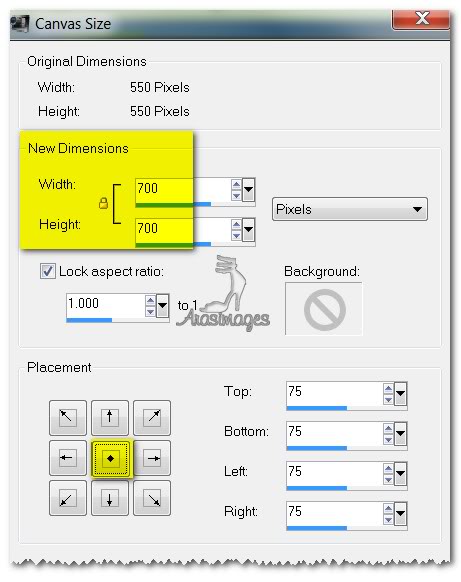
17. Image/Canvas Size/New Dimensions set to W 700/H 700. Use settings as seen below.
18. Open gwyn_kit19. Choose Raster 7, Copy/Paste as New Layer.
19. Move to top right corner. Duplicate. Pull to top left corner so dots fit seamlessly. Merge Down.
20. Duplicate. Pull down below first duplicated dots so that they all match seamlessly on entire layer. Merge/Down so you have one layer of dots.
21. Change the Background in the Materials Palette to #f7f7a3. Using the Color Changer in the Tool bar, right click on the dot layer to change color to yellow, having Tolerance set to 10, Edge Softness 4.
22. Pull Merged Layer to the top keeping highlighted.
23. Selections/Select All. Float/Defloat.
24. Apply Inner Bevel as in Step #10. Selections/Select None.
25. Effects/3D Effects/Drop Shadow, Vertical 15, Horizontal 15, Opacity 50, Blur 23, color #000000. Repeat Vertical at -15, Horizontal at -15, all others same.
26. Open gwyn_kit19. Copy Raster 8/Paste as New Layer.
27. Image/Resize/Resize by 80%, Resize all layers unchecked. Use Pick tool to stretch from side to side.
28. Change Background color in Materials Palette to #5f7345. Using Color Changer in Tool bar, right click on ribbon in center to change color.
29. Effects/Edge Effects/Enhance.
39. Effects/3D Effects/Drop Shadow, Vertical -4, Horizontal -6, Opacity 50, Blur 6, color #000000.
40. Move ribbon to go across top of green center image.
41. Duplicate. Image/Flip(horizontal). Move over bottom edge of green image.
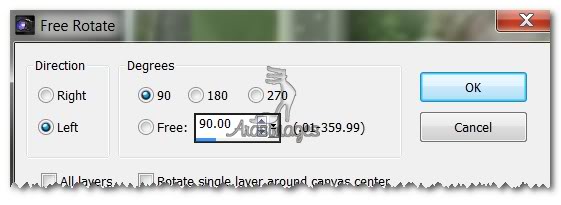
42. Duplicate. Image/Free Rotate, 90 degrees Left. See example.
43. Move to right side over right edge of green image.
44. Duplicate. Image/Mirror(vertical). Move over left edge of green image.
45. Open gwyn_kit19. Copy Raster 19/Paste as New Layer. Move to upper left corner.
46. Right click with Color Changer using Background color #5f7345.
47. Effects/Edge Effects/Enhance.
48. Effects/3D Effects/Drop Shadow/Vertical -4, Horizontal -6, Opacity 50, Blur 6, color #000000.
48. Open hs_vintage wispers bow04.pspimage. Copy/Paste as New Layer.
49. Image/Resize by 60%, Resize all layers unchecked.
50. Change Background color in Materials Palette to #f7f7a3. Using Color Changer tool, right click several times on bow to change color to yellow.
51. Effects/3D Effects/Drop Shadow/Vertical 13, Horizontal 15, Opacity 50, Blur 15, color #000000.
52. Layers/New Raster Layer.
53. From Tool bar, select Brush tool. Select Brush_gwyn_fiori01_5. Right click color #f7f7a3 on right side of Ella, then right click on left side of Ella, overlapping on her dress a little.

54. Effects/Edge Effects/Enhance.
55. From Tool bar, select Text tool. Selection Vivaldi Font, Size 72, Vector Layer, color #f7f7a3. Type "Ella's Sundrops". Convert to Raster Layer. Move into place at bottom of green image.

56. Effects/3D Effects/Drop Shadow/Vertical -2, Horizontal 4, Opacity 60, Blur 10, color #000000.
57. In Layers Palette, set Foreground to color #1e4911. Set to Gradient Linear, Repeats to 6, Angle 45.

58. Image/Add Borders/3px border/Symmetric checked, color #1e4911.
59. Image/Add Borders/22px border/Symmetric checked, color #ffffff.
60. Using Magic Wand, select 22px border to activate it. Flood fill with Gradient. Deselect.
61. Image/Add Borders/3px border/Symmetric checked, color #1e4911.
62. Image/Add Borders/1px border/Symmetric checked, color #f7f7a3.
You are finished!
Big hugs to Evatexas and PamelaD who tested this tutorial for me.
If you are going to use this tutorial for stationery, cards or place the tutorial/tag on another site, I would appreciate you contacting me for permission, giving Arasimages credit for the original tutorial and if possible, a link back to my site. Thank you.
Copyright © Arasimages All Rights Reserved