
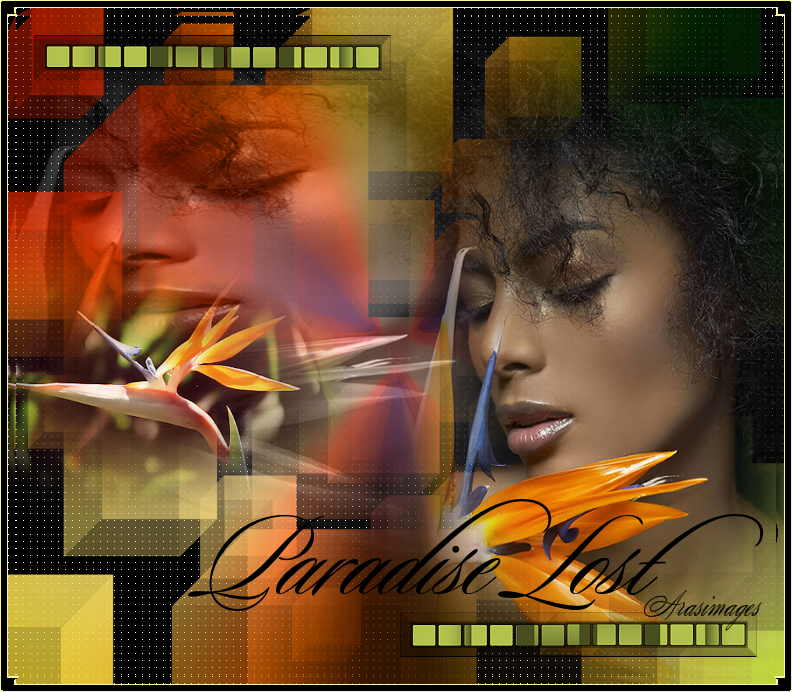
Paradise Lost
For Italian and Danish translation, click on the flags.


For this tutorial you will need the materials in the zip file below.

Thanks go to SuziSgai and to LuzCristina for the lovely tubes used in this tutorial. Please visit the tubers links on my Links page.
Use the bookmark below to mark your place along the way.

Unzip the materials into a working folder. Open the materials in PSP, copy and close originals. Place the Selections in your PSP/Selections Folder and the Mask you may have as a default in your PSP. If not, place it in your PSP/Masks folder. Keep the Font opened but minimized on your task bar and you won't have to install it in your Fonts folder. You will need plugins Artistique, ColorRave, AlienSkin/EyeCandy/Textures, FiltersUnlimited2 and Penta to do this tutorial. (If you have the English version called Artistic, the Effect/Fresque is Fresco and Effect/Barbouillage is Paint Daubs.) I have used PSPX4 to create this tutorial but you may use an earlier version. It is assumed you have a working knowledge of PSP.
1. In Materials Palette, set Foreground color to #cda27b, Background color to #894504.
2. Set to Gradient, Style Radial, Angle 0, Repeats 5, Invert unchecked.
3. Layers/New Raster Layer 760px by 660px. Flood fill with Gradient.
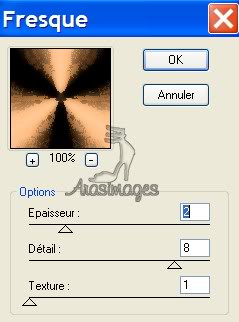
4. Effects/Artistiques/Fresque. (Effects/Artistic/Fresco). Use settings below.
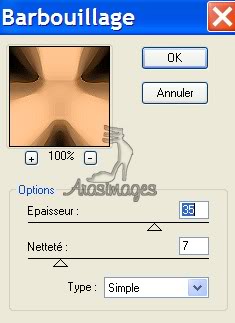
5. Effects/Artistiques/Barbouillage. (Effects/Artistic/Paint Daubs). Use settings below.
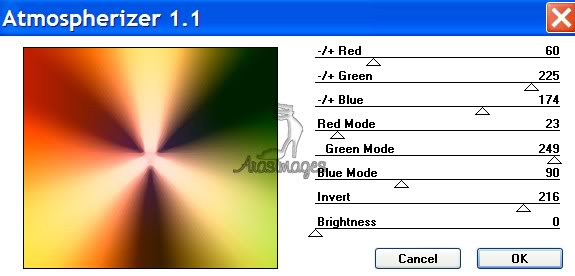
6. Effects/Color Rave/Atmospherizer 1.1. Use settings below.
7. Layers/New Raster Layer. Flood fill with #000000.
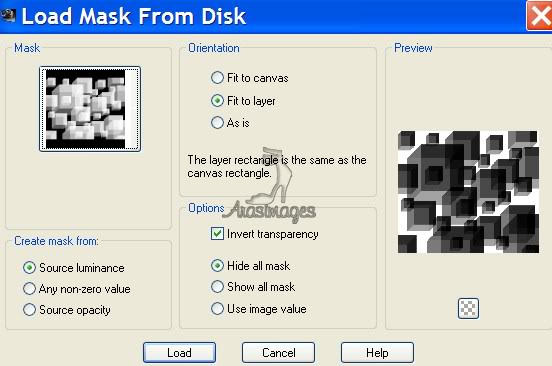
8. Layers/Load/Save Mask/Load Mask from Disk. Choose Cubes Mask. Use settings below.
9. Merge/Merge Group.
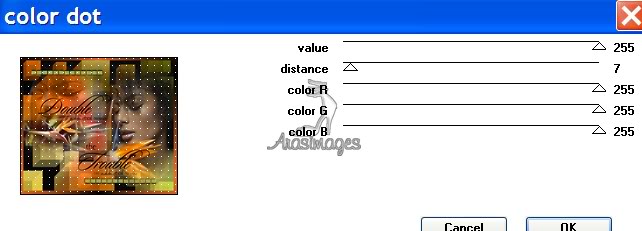
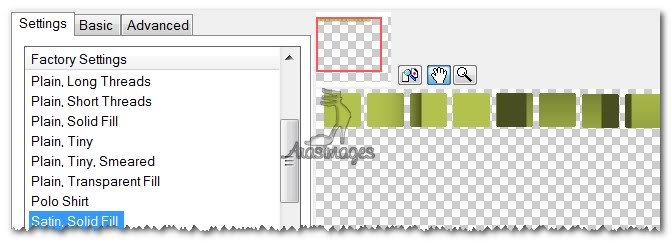
10. Effects/Penta/Color Dot. Use settings below.
11. Layers/New Raster Layer. Selections/Select All.
12. Open 3067-Luzcristina.pspimage. Copy/Paste into Selection. Selections/Select None.
13. Set Blend Mode to Luminance (L), Opacity to 79.
14. Pull lady image toward left.
15. Again paste lady as New Layer. Move lady to right side.
16. Duplicate. Merge/Merge Down.
17. Open SS_09.pspimage. Copy/Paste as New Layer.
18. Image/Resize/Resize by 70%, Resize all layers unchecked.
19. Duplicate. Merge/Merge Down. Place to the left side just below middle.
20. Layers/New Raster Layer.
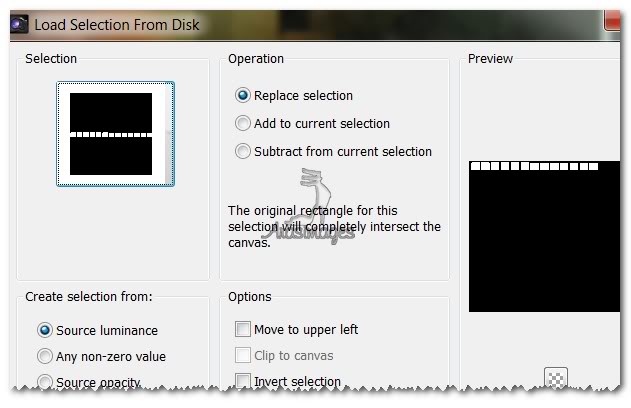
21. Selections/Load/Save Selection/Load Selection from Disk. Choose PamsSelectionsSquares. Load.
22. Flood fill Selections with color #b2c24d. Flood fill each little square.
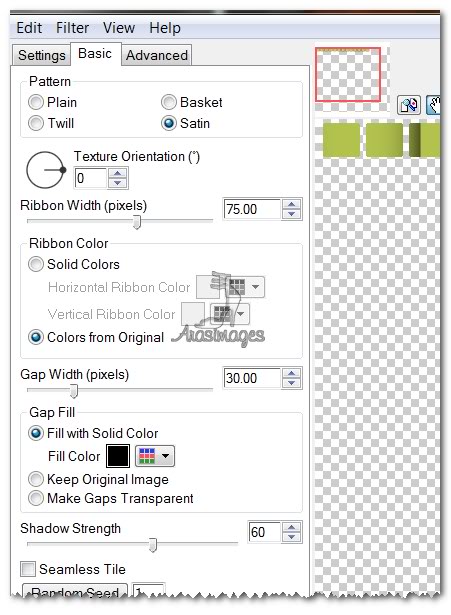
23. Effects/AlienSkin/Eye Candy/Textures/Weave. Use settings below.
24. Effects/3D Effects/Chisel. Transparent checked, Size 9, color #000000.
25. Selections/Select None. Repeat Chisel effect once more.
26. Image/Resize/Resize by 60%, Resize all layers unchecked.
27. Adjust/Sharpness/Sharpen. Move into upper left corner.
28. Duplicate. Image/Flip. Move into bottom right corner.
29. Change Background color in Materials Palette to #000000.
30. From Tool bar, choose the Text tool. Choose Font Sloop Script Three, Size 120. Use settings below.

31. Type the words "Paradise Lost". Convert to Raster Layer. Move into position toward bottom of image.
32. Image/Add Borders/2px border, Symmetric checked, color #f7f7a3.
33. Image/Add Borders/12px border, Symmetric checked, color #000000.
34. Image/Add Borders/2px border, Symmetric checked, color #f7f7a3.
35. Selections/Select All/Modify/Contract by 16. Invert.
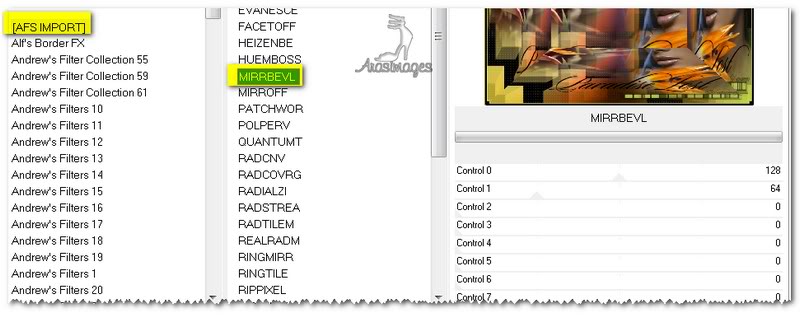
36. Effects/Filters Unlimited2/AFS IMPORT/MirrBevl. Use settings below.
37. Selections/Select None.
You are now finished. I hope you enjoyed using all of the different plugins.
Big hugs to Evatexas and PamelaD who tested this tutorial for me.
If you are going to use this tutorial for stationery, cards or place the tutorial/tag on another site, I would appreciate you contacting me for permission, giving Arasimages credit for the original tutorial and if possible, a link back to my site. Thank you.
Copyright © Arasimages All Rights Reserved