
Blue Christmas
For Italian and Danish translation, click on the flags.


For this tutorial you will need the materials in the zip file below.

Unzip the materials into a working folder named Blue Christmas. Open the materials in PSP, copy and close originals. Place the Selection in your PSP/Selection folder. Open zilverbeans_jeanette Pattern and leave it on your workspace. You will use no plugins to do this tutorial. I have used PSPX5 to create this tutorial but you may use an earlier version. It is assumed you have some working knowledge of PSP to follow instructions.
Thanks go to tubers Marget, Silvie and PamelaD for the beautiful tubes used and the unknown creators/owners of the various other images used in this tutorial which were found on free sites. Please visit tubers links on my Links page.
Use the bookmark below to mark your place along the way.

1. In Materials Palette, set Foreground #ffffff, Background to #446171.
2. New/New Image 630px by 630px. Selections/Select All.
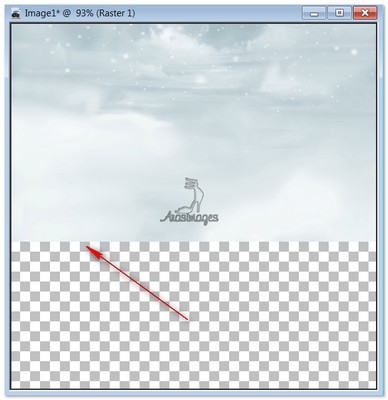
3. Open StarryBackground. Copy/Paste into Selection. Selections/Select None.
4. Pull StarryBackground upward so bottom is almost to center of image.
5. Objects/Align/Horizontal Center.
6. Effects/Edge Effects/Enhance.
7. Duplicate. Image/Flip. Image/Mirror.
8. Layers/New Raster Layer.
9. Selections/Load/SaveSelection/Load Selection from Disk. Choose ArasimagesHorVert Selection. Load.

10. In Materials Palette, choose Pattern/zilverbeans_jeanette Pattern. This will be in the Foregound box.
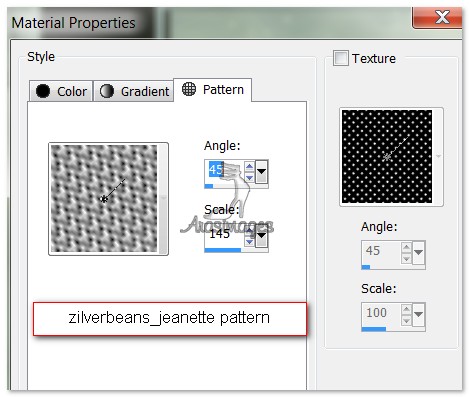
11. Flood fill the Selection. Effects/Edge Effects/Enhance. Selections/Select None.
12. Duplicate. Image/Mirror. Image/Flip. Merge/Merge Down.
13. Effects/3D Effects/drop Shadow, Vertical 4, Horizontal 2, Opacity 50, Blur 20, color #000000.
14. Open Lady1_20.11.pspimage. Copy/Paste as New Layer.
15. Image/Resize/Resize by 66%/Resize all layers unchecked.
16. Move lady to beneath upper zilverbeans line and to the right a little.
17. Adjust/Sharpness/Sharpen.
18. Effects/3D Effects/drop Shadow, Vertical 7, Horizontal 19, Opacity 60, Blur 22, color #000000.
19. Open WinterLeaves. Copy/Paste as New Layer.
20. Image/Mirror. Image/Flip. Pull to left side and toward bottom of image over bottom zilverbead line.
21. Adjust/Hue and Saturation/Colorize.
22. Effects/3D Effects/drop Shadow, Vertical 7, Horizontal 19, Opacity 60, Blur 22, color #000000.
23. Copy Winterleaves/Paste as New Layer again. Adjust/Hue and Saturation/Colorize as in Step #21.
24. Image/Resize/Resize by 80%/Resize all layers unchecked.
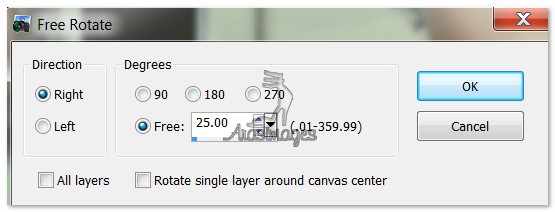
25. Image/Free Rotate/25 degrees Right. Move to bottom right as I have mine.
26. Effects/3D Effects/drop Shadow, Vertical 7, Horizontal 19, Opacity 60, Blur 22, color #000000.
27. Open ButtercupBalls.pspimage. Copy/Paste as New Layer.
28. Adjust/Hue and Saturation/Colorize. Use same settings as in Step #21.
29. Move to left side of image having strings touching bottom of zilverbead selection.
30. Effects/3D Effects/drop Shadow, Vertical 7, Horizontal 19, Opacity 60, Blur 22, color #000000.
31. From Text tool, select Sloop Script Three font, Size 72, color #446171 and type the words "Blue Christmas". Convert to Raster Layer.

32. Objects/Align/Horizontal Center.
33. From Text tool, select Segoe UI Light font, Size 24, color #446171, type the words "It would be a". Convert to Raster Layer.

34. Using same font, size and color as last step, type the words "without you." Convert to Raster Layer.
35. View/tick Grid and check your text to make sure it is straight. Move the words "It would be a" to the left of the words "Blue Christmas". Move the words "without you" to the right of "Blue Christmas." Uncheck Grid.
36. Merge/Merge Down Raster 9 with 8, then with 7. Effects/3D Effects/Drop Shadow, Vertical 6, Horizontal 6, Opacity 60, Blur 16, color #ffffff.
37. Image/Add Borders/Add 2px border, Symmetric checked, color #00000.
38. Image/Add Borders/Add 45px border, Symmetric checked, color #ffffff.
39. Activate 45px border using Magic Wand by clicking within it.
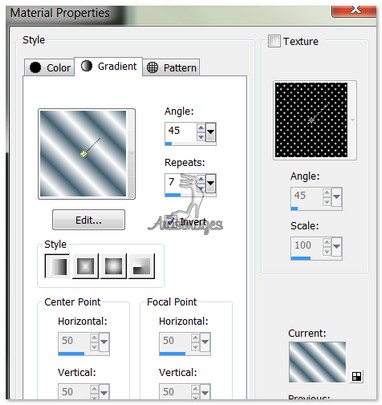
40. Create a Gradient in Materials Palette using Foreground color #ffffff, Background color #446171, Angle 45, Repeats 7, Invert checked.
41. Flood fill the 45px border with the Gradient.
42. Selections/Invert. Effects/3D Effects/Drop Shadow, Vertical 6, Horizontal 6, Opacity 60, Blur 16, color #000000.
43. Effects/3D Effects/Drop Shadow, Vertical -6, Horizontal -6, Opacity 60, Blur 16, color #000000.
44. Selections/Select None.
45. Image/Add Borders/Add 3px border, Symmetric checked, color #000000.
46. Open mh_candlebox.pspimage. Copy/Paste as New Layer.
47. Image/Resize/Resize by 70%/Resize all layers unchecked.
48. Move candle box to bottom right corner. Adjust/Sharpness/Sharpen.
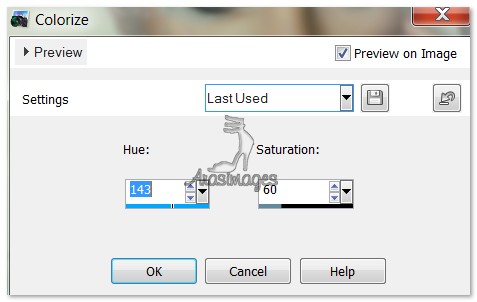
49. Adjust/Hue and Saturation/Colorize. Hue set to 143, Saturation 60.
50. Effects/3D Effects/drop Shadow, Vertical 7, Horizontal 19, Opacity 60, Blur 22, color #000000.
51. Sign your name or leave your watermark if you wish. Please, if you are going to be using this tutorial's image for stationery or display on a webpage, out of respect for my work/me, give Arasimages credit. A link would be especially appreciated. Thanks so much.
52. Convert to Raster Layer if needed. Merge/Merge Visible. Save as .jpg called Blue Christmas.
53. For ANIMATION: Open the Blue Christmas file in Animation Shop or Copy in PSP/Paste as New Animation in Animation Shop.
54. Duplicate the .jpg file 19 times, having 20 frames in all.
55. File/Open SnowAnimation.gif file. Left click inside the first frame, Edit/Select All. Right click on the top bar/Copy.
56. Go to your Blue Christmas .jpg image and left click inside the first frame to highlight it. Edit/Select All.
57. Right click inside the first frame of your main image/Paste/Into Selected Frame by hovering with the snow, and set it in place in the upper left corner inside the border, by left click. Omit placing snow on the borders. Repeat with Paste/Into Selected Frame another 3 or 4 times or more so your image has snow set in place as you like it.
58. Click on the Animation button in the tool bar to check to see that the snow is falling beautifully and as you like it to look. You can always Undo and place the snow again.
59. When you are finished and ready to save, File/Save As. When the box comes up, give your work the name Blue Christmas and type where you are going to save it. Now click Save. Then Next, Next, Next and Finish as the boxes come up. You are now finished!
Big hugs go to Evatexas and PamelaD who test my tutorials for me and are my valued advisors.
If you are going to use this tutorial for stationery, cards or place the tutorial/tag on another site, I would appreciate you contacting me for permission, giving Arasimages credit for the original tutorial and if possible, a link back to my site. Thank you.
Copyright © Arasimages All Rights Reserved