
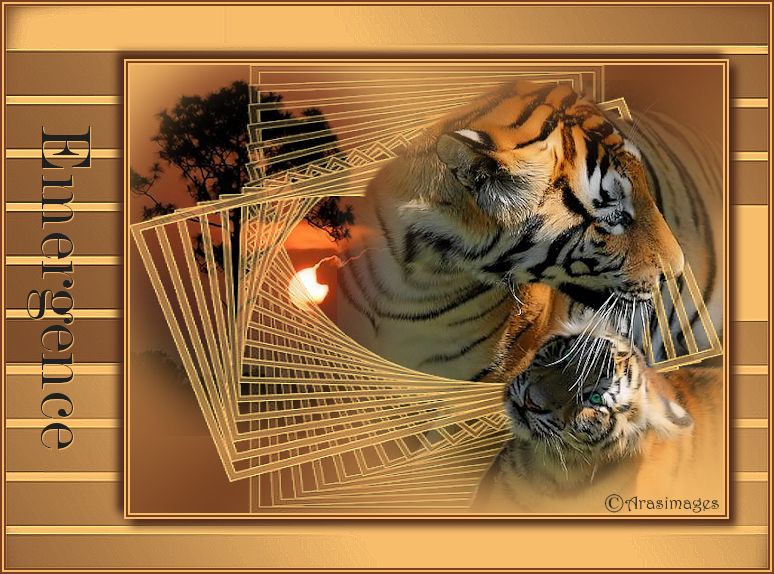
Emergence
For Italian, Dutch and German translation, click on the flags.


For this tutorial you will need the materials in the zip file below.

Unzip the materials into a working folder named Emergence. Open the materials in PSP, copy and close originals. Place the Masks into your PSP Mask folder. I have used PSPX5 to create this tutorial but you may use an earlier version. It is assumed you have a working knowledge of PSP to follow these directions.
Thanks go to Suzi Sgai and to the unknown owners of the Masks used; if any of these are yours, let me know and I will be happy to link and give credit to you by name.
Use the bookmark below to mark your place along the way.
1. In Materials Palette, set Foreground #f7bd6b, Background #774121.
2. New/New Image 760px by 560px. Flood fill with background color #74121.
3. New/New Layer. Flood fill with Foreground color #f7bd6b.
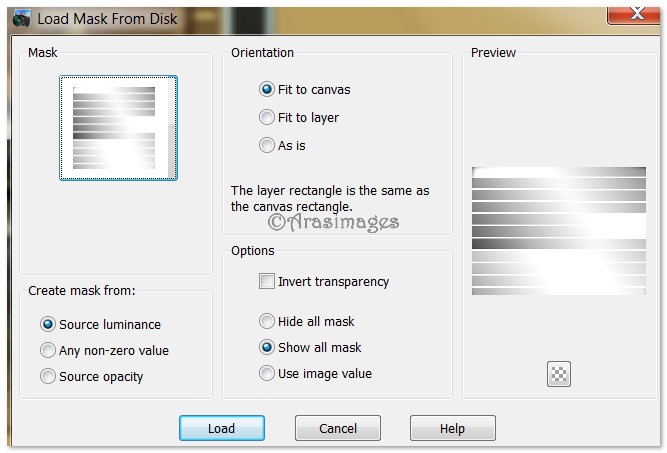
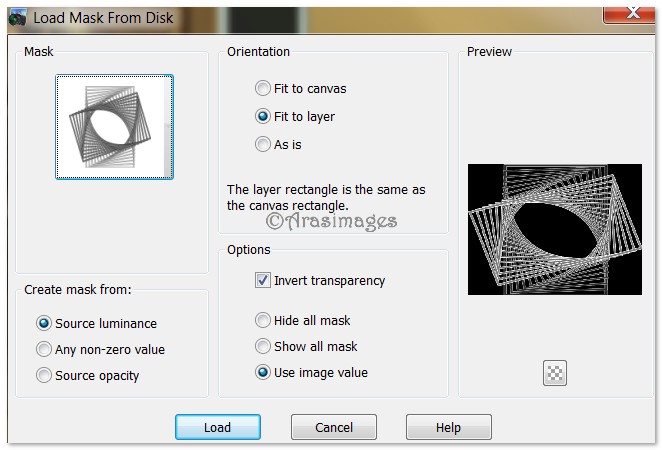
4. Layers/Load/Save Mask/Load Mask from Disk. Choose Mask Streep. Load.
5. Merge/Merge Group.
6. Effects/3D Effects/Drop Shadow, Vertical 1, Horizontal 1, Opacity 100, Blur 1, color #4c2718. Repeat with H -1 and V -1, all others settings the same.
7. Effects/Edge Effects/Enhance.
8. Image/Add Borders, add 3px border, Symmetric checked, color #774121.
9. Image/Add Borders, add 3px border, Symmetric checked, color #f7bd6b.
10. Image/Add Borders, add 3px border, Symmetric checked, color #774121.
11. Save image as a jpg file named Background. Minimize.
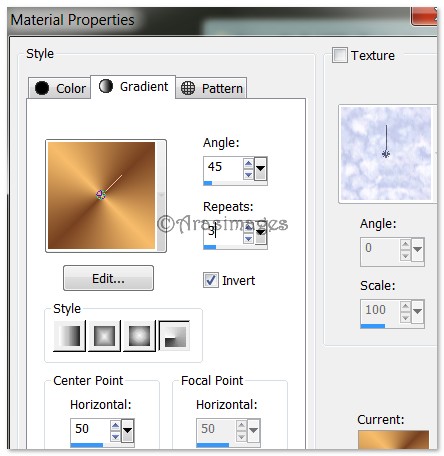
12. Create a Gradient using Foreground color #f7bd6b and Background color #774121, Style Radial, Angle 45, Repeats 3, Invert checked.
13. New/New Image 594px by 448px. Flood fill with Gradient.
14. Adjust/Blur/Gaussian Blur. Radius set to 14.
15. Open SS_385.pspimage. Copy/Paste as New Layer.
16. Image/Resize/Resize by 80%/Resize all layers unchecked.
17. Move to upper left side of image.
18. Layers/New Raster Layer. Flood fill with Foreground color #f7bd6b.
19. Layers/Load/Save Mask/Save Mask from Disk. Find Nik-spiroframe Mask and Apply. Merge/Merge Group.
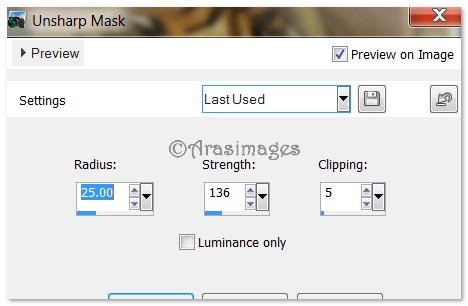
20. Adjust/Sharpness/Unsharpen Mask.
21. Open SS_400.pspimage. Copy/Paste as New Layer.
22. Image/Resize/Resize by 85%/Resize all layers unchecked.
23. Place to right side of image. Pull below Group Layer.
24. Highlight Group Layer. Using Eraser tool set to size 15 up to 28, erase the Mask away from a portion of the Tigers as shown in finished image.

25. Close off Tiger layer and check to see if you erased all of the Group layer; you might have missed a little bit. Reopen.
26. Image/Add Borders, add 3px border, Symmetric checked, color #f7bd6b.
27. Image/Add Borders, add 3px border, Symmetric checked, color #774121.
28. Image/Add Borders, add 3px border, Symmetric checked, color #f7bd6b.
29. COPY this new finished image.
30. Maximize or open the Background image you made at the first of the tutorial.
31. Paste the new image as New Layer on the Background image.
32. Pull over toward the right side, leaving a small amount of the Background showing on the right as I have done in mine.
33. Effects/3D Effect/Drop Shadow, Vertical -7, Horizontal -7, Opacity 100, Blur 12, color #4c2718.
34. Repeat drop shadow changing Vertical to 7, Horizontal to 7, leaving all other settings the same.
35. From the Text tool, choose Font DeVinne BT Roman, (TT0911M), Size 72, color #202020. Type out Emergence.

36. Convert to Raster Layer.
37. Image/Free Rotate/Rotate 90 degrees to right.
38. Move text to left side of image. Objects/Align/Vertical Center.
39. Effects/3D Effects/Drop Shadow, Vertical 1, Horizontal 1, Opacity 100, Blur 1, color #f7bd6b.
40. Sign your name or leave your watermark if you wish. Merge/Merge Visible. Save as .jpg file.
Big hugs go to Evatexas and PamelaD who test my tutorials for me and are my valued advisors.
If you are going to use this tutorial for stationery, cards or place the tutorial/tag on another site, I would appreciate you contacting me for permission, giving Arasimages credit for the original tutorial and if possible, a link back to my site. Thank you.
Copyright © Arasimages All Rights Reserved