
A True Friend
For Italian and Danish translation, click on the flags.


For this tutorial you will need the materials in the zip file below.

Unzip the materials into a working folder named A True Friend. Open the materials in PSP, copy and close originals. You will be using plugins Simple and Funhouse. I have used PSPX5 to create this tutorial but you may use an earlier version. It is assumed you have a working knowledge of PSP to follow these directions.
Thanks go to the unknown owners of the tubes used; if any of these are yours, let me know and I will be happy to link and give credit to you by name.
Use the bookmark below to mark your place along the way.

1. In Materials Palette, set Foreground #f3f0ed, Background #4c5418.
2. New/New Image 770px by 700px. Selections/Select All.
3. Open SpringBackground.jpg image. Copy/Paste into Selection. Deselect.
4. Effects/Edge Effects/Enhance.
5. Open PinkPaper.pspimage. Copy/Paste as New Layer.
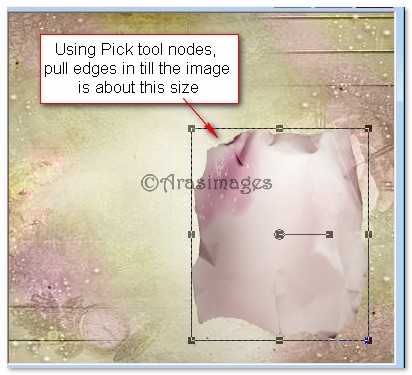
6. Using Pick Tool, grab the nodes and pull inward both top and sides so your paper is about the size in example below.
7. Move paper to right lower corner.
8. Effects/3D Effects/Drop Shadow, Vertical 5, Horizontal 11, Opacity 50, Blur 33, color #000000. Repeat Vertical at -5, Horizontal at -11, leave all other settings the same.
9. Open FloralBuds.pspimage. Copy/Paste as New Layer.
10. Using Pick Tool, grab the nodes and stretch out so the floral buds fit nicely within the pink paper.
11. Lower the Opacity of the PinkBuds to 22.
12. Open DuelRoses.pspimage. Copy/Paste as New Layer. Image/Mirror.
13. Image/Resize/Resize by 50%/Resize all layers unchecked.
14. Pull roses to right side of image above pink paper.
15. Effects/3D Effects/Drop Shadow, Vertical -5, Horizontal -5, Opacity 50, Blur 22, color #000000.
16. Open HorizontalFlower.pspimage. Copy/Paste as New Layer.
17. Image/Resize/Resize by 30%/Resize all layers unchecked.
18. Move toward top of pink paper image.
19. Effects/3D Effects/Drop Shadow, Vertical -5, Horizontal -5, Opacity 50, Blur 22, color #000000.
20. Open Petals.pspimage. Copy/Paste as New Layer.
21. Image/Resize/Resize by 50%/Resize all layers unchecked.
22. Effects/3D Effects/Drop Shadow, Vertical -5, Horizontal -11, Opacity 50, Blur 22, color #000000.
23. Move to the right slightly.
24. Open RoseHearts.pspimage. Copy/Paste as New Layer.
25. Image/Mirror. (Flip Horizontal).
26. Image/Resize/Resize by 50%/Resize all layers unchecked.
27. Move to upper center.
28. Open CornerFlowers.pspimage. Copy/Paste as New Layer.
29. Image/Resize/Resize by 40%/Resize all layers unchecked.
30. Move to upper left corner.
31. Adjust/Hue and Saturation/Colorize. Use settings below.

32. Effects/3D Effects/Drop Shadow, Vertical 5, Horizontal 11, Opacity 50, Blur 33, color #000000.
33. Open GreenHummer.pspimage. Copy/Paste as New Layer.
34. Image/Resize/Resize by 50%/Resize all layers unchecked.
35. Move to upper left corner, over flowers so its beak is into pink horizontal flower. Adjust flower if necessary.
36. Effects/3D Effects/Drop Shadow, Vertical 5, Horizontal 11, Opacity 50, Blur 33, color #000000.
37. Open FloralBuds.pspimage. Copy/Paste as New Layer.
38. Place below the GreenHummer toward center. Drop Opacity to 59.
39. Effects/3D Effects/Drop Shadow, Vertical 5, Horizontal 5, Opacity 50, Blur 22, color #000000.
40. Open RoseHearts.pspimage. Copy/Paste as New Layer.
41. Image/Resize/Resize by 50%/Resize all layers unchecked.
42. Move to bottom right corner.
43. Effects/3D Effects/Drop Shadow, Vertical -5, Horizontal 5, Opacity 50, Blur 22, color #000000.
44. Open SidePeony.pspimage. Copy/Paste as New Layer.
45. Image/Resize/Resize by 50%/Resize all layers unchecked.
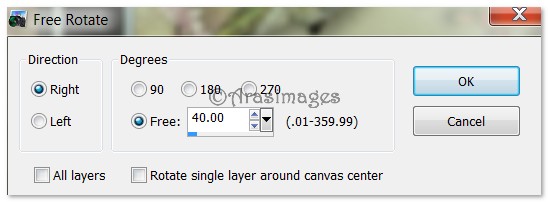
46. Image/Free Rotate, Rotate Right by 40 degrees.
47. Pull into bottom left corner.
48. Effects/3D Effects/Drop Shadow, Vertical -5, Horizontal -5, Opacity 50, Blur 33, color #000000.
49. Duplicate. Image/Mirror. (Flip Horizontal). Move duplicate flower a little to the right of first flower.
50. Open AppleBlossom.pspimage. Copy/Paste as New Layer.
51. Move into bottom left corner.
52. Effects/3D Effects/Drop Shadow, Vertical -5, Horizontal 11, Opacity 50, Blur 33, color #000000.
53. Open Butterfly.pspimage. Copy/Paste a New Layer.
54. Image/Resize/Resize by 90%/Resize all layers unchecked.
55. Move to sit at the top of AppleBlossom flowers.
56. Effects/3D Effects/Drop Shadow, Vertical -5, Horizontal 11, Opacity 50, Blur 33, color #000000.
57. From Text tool, find the font (French 111 BT),TT0625M.TTF Size 36, color #4c5418. Type out the words on top of the pink paper, spacing after each line. Convert to Raster Layer. Use Move tool to move into place.

58. Change the font to Evita Regular, set size to 150, using color #4c5418, type the letter "W". Convert to Raster Layer.

59. Change size to 72 and type out "ho is a true". Convert to Raster Layer.
60. Change the font size to 150 and type out the letter "F". Convert to Raster Layer.
61. Change the font size to 72 and type out the words letters "riend". Convert to Raster Layer.
62. Move all words into place.
63. Image/Add Borders/Add 3px border, Symmetric checked, color #4c5418.
64. Image/Add Borders/Add 3px border, Symmetric checked, color #d8b2b9.
65. Image/Add Borders/Add 25px border, Symmetric checked, color #4c5418.
66. Using Magic Wand and activate the 25px border.
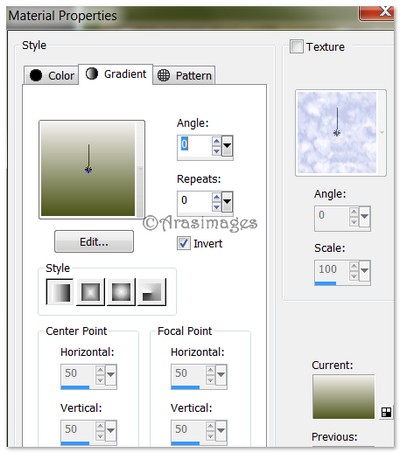
67. In Materials Palette, create a Gradient using foreground #f3f0ed, background #4c5418, Style Linear, Angle 0, Repeats 0, Invert checked. Flood fill the 25px border with this Gradient.
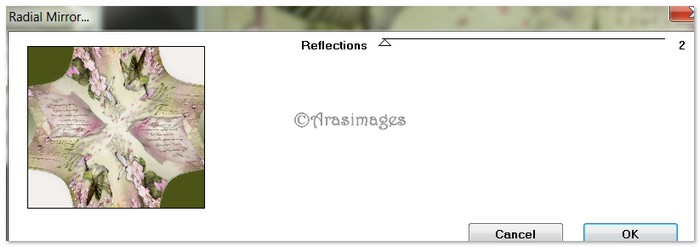
68. Effects/Funhouse/Radial/Mirror. See example.
69. Adjust/Blur/Gaussian Blur, Radius set to 14.
70. Selections/Select None.
71. Image/Add Borders/Add 3px border, Symmetric checked, color #4c5418.
72. Open Corner.pspimage. Copy/Paste as New Layer.
73. Adjust/Hue and Saturation/Colorize. Use Hue set to 247 and Saturation at 84.
74. Move into upper left corner.
75. Effects/3D Effects/Drop Shadow, Vertical 5, Horizontal 5, Opacity 50, Blur 22, color #000000.
76. Effects/Simple/Top Left Mirror. (All four corners should now have the Corner.pspimage in them.)
77. Sign your name or leave your watermark if you wish. Merge/Merge Visible. Save as .jpg file.
Big hugs go to Evatexas and PamelaD who test my tutorials for me and are my valued advisors.
If you are going to use this tutorial for stationery, cards or place the tutorial/tag on another site, I would appreciate you contacting me for permission, giving Arasimages credit for the original tutorial and if possible, a link back to my site. Thank you.
Copyright © Arasimages All Rights Reserved