
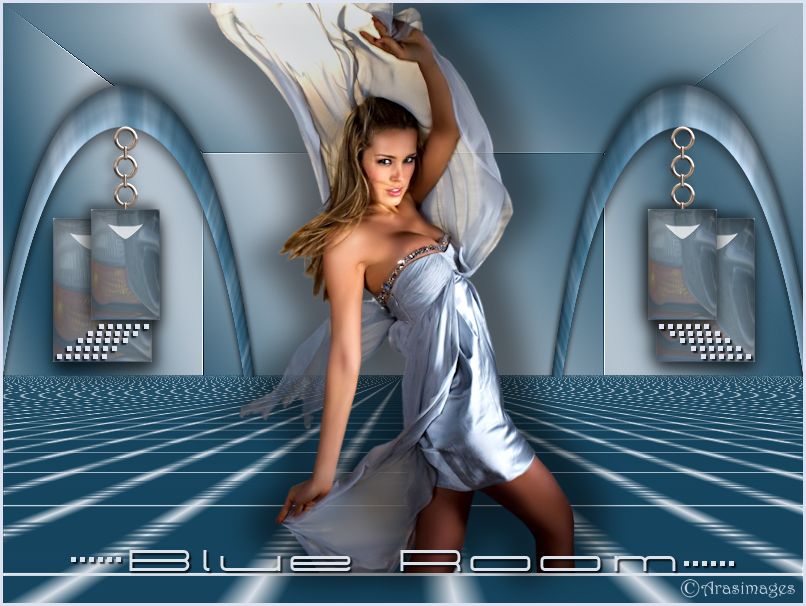
Blue Room
For Italian, French, Spanish, Dutch and Danish translation, click on the flags.


For this tutorial you will need the materials in the zip file below.

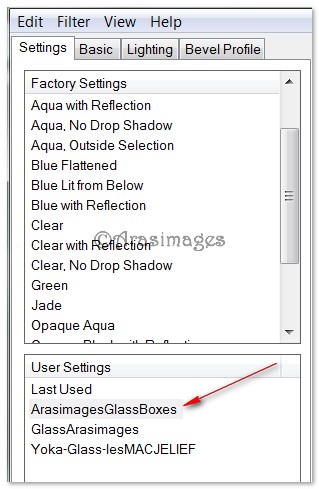
Unzip the materials into a working folder named Blue Room. Open the materials in PSP, copy and close originals. Place the hbgbrushes0018 004 PSP Brush in your PSP/Brushes folder or Export to Custom Brushes. Place the sg_Stripe-edge.PSP Mask in PSP/Mask Folder. Place the ArasimagesGlassBoxes file in your Alien Skin/Eye Candy 5 Impact/Settings/Glass folder. I have used the Plugins Filters Unlimited2/AFS IMPORT/MIRRORBEVL, Mura Meister/Perspective Tiling and Alien Skin Eye Candy 5 Impact/Glass. It is assumed you have a working knowledge of PSP to follow these directions. I have used PSPX5 to create this tutorial but you may use an earlier version.
Thanks go to PamelaD of Arasimages for her lovely tube used.
Use the bookmark below to mark your place along the way.

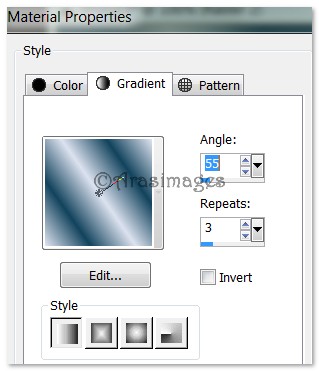
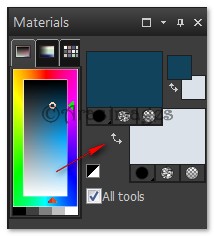
1. In Materials Palette, set Foreground to #dce2ea, Background to #13435d.
2. Create a Gradient using the colors above, Style Linear, Angle 55, Repeats 3, Invert unchecked, all other settings grayed out.
3. New/New Image of 800px by 600px. Flood fill the new image with Foreground color.
4. Layers/New Raster Layer. Flood fill with Gradient.
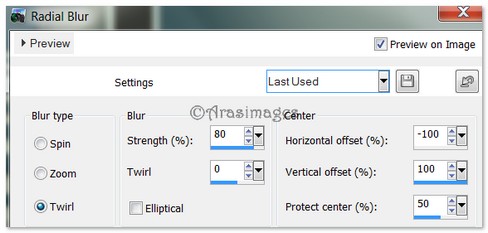
5. Adjust/Blur/Radial Blur. Use settings below.
6. Effects/Filters Unlimited 2/AFS IMPORT/MIRRBEVL. Settings Control 0 at 128, Control 1 at 64, all the other settings at 0. Apply.
7. Effects/Edge Effects/Enhance.
8. Layers/New Raster Layer. Flood fill with Background color #13435d.
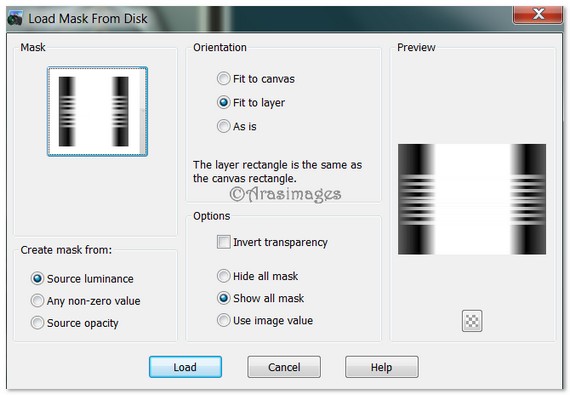
9. Layers/Load/Save Mask/Load Mask From Disk. Select sg_stripe-edge mask. Apply. Merge/Merge Group.
10. View/check Rulers. Press the letter K. Pull down top Node on Group-Raster 3 to 175. Change Pick tool back to Move tool.
11. Effects/Mura Meister/Perspective Tiling. Apply with settings as seen below.

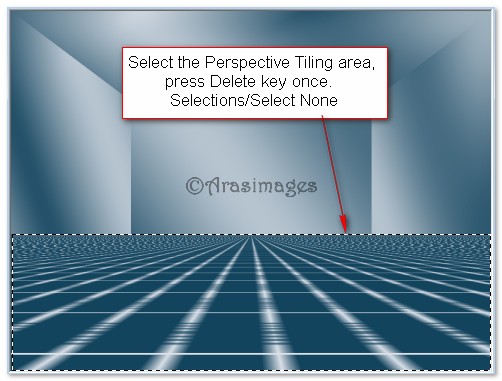
12. Highlight Raster 2. Using Selections tool/Rectangle, Select the Perspective Tiling and press Delete key once. Selections/Select None.
13. Highlight top layer to continue.
14. Layers/New Raster Layer.
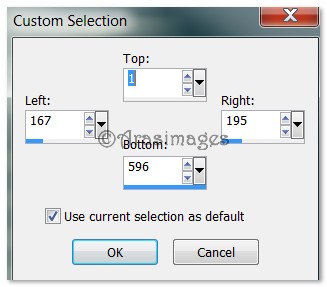
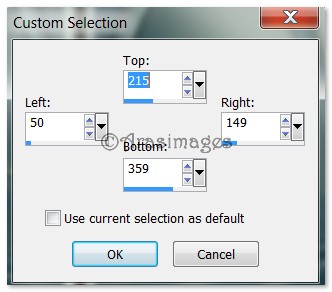
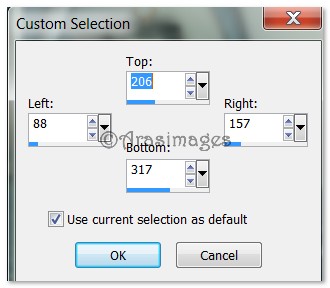
15. Selection tool, Rectangle. Mode/Replace. Click on Custom Selection. Set Top/Left/Right/Bottom as seen below.

16. Keep selected/Flood fill Selection with Gradient. Adjust/Blur/Gaussian Blur/Radius of 30.
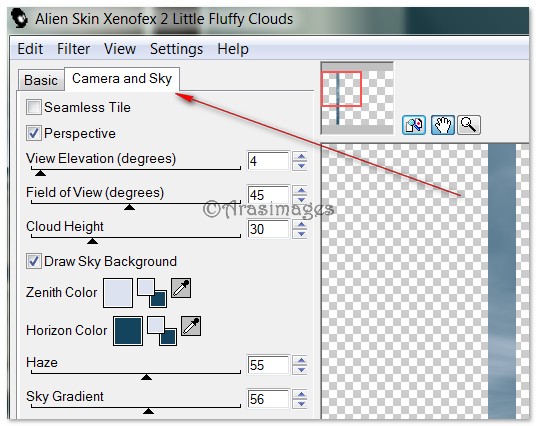
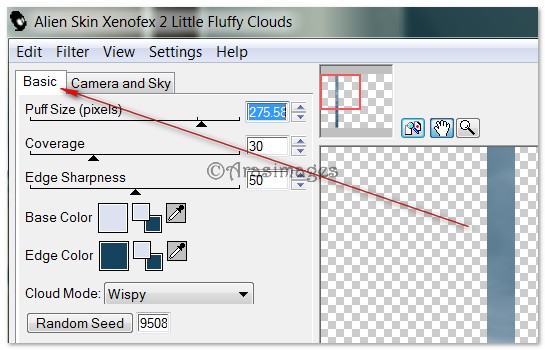
17. Effects/Alien Skin Xenofex 2/Fluffy Little Clouds. Settings/Reset to Factory Defaults and use Camera and Sky setting only.
18. Effects/3D Effects/Drop Shadow. Vertical 5, Horizontal 5, Opacity 50, Blur 15, color #000000. Repeat with Vertical -5, Horizontal -5, others the same.
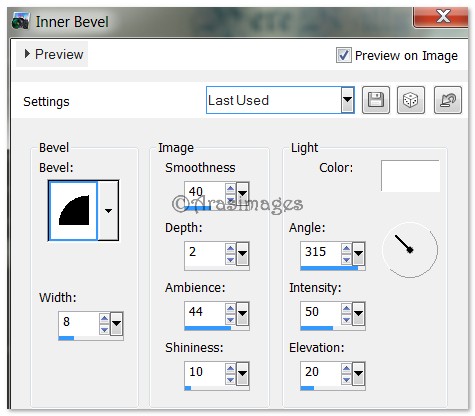
19. Effects/3D Effects/Inner Bevel as seen below. Selections/Select None.
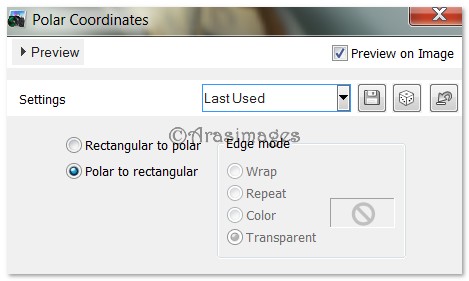
20. Effects/Distortion Effects/Polar Coordinates. Polar to Rectangle selected.
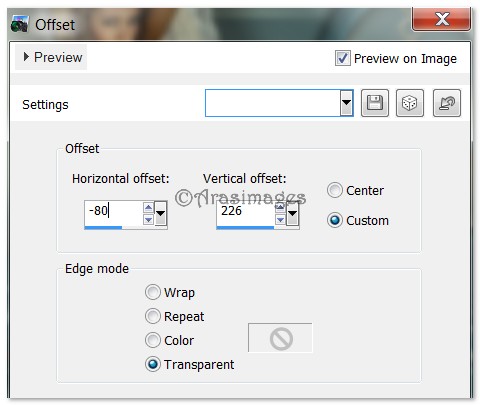
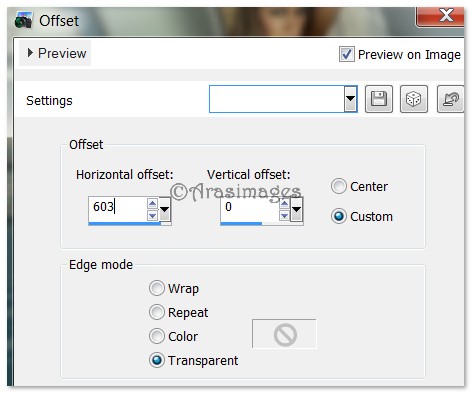
21. Effects/Image Effects/Offset. Use settings below.
22. Duplicate. Image/Mirror. (Flip Horizontal.)
23. Layers/New Raster Layer.
24. Selection tool, Rectangle/Replace. Click on Custom Selection. Set as seen below for Custom Selection for larger boxes.
25. Flood fill with Gradient. Adjust/Blur/Gaussian Blur-Radius set to 30.
26. Effects/Alien Skin Eye Candy 5/Impact/Glass/ArasimagesGlassBoxes. Use settings seen below.
27. Selections/Select None.
28. Effects/3D Effects/Drop Shadow. Vertical 5, Horizontal 5, Opacity 50, Blur 15, color #000000.
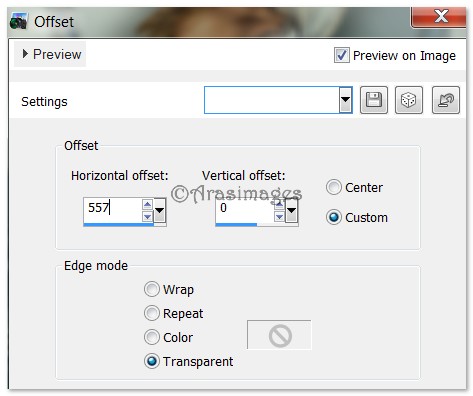
29. Duplicate. Effects/Image Effects/Offset. Use settings below.
30. Effects/3D Effects/Drop Shadow. Vertical -5, Horizontal -5, Opacity 50, Blur 15, color #000000.
31. Open Three Loop Chain.pspimage. Copy/Paste as New Layer.
32. Place chain below left arc in center. Add Drop Shadow of Vertical -5, Horizontal -5, Opacity 50, Blur 15, color #000000.
33. Duplicate. Image/Mirror. (Flip Horizontal).
34. Layers/New Raster Layer.
35. Selection tool, Rectangle/Replace. Click on Custom Selection. Set as seen below for Custom Selection for small boxes.
36. Flood fill with Gradient. Adjust/Blur/Gaussian Blur-Radius set to 30.
37. Effects/Alien Skin Eye Candy 5/Impact/Glass/ArasimagesGlassBoxes. Use settings seen below.
38. Selections/Select None.
39. Effects/3D Effects/Drop Shadow. Vertical -5, Horizontal -5, Opacity 50, Blur 15, color #000000.
40. Duplicate. Effects/Image Effects/Offset. Use settings below.
41. Layers/New Raster Layer.
42. From Tool bar, select Paint Brush. In Presets drop down box, select the brush called hbgbrushes0018 004 with these settings.

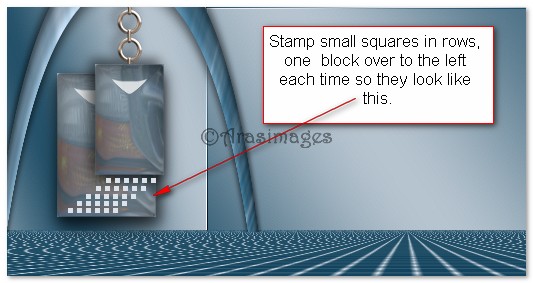
43. Change Gradient to Foreground color #dce2ef. Using hbgbrush, stamp small squares beneath the small box as seen in example below. Stamp one row of squares. Then move down and over to left one block and stamp another row; do this each time for 5 rows.
44. Effects/3D Effects/Drop Shadow. Vertical 2, Horizontal 2, Opacity 75, Blur 2, color #000000.
45. Duplicate. Image/Mirror. (Flip Horizontal and move to mirror first set of small squares).
46. Open Fashion_And_Models_461.pspimage. Copy/Paste as New Layer.
47. Image/Resize/Resize by 75%/Resize all layers unchecked.
48. Effects/3D Effects/Drop Shadow. Vertical 12, Horizontal -30, Opacity 50, Blur 40, color #000000.
49. Effects/3D Effects/Drop Shadow. Vertical -12, Horizontal 30, Opacity 50, Blur 40, color #000000.
50. Move lady to center of image.
51. Change Foreground color back to #dce2ea. Switch Foreground color with Background color in Materials Palette.
52. From Tool bar, select the Text tool. Choose Font Crawler, Size 60, color #dce2ea.

53. Type out the words "Blue Room". Convert to Raster Layer.
54. Objects/Align/Horizontal Center. Pull into position by her lower legs.
55. From Tool Bar, find Paint Brush. From Presets Drop Down list, locate the brush hbgbrushes0018 004.
56. Layers/New Raster Layer.
57. Using Paint Brush Tool, right click to stamp one row of small boxes on each side of the text. Merge/Merge Down.
58. Effects/3D Effects/Drop Shadow. Vertical 2, Horizontal 2, Opacity 75, Blur 2, color #000000.
59. Image/Add Borders/Add 3px border, Symmetric checked, color #dce2ef.
60. Sign your name or leave your watermark if you wish. Convert to Raster Layer and Merge/Merge Visible if needed.
Big hugs go to Evatexas and PamelaD who test my tutorials for me and are my valued advisors.
If you are going to use this tutorial for stationery, cards or place the tutorial/tag on another site, I would appreciate you contacting me for permission, giving Arasimages credit for the original tutorial and if possible, a link back to my site. Thank you.
Copyright © Arasimages All Rights Reserved