
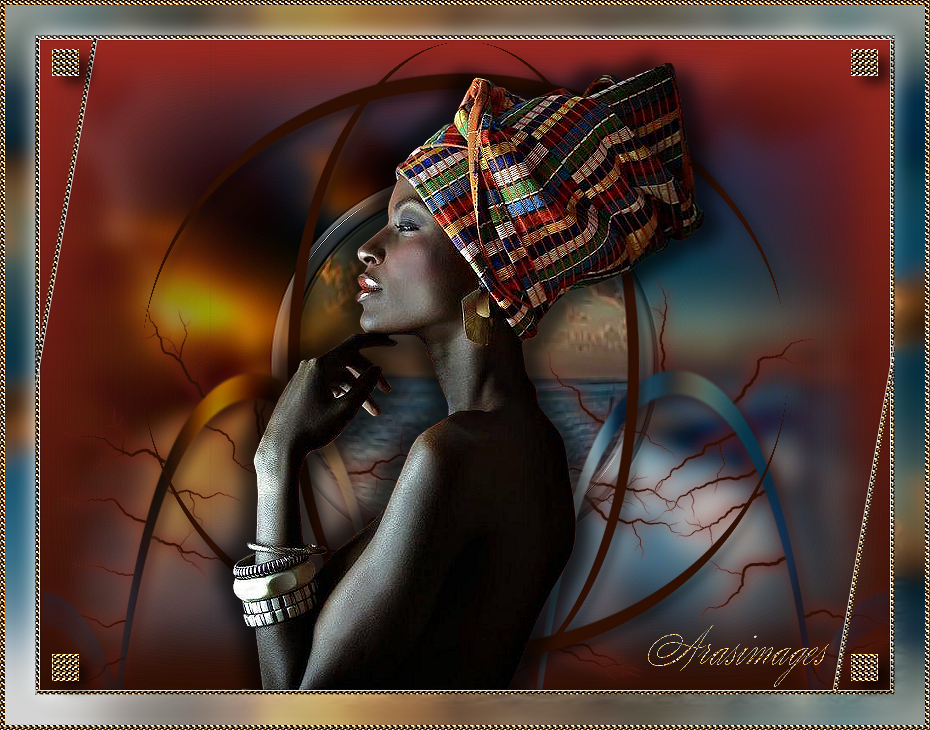
Eye of the Storm
For Italian, Dutch, Danish and French translation, click on the flags.


For this tutorial you will need the materials in the zip file below.

Unzip the materials into a working folder you have created on your desktop named Eye of the Storm. Please duplicate and close original tubes. I have used the plugins AlienSkin Xenofex/Electrify and Simple/Top Left Mirror in this tutorial. Place the Selection and Pattern in their respective folders. It is assumed you have a working knowledge of PSP to follow these directions. I have used PSPX6 for this tutorial but other versions may be used.
Thanks go to Anny Ovalle for the lovely tubes used in this tutorial.
Use the bookmark below to mark your place along the way.

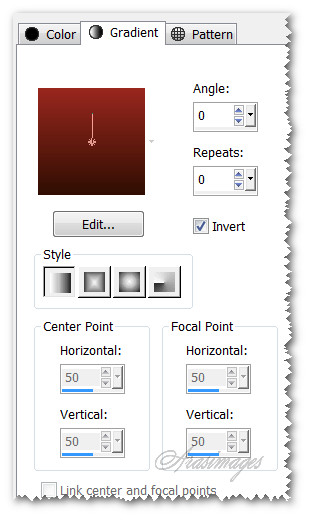
1. In Materials Palette, set Foreground to #851e16, Background to #300f03.
2. In Materials Palette, set to Gradient, Style Linear, Repeats 0, Angle 0, Invert checked. Center and Focal Points all set to 50.
3. New/New Image 850px by 650px. Flood fill with Gradient.
4. Layers/New Raster Layer. Selections/Select All.
5. Open Annytubes_paisajes 1465_16_10_2014.pspimage of scenery. Copy/Paste into Selection. Selections/Select None.
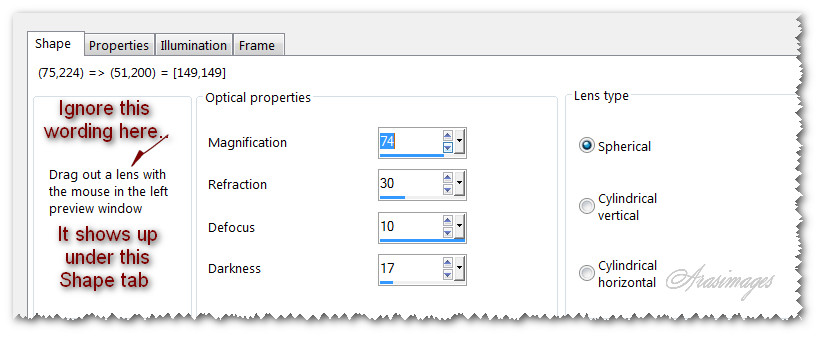
6. Effects/Artistic Effects/Magnifying Lens. Set Frame tab to Material/Clear Plastic, Rounded Square checked, Thickness 5, Color white. Leave Illumination and Properties tabs settings at Default. Shape tab settings set as seen below.
7. Effects/Edge Effects/Enhance.
8. Layers/New Raster Layer.
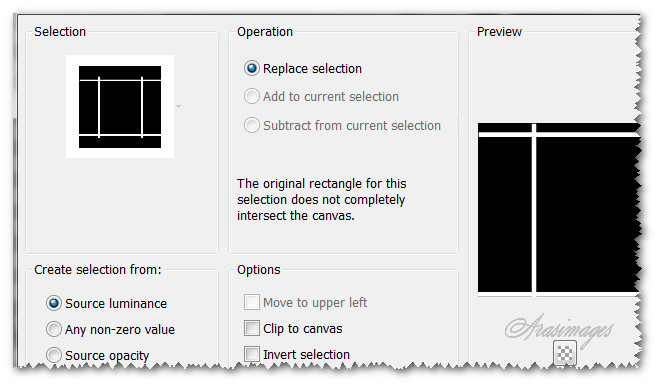
9. Selections/Load/Save Selection/Load Selection from Disk. From Selection drop down arrow, select ArasimagesCrossSections2. Load.
10. Flood fill Selection with Background color #300f03.
11. Highlight Layer 2 (ocean image in circle). Right click/Promote Selection to Layer. Selections/Select none.
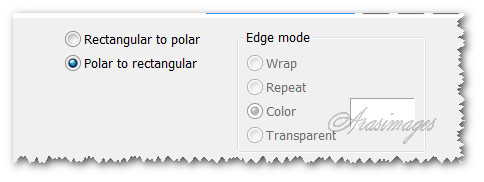
12. Effects/Distortion Effects/Polar Coordinates.
13. Effects/3D Effects/Drop Shadow. Vertical 6, Horizontal 6, Opacity 50, Blur 16, color #000000.
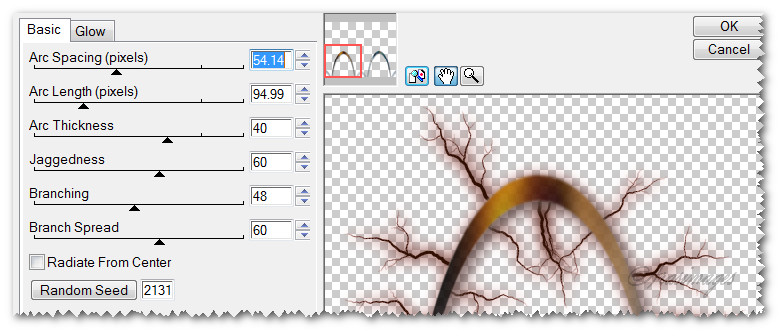
14. Effects/AlienSkin Xenofex 2/Electrify. Set Glow Inner tab color to Background color, Outer Color to Foreground color. Set Basic tab settings as seen below.
15. Highlight top layer with the ArasimagesCrossSection2 lines.
16. Effects/Geometric Effects/Circle. Check Transparent, click OK.
17. Open Annytubes_Lady 493_05_10_2014.pspimage of lady. Copy/Paste as New Layer.
18. Adjust/Sharpness/Sharpen. Keep lady in center position.
19. Effects/3D Effects/Drop Shadow. Vertical -8, Horizontal -17, Opacity 65, Blur 23, color #000000.
20. Effects/3D Effects/Drop Shadow. Vertical 8, Horizontal 17, Opacity 65, Blur 23, color #000000.
21. Image/Add Borders/Add 5px border, Symmetric checked, color #ffffff.
22. Using Magic Wand, select the 5px border.

23. In Materials Palette, set Tab to Pattern/goldbeads. Set Scale to 148.
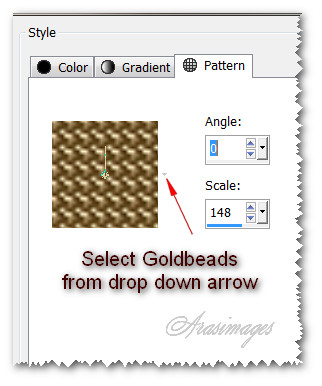
24. Flood fill 5px border with goldbeads.
25. Effects/Edge Effects/Enhance.
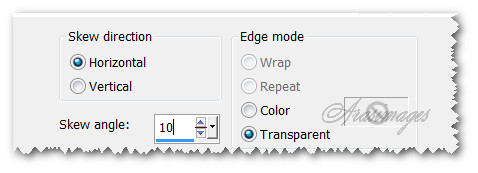
26. Effects/Geometric Effects/Skew.
27. Selections/Select None.
28. Image/Add Borders/Add 30px border, Symmetric checked, color #ffffff.
29. Using Magic Wand, select the 30px border.
30. Have Annytubes_paisajes 1465_16_10_2014.pspimage of scenery tube open on your workspace. In Materials Palette, select the Pattern tab/Annytubes_paisajes 1465_16_10_2014.pspimage of scenery.

31. Flood fill the 30px border with Annytubes_paisajes 1465_16_10_2014.pspimage of scenery clicking on bottom of border first.
32. Image/Mirror. Flood fill clicking on right side of 30px border. Image/Flip. Click on bottom of 30px border to flood fill where it is white.
33. Effects/Artistic Effects/Magnifying Lens. See Step #6 for settings, the settings are the same so should still be in memory.
34. Selections/Select None.
35. Image/Add Borders/Add 5px border, Symmetric checked, color #ffffff.
36. Using Magic Wand, Tolerance and Feather set to 0, select the 5px border. Flood fill 5px border with goldbeads/Angle 0/Scale 148.
37. Effects/Edge Effects/Enhance. Selections/Select None.
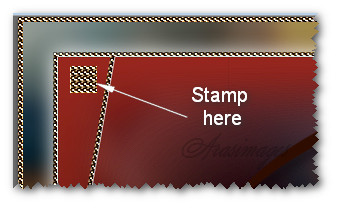
38. From Tool bar, select the Paint brush tool. Find the Brush +Square 05. Set the Size to 27, all other settings leave at Default.
39. Layers/New Raster Layer. Stamp inside the top left corner as you see below.
40. Effects/Edge Effects/Enhance.
41. Effects/3D Effects/Drop Shadow. Vertical 8, Horizontal 11, Opacity 65, Blur 19, color #000000.
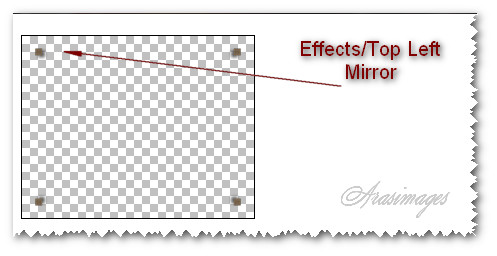
42. Effects/Simple/Top Left Mirror.
43. Merge/Merge Visible. Stamp your watermark or name if you wish and save as .jpg or .png file.
This tutorial was tested by PamelaD and Evatexas. Thanks ladies!
If you are going to use this tutorial for stationery, cards or place the tutorial/tag on another site, I would appreciate you contacting me for permission, giving Arasimages credit for the original tutorial and if possible, a link back to my site. Thank you.
Copyright © Arasimages All Rights Reserved