
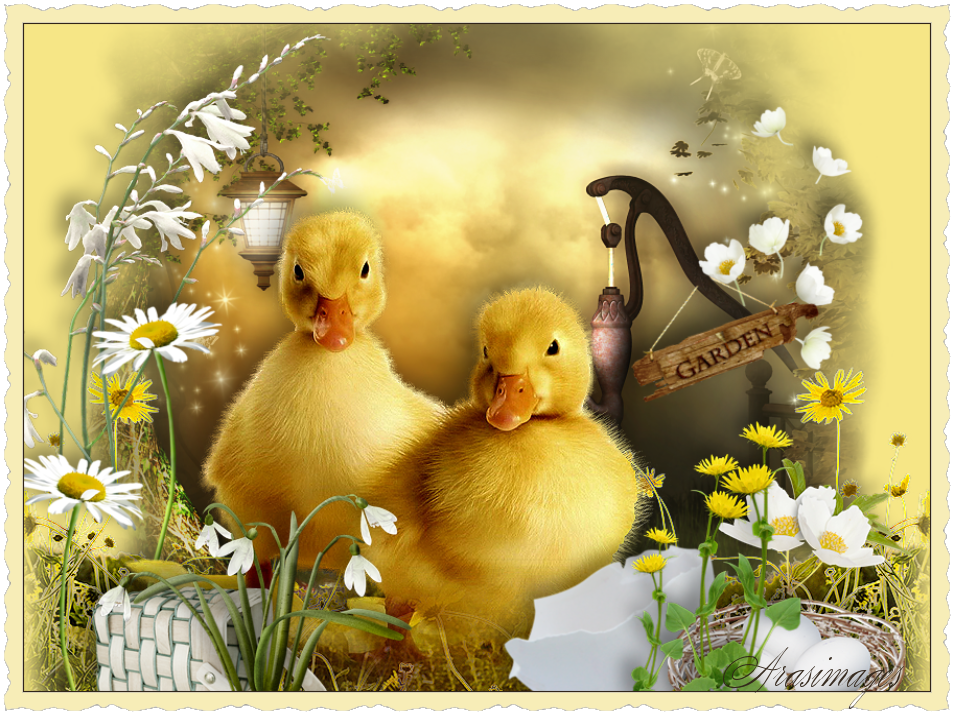
Our First Spring
For a Spanish, Italian, Dutch, Danish and German translation, click on the flags.


For this tutorial you will need the materials in the zip file below.

Unzip the materials into a working folder you have created on your desktop named Our First Spring. Please duplicate and close originals. Export the Brush Fur 5 into your PSP/Brushes folder. I have used effects of PSP in this tutorial. It is assumed you have a working knowledge of PSP to follow these directions. I have used PSPX6 for this tutorial but other versions may be used.
Thanks go to Cibi, to Nikita and to Sylvie for their beautiful work used in this tutorial as well as the unknown tubers of scraps.
Use the flowers to mark your place along the way.

1. In Materials Palette, set Foreground to #ffffff, Background to #f6e686.
2. New/New Image 867px by 650px. Flood fill with background color.
3. Open Romantic2_21._10.2012.pspimage. Copy/Tube layer/Paste as New Layer.
4. Open 0_bad68_931da957_M.png of small white flowers. Copy/Paste as New Layer.
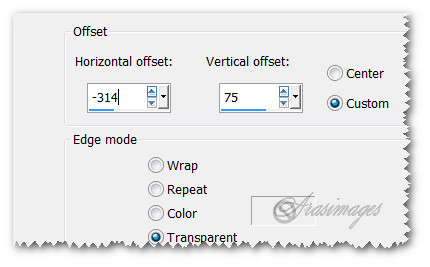
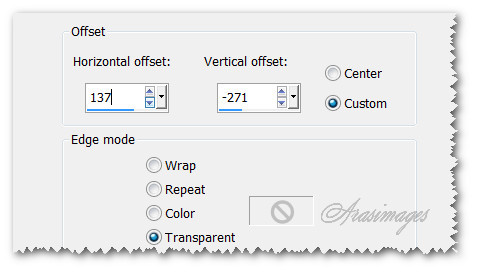
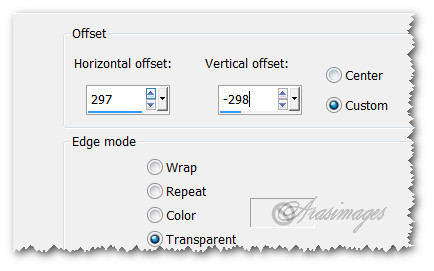
5. Effects/Image Effects/Offset.
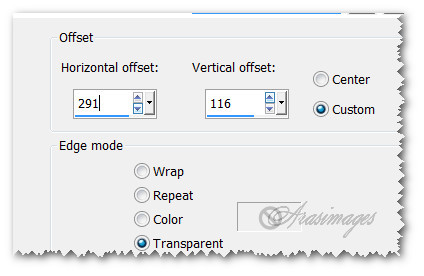
6. Effects/3D Effects/Drop Shadow. Vertical -10, Horizontal -10, Opacity 40, Blur 25, color #000000.
7. Open 0_8f75b_88b259f9_M.png of sign. Copy/Paste as New Layer.
8. Image/Resize/Resize by 62%/Resize all layers unchecked.
9. Adjust/Sharpness/Sharpen.
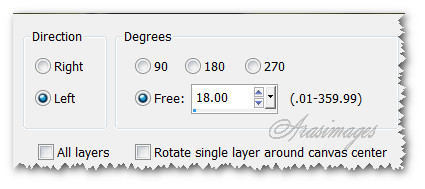
10. Image/Free Rotate/Rotate by 18 degrees Left.
11. Effects/3D Effects/Drop Shadow. Vertical -10, Horizontal -10, Opacity 40, Blur 25, color #000000.
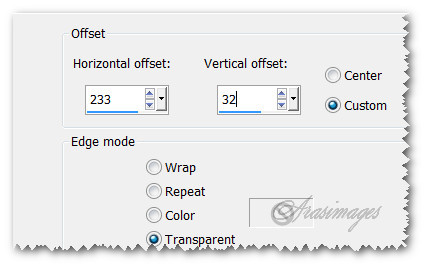
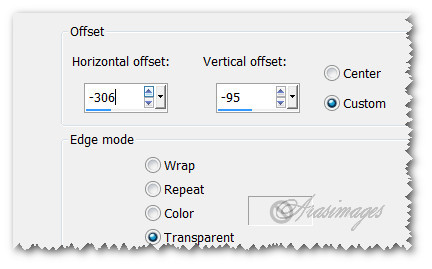
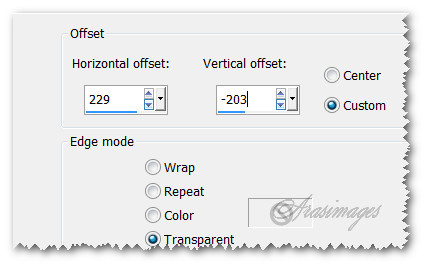
12. Effects/Image Effects/Offset.
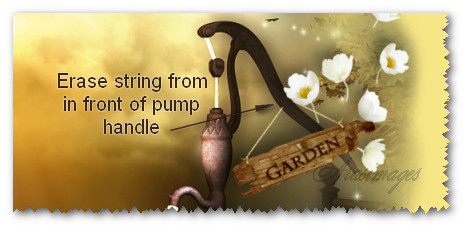
13. Using Eraser tool set to size 12, all other settings at default, erase the string from in front of pump handle.
14. Open Sunny_CibiBijoux.pspimage yellow daisies. Copy/Paste as New Layer.
15. Effects/Edge Effects/Enhance.
16. Pull into bottom left corner.
17. Duplicate. Image/Mirror.
18. Open 0_8c67c_e84dbe75_XL.png white stem of flowers. Copy/Paste as New Layer.
19. Image/Resize/Resize by 60%/Resize all layers unchecked.
20. Effects/3D Effects/Drop Shadow. Vertical -10, Horizontal -10, Opacity 40, Blur 25, color #000000.
21. Adjust/Sharpness/Sharpen.
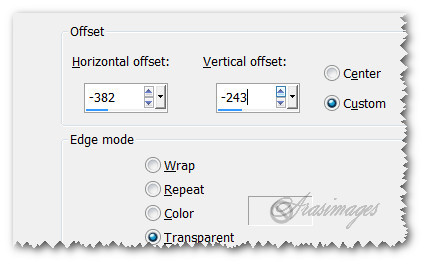
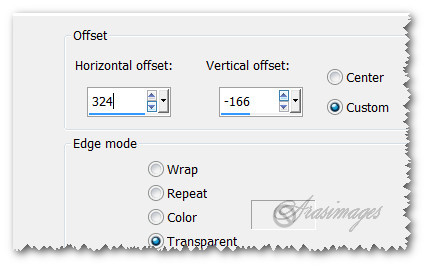
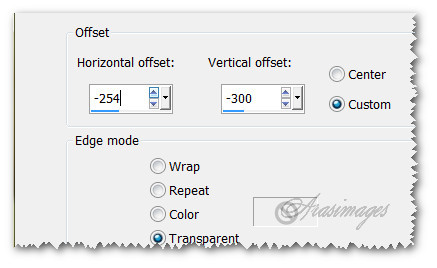
22. Effects/Image Effects/Offset.
23. Open 0_8f777_ab121ef1_M.png daisy. Copy/Paste as New Layer.
24. Effects/3D Effects/Drop Shadow. Vertical -10, Horizontal -10, Opacity 40, Blur 25, color #000000.
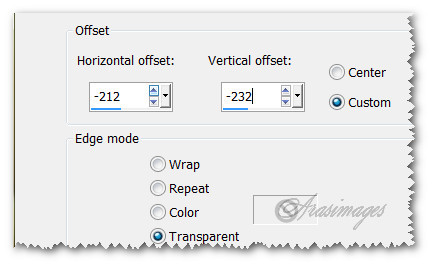
25. Effects/Image Effects/Offset.
26. Paste daisy again as New Layer. Image/Mirror. Effects/3D Effects/Drop Shadow. Vertical -10, Horizontal -10, Opacity 40, Blur 25, color #000000.
27. Effects/Image Effects/Offset.
28. Open copy of 12926131171_animaux_nikita.pspimage of ducks.
29. Close off all layers of tube except for the ducks. Highlight that layer. Zoom out to 100%.
30. Using the Selections tool, set it to Freehand Selection, Mode to Add(Shift), Feather 0. Draw around the flower to select it.
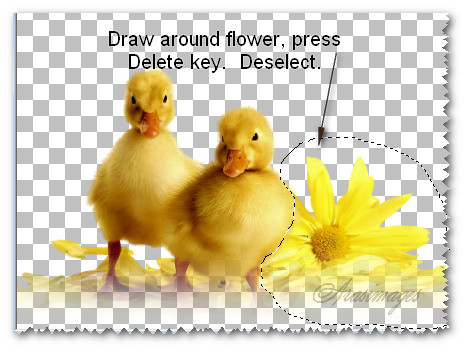
31. Delete. Deselect. Copy/Paste as New Layer on working image.
32. Effects/Image Effects/Offset.

33. Using the Paint Brush tool, find the brush Fur 5, set Size to 64, Rotation 57. Set it as in example below.

34. Layers/New Raster Layer. Using background color, right click to stamp new feathering several times starting along upper right side of duck as shown below then continue into Steps #35 and #36.
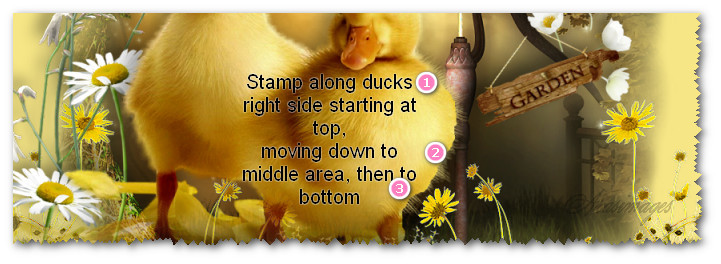
35. Change Size to 100, Rotation to 106 and stamp along edge a bit lower. Stamp several times to blend edge with new feathers.
36. Change Rotation to 122 and stamp further down to leg, stamping several times to blend with edge.
37. Pull stamped layer below duck layer. Merge/Merge Down.
38. Effects/3D Effects/Drop Shadow. Vertical -10, Horizontal -10, Opacity 40, Blur 35, color #000000.
39. Adjust/Sharpness/Sharpen.
40. Open 0_be2e2_779dbc18_M.png of egg shell. Copy/Paste as New Layer.
41. Image/Resize/Resize by 76%/Resize all layers unchecked.
42. Image/Free Rotate/Rotate Left by 29 degrees, all layers and Rotate single layer unchecked.
43. Effects/3D Effects/Drop Shadow. Vertical -10, Horizontal -10, Opacity 40, Blur 25, color #000000.
44. Effects/Image Effects/Offset.
45. Open 0_bada3_cf777cd9.png of Anemone flower. Copy/Paste as New Layer.
46. Image/Resize/Resize by 76%/Resize all layers unchecked.
47. Effects/3D Effects/Drop Shadow. Vertical -10, Horizontal -10, Opacity 40, Blur 25, color #000000.
48. Adjust/Sharpness/Sharpen.
49. Effects/Image Effects/Offset.
50. Open 0_be308_1cc78c88_M.png of eggs in basket. Copy/Paste as New Layer.
51. Image/Resize/Resize by 80%/Resize all layers unchecked.
52. Effects/3D Effects/Drop Shadow. Vertical -10, Horizontal -10, Opacity 40, Blur 25, color #000000.
53. Adjust/Sharpness/Sharpen.
54. Effects/Image Effects/Offset.
55. Open 0_bbd92_4eb7bf21_M.png of dandelions. Copy/Paste as New Layer.
56. Effects/3D Effects/Drop Shadow. Vertical -10, Horizontal -10, Opacity 40, Blur 25, color #000000.
57. Adjust/Sharpness/Sharpen.
58. Effects/Image Effects/Offset.
59. Open 0_be302_1058e2c7_M.png of basket. Copy/Paste as New Layer.
60. Image/Resize/Resize by 76%/Resize all layers unchecked.
61. Effects/3D Effects/Drop Shadow. Vertical -10, Horizontal -10, Opacity 40, Blur 25, color #000000.
62. Adjust/Sharpness/Sharpen.
63. Effects/Image Effects/Offset.
64. Open 0_cd7bc_69f8f5f3_M.png of Snow Drops. Copy/Paste as New Layer.
65. Effects/3D Effects/Drop Shadow. Vertical -10, Horizontal -10, Opacity 40, Blur 25, color #000000.
66. Adjust/Sharpness/Sharpen.
67. Effects/Image Effects/Offset.
68. Image/Add Borders/Add 2px border, Symmetric checked, color #312519.
69. Open 12926131171_animaux_nikita.pspimage. Highlight Raster 1 of tube. Copy/Paste as New Image on your workspace.
70. Image/Resize/Resize by 110%/Resize all layers checked. Using Magic Wand left click in center yellow space to activate it.
71. Copy your original image and paste into selected space on the resized border image. Deselect.
72. Using Magic Wand, click on dark outer border scalloped edge to activate it. Delete. Deselect.
73. Using Magic Wand, click on scalloped white border to activate it. Flood fill with color #f7edb7. Deselect.
74. Sign your name or place your watermark if you wish and save as .png file.
75. Thank you for working this tutorial. I hope you enjoyed working it as much as I have creating it.
This tutorial was tested by PamelaD and Evatexas. Thanks ladies!
If you are going to use this tutorial for stationery, cards or place the tutorial/tag on another site, I would appreciate you contacting me for permission, giving Arasimages credit for the original tutorial and if possible, a link back to my site. Thank you.
Copyright © Arasimages All Rights Reserved