
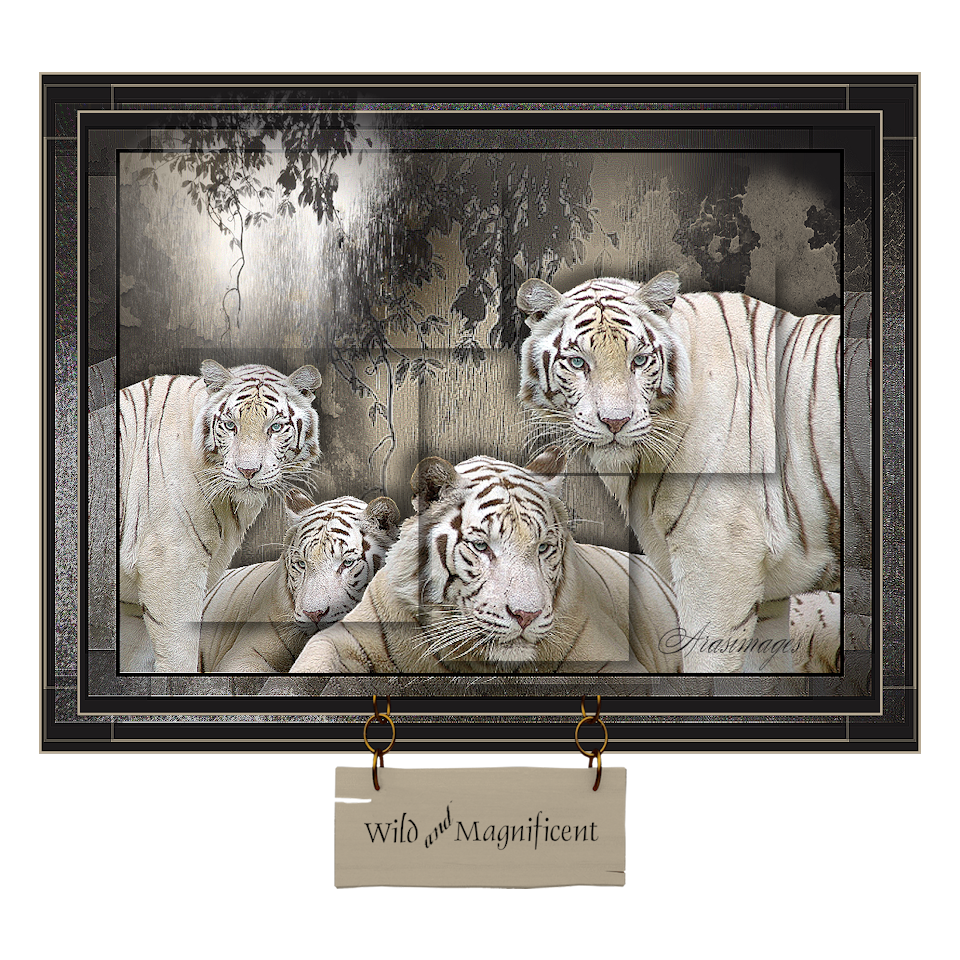
Wild and Magnificent
For an Italian, Dutch, Spanish and Danish translation, click on the flags.


For this tutorial you will need the materials in the zip file below.

Thanks go to Evatexas and PamelaD from Arasimages for the beautiful tubes used in this tutorial. These tubes and hundreds of others can be found at my site.
Unzip the materials into a working folder you have created on your desktop named Wild and Magnificent. Please duplicate and close originals. Use the copies for your work. Export the Background Texture Brush into your PSP Files/Brushes folder. I have used the plugin Toadies/What are You? and PSP effects for this tutorial. It is assumed you have a working knowledge of PSP to follow these directions. I have used PSPX7 for this creation. To work this tutorial, it is assumed you have some working knowledge of Paint Shop Pro.
Use the sign below to mark your place along the way.

1. In Materials Palette, set Foreground to #b8ab95, Background to #1d1b1c.
2. New/New Image 900px by 650px. Flood fill with Background color #1d1b1c.
3. Layers/New Raster Layer. Flood fill with Foreground color #b8ab95.
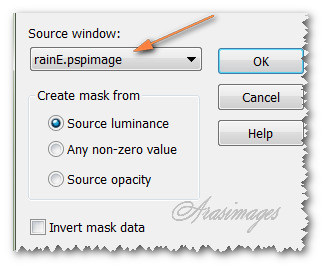
4. Open rainE.pspimage. Highlight your working image.
5. Layers/New Mask Layer/From image. When the Add Mask from Image box appears, from the drop down select rainE.pspimage.
6. Merge/Merge Group. Effects/Edge Effects/Enhance.
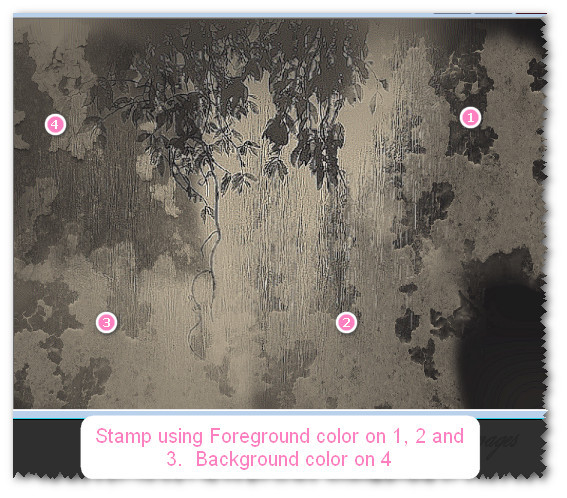
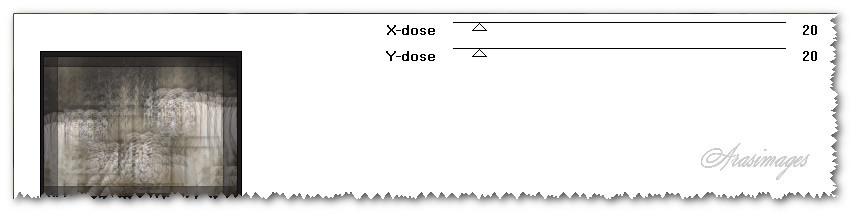
7. From Tool bar, select the Paint brush tool. Select the Background Texture Brush. Use settings below, stamp as shown in example.

8. Effects/Edge Effects/Enhance.
9. Open TigersHD.pspimage. Copy Tubed layer/Paste as New Layer.
10. Image/Mirror.
11. Effects/3D Effects/Drop Shadow. Vertical -14, Horizontal 14, Opacity 50, Blur 25, color #000000.
12. Move Tigers into bottom left corner.
13. Effects/Edge Effects/Enhance.
14. Adjust/Sharpness/Sharpen.
15. Paste Tigers as New Layer once more.
16. Image/Resize/Resize by 135%/Resize all layers unchecked.
17. Effects/3D Effects/Drop Shadow. Vertical -14, Horizontal -14, Opacity 50, Blur 25, color #000000.
18. Move Tigers into bottom right corner.
19. Effects/Edge Effects/Enhance.
20. Adjust/Sharpness/Sharpen.
21. Layers/New Raster Layer.
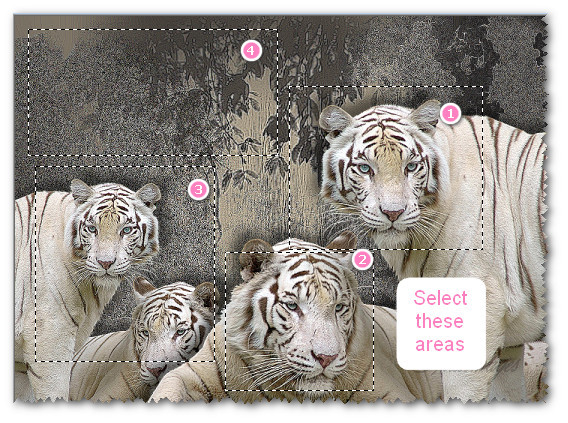
22. Selections tool/Freehand Selection, select areas in image as seen below.
23. Effects/3D Effects/Drop Shadow. Vertical 11, Horizontal 11, Opacity 50, Blur 25, color #000000. Selections/Select None.
24. Image/Add Borders/Add 5px border, Symmetric checked, color #000000.
25. Image/Add Borders/Add 45px border, Symmetric checked, color #b8ab95.
26. With Magic Wand, select inside 45px border to activate it.
27. Flood fill with #1d1b1c.
28. Effects/Toadies/What Are you?.
29. Effects/Edge Effects/Enhance. Deselect.
30. Image/Add Borders/Add 3px border, Symmetric checked, color #b8ab95.
31. Image/Add Borders/Add 45px border, Symmetric checked, color #1d1b1c.
32. With Magic Wand, select inside 45px border to activate it.
33. Effects/Toadies/What Are you?.
34. Effects/Edge Effects/Enhance. Deselect.
35. Open rainE.pspimage. Copy misted image/Paste as New Layer.
36. Place at the top left corner. Set to Luminance (Legacy).
37. Adjust/Sharpness/Sharpen.
38. Image/Add Borders/Add 3px border, Symmetric checked, color #b8ab95.
39. Stamp your watermark or sign your name of you wish on current image.
40. Copy working image. New/New Image 1200px by 1200px.
41. Paste copied image into new image and move upward. Object/Align/Horizontal Center.
42. Open Sign.pspimage. Copy sign layer/Paste as New Layer.
43. Image/Resize/Resize by 75%/Resize all layers unchecked.
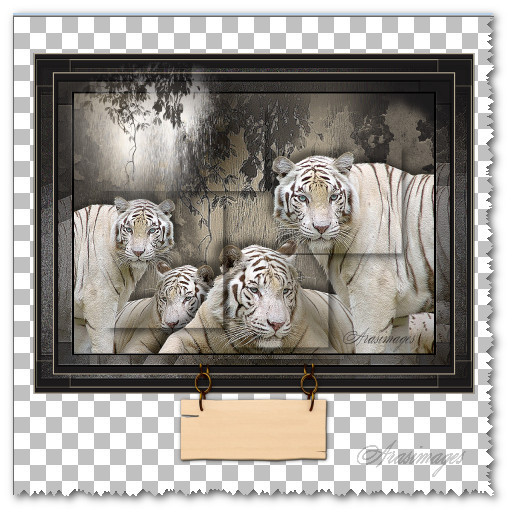
44. Place sign at the bottom of the main image as seen below.
45. Using Color Changer, left click on sign to recolor it #b8ab95.
46. Change Background color to #000000. From Tool bar, select the Text tool. Set to Font Dauphin-Normal, Size 40. See other settings below.

47. Using the shown settings, type out "Wild". Convert to Raster Layer. Type out "Magnificent". Convert to Raster Layer.
48. Change Font to Aurora Script and using settings below, type the word "and". Convert to Raster Layer.

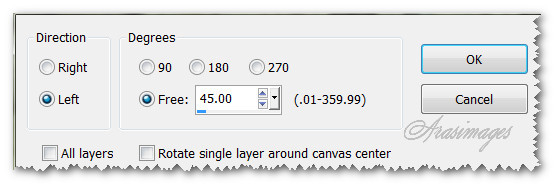
49. Image/Free Rotate. Rotate Left by 45 degrees.
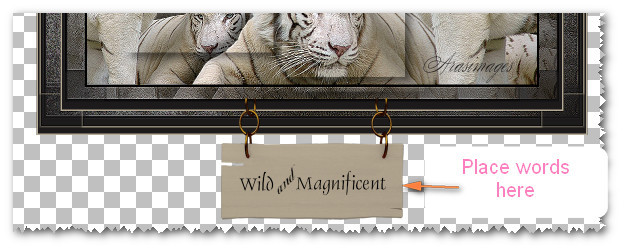
50. Move words into place as I have done here.
51. Merge/Merge Visible.
52. Image/Resize/Resize by 80%/Resize all layers checked.
53. Save as a .png or .gif image.
This tutorial was tested by PamelaD and Evatexas. Thanks ladies!
If you are going to use this tutorial for stationery, cards or place the tutorial/tag on another site, I would appreciate you contacting me for permission, giving Arasimages credit for the original tutorial and if possible, a link back to my site. Thank you.
Copyright © Arasimages All Rights Reserved