Flower Girl
For this tutorial you will need the materials in the zip file below.

For a Dutch, Italian, German, French, Spanish, Danish and Portuguese translation, click on the flags.


Thanks go to Silvie for the lovely lady tube and to Alejandra Rosales for the beautiful lily tube. The various scraps tubers are unknown and I thank them for their work.
Unzip the materials into a working folder you have created on your desktop named Flower Girl. Please duplicate and close original tubes. Use the copies for your work so you will not lose the originals. I have used the plugin Simple/Top Left Corner. I have also used effects of PSPX9. Place the Selections in your PSP Selections folder and Export the Brush in your PSP/Brushes folder. Check to see if you have the font in your Fonts folder; if not, import it into Windows Fonts. I have used PSPX9 for this tutorial but other versions may be used.
Use the lilies below to mark your place along the way.

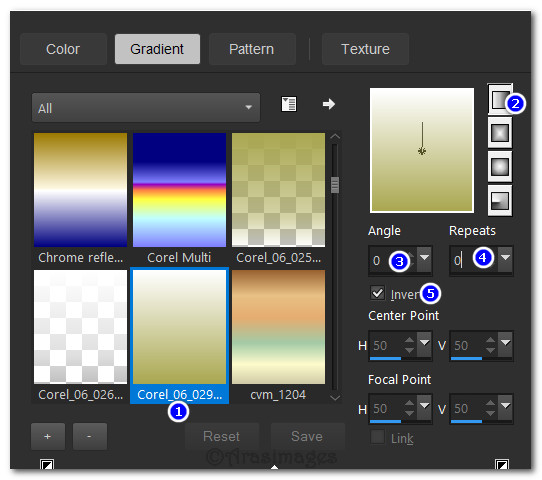
1. In Materials Palette, set Foreground color to #f9f5f4/Background color to #a9a750. Create a Gradient using the Foreground/Background colors, Style to Linear, Angle 0/Repeats 0. Invert checked. Center Point/Focal Point all set to 50 (null).
2. New/New Image 950px by 700px. Selections/Select All.
3. Open Merged Background.Png. Copy/Paste into Selection. Deselect.
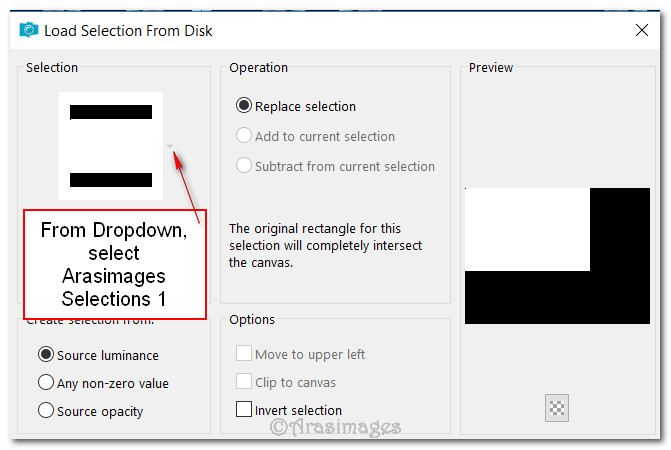
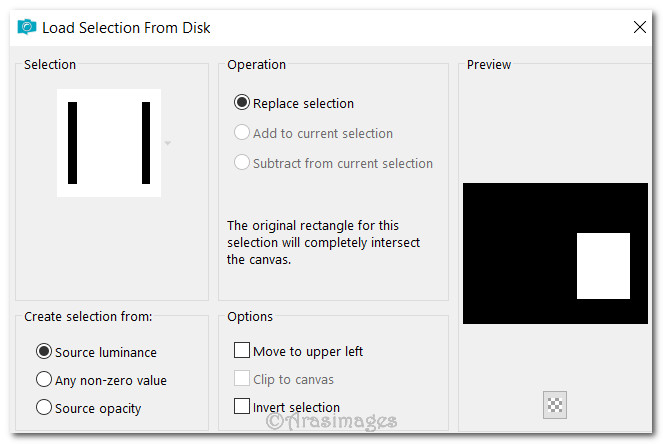
4. Selections/Load/Save Selections/Load Selections from Disk. From the dropdown arrow, choose ArasimagesSelections1. Load.
5. Layers/New Raster Layer. Flood fill new layer with background color #a9a750.
6. Selections/Modify/Contract by 3px. Delete. Keep selected.
7. Open Lady2_22.01.2017.pspimage. Copy/Paste into Selection. Selections/Select None.
8. Open dentelle-colombe.pspimage. Copy/Paste as New Layer.
9. Image/Resize/Resize by 88%/Resize all layers unchecked.
10. Move lace below bottom frame of woman.
11. Effects/Edge Effects/Enhance.
12. Effects/3D Effects/Drop Shadow. Vertical 10, Horizontal 10, Opacity 55, Blur 32, Color #000000.
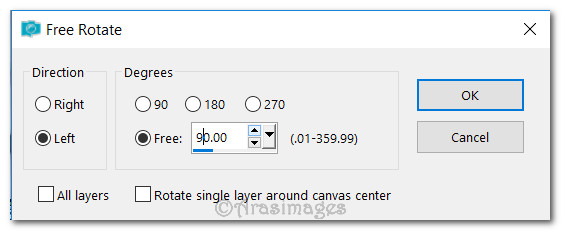
13. Duplicate. Image/Free Rotate. Rotate Left by 90 degrees.
14. Move lace to right side of woman frame.
15. Layers/New Raster Layer.
16. Selections/Load/Save Selections/Load Selections from Disk. From dropdown arrow, choose ArasimagesSelections2. Load.
17. Flood fill the selection with color #c6967f.
18. Effects/3D Effects/Drop Shadow. Vertical 10, Horizontal 10, Opacity 55, Blur 32, Color #000000.
19. Effects/3D Effects/Drop Shadow. Vertical -10, Horizontal -10, Opacity 55, Blur 32, Color #000000.
20. From Tool bar, select the Paint Brush tool. Choose If you See a Fairy Ring brush. Use settings below and stamp using #000000 in center of selection. Selections/Select None.

21. Image/Free Rotate/Rotate by 20 degrees to right.
22. Open 2857_flower62_AlejandraRosalesUT_24_09_07.pspimage. Copy/Paste as New Layer.
23. Image/Resize/Resize by 48%/Resize all layers unchecked.
24. Adjust/Sharpness/Sharpen.
25. Effects/3D Effects/Drop Shadow. Vertical -10, Horizontal -10, Opacity 55, Blur 32, Color #000000.
26. Place at the bottom of first selection and to the left of second selection. Pull under selection with text layer.
27. Duplicate. Image/Image Mirror/Mirror Horizontal.
28. Effects/3D Effects/Drop Shadow. Vertical -10, Horizontal -10, Opacity 55, Blur 32, Color #000000.
29. Move to upper right corner touching woman frame. Go to top layer to continue.
30. Copy/Paste as New Layer again the lily tube.
31. Image/Resize/Resize by 68%/Resize all layers unchecked.
32. Adjust/Sharpness/Sharpen.
33. Effects/3D Effects/Drop Shadow. Vertical -10, Horizontal -10, Opacity 55, Blur 32, Color #000000.
34. Move into bottom right corner.
35. Image/Add Borders/Add 3px border, Symmetric checked, color #f9f5f4.
36. Image/Add Borders/Add 3px border, Symmetric checked, color #a9a750.
37. Image/Add Borders/Add 40px border, Symmetric checked, color #000000.
38. Image/Add Borders/Add 3px border, Symmetric checked, color #a9a750.
39. Image/Add Borders/Add 3px border, Symmetric checked, color #f9f5f4.
40. Image/Add Borders/Add 3px border, Symmetric checked, color #a9a750.
41. Open am_corner74.psp image. Copy/Paste as New Layer.
42. Place in upper left corner of 40px border.
43. Simple/Top Left Mirror.
44. Layers/New Raster Layer. Sign your name or leave your watermark if you wish.
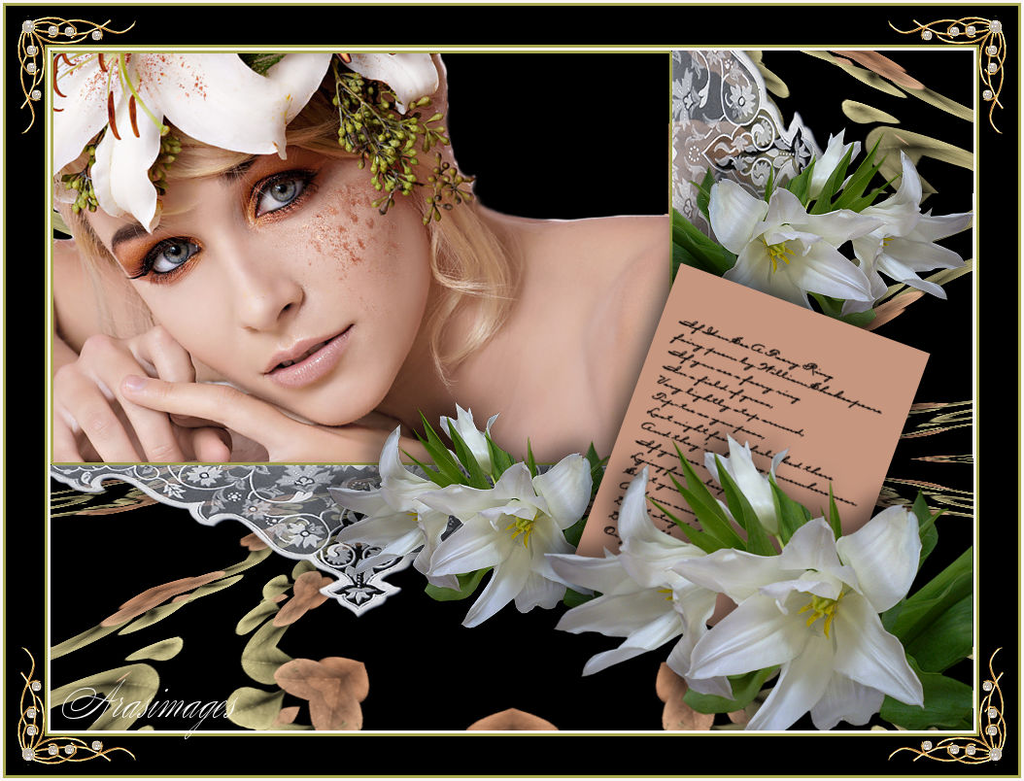
45. Merge/Merge Visible. Save as .jpg or .png file.
Thank you PamelaD for testing this tutorial for me. 06_11_17
If you are going to use this tutorial for stationery, cards or place the tutorial/tag on another site, I would appreciate you contacting me for permission, giving Arasimages credit for the original tutorial and if possible, a link back to my site. Thank you.
Copyright © Arasimages All Rights Reserved