
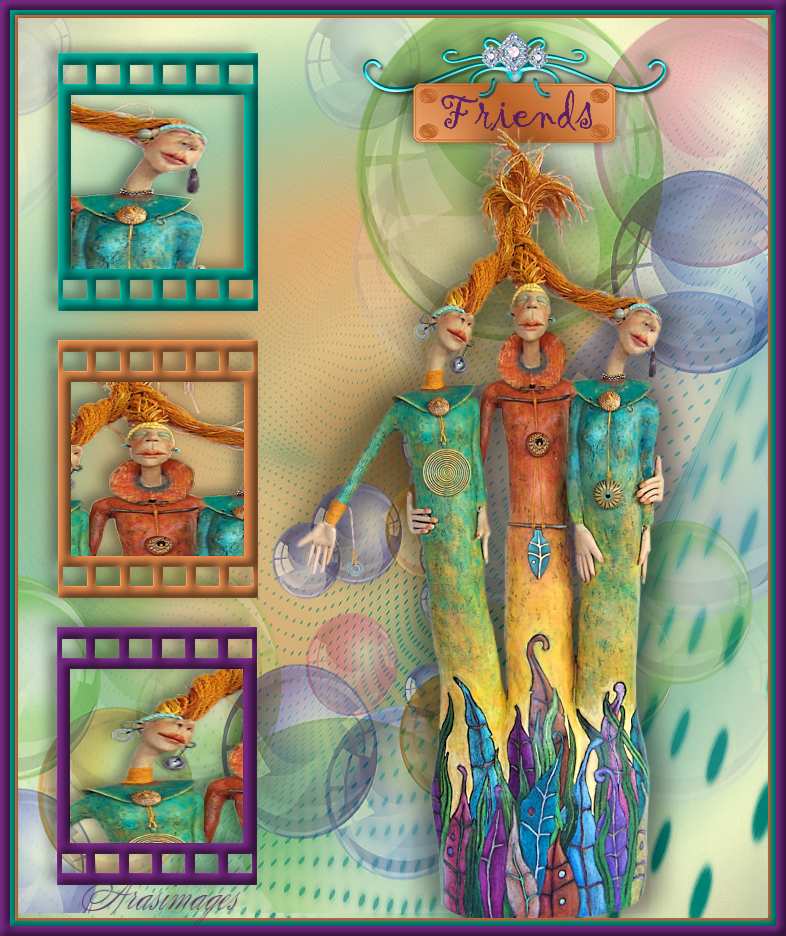
Friends
For an Italian, French, Spanish, Danish, German and Dutch translation, click on the flags.


For this tutorial you will need the materials in the zip file below.

Thanks go to PamelaD for tubing the Tribe of Three by Joan Allen tube and to Silvie for the bubbles tube.
Unzip the materials into a working folder you have created on your desktop named Friends. Please duplicate and close original tubes. Use the copies for your work so you will not lose the originals. Place the Gradient cvm_1204 into your PSP/Gradients folder (if it is not already there). Place the Mask in your PSP Files/Masks folder and the Preset Shapes into your PSP Files/Preset Shapes folder. I have used no extra plugins in this tutorial. It is assumed you have a working knowledge of PSP to follow these directions. I have used PSP2018 for this tutorial but other versions may be used.
Use the little pin below to mark your place along the way.

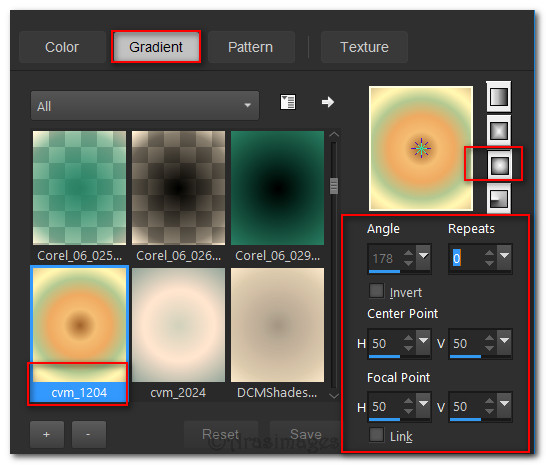
1. In Materials Palette, set Foreground to Gradient cvm_1204.jgd, Background to #008072. Set the Foreground Gradient Style to Sunburst, Angle/Repeats null, Center and Focal Points all to 50, Invert unchecked.
2. New/New Image 750px by 900px. Flood fill with Gradient.
3. Adjust/Blur/Gaussian Blur. Radius set to 11.
4. Layers/New Raster Layer. Flood fill with Background color #008072.
5. Layers/Load/Save Mask/Load Mask from Layer. From dropdown box choose Mask Narah_Mask-0524 Load.

6. Merge/Merge Group.
7. Image/Mirror/Mirror Horizontal.
8. Open Bubbles2_22.01.2016.pspimage. Copy/Paste as New Layer.
9. Using the Pick tool, pull the top and bottom nodes so layer fits the image.
10. Image/Mirror/Mirror Horizontal. Drop Opacity down to 55%.
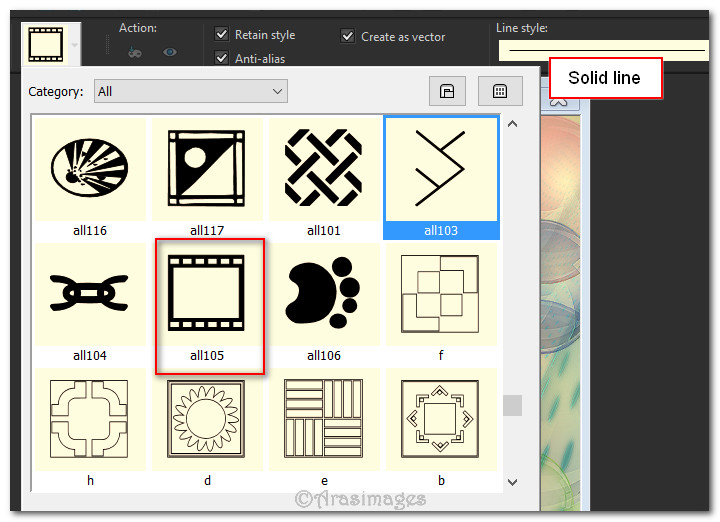
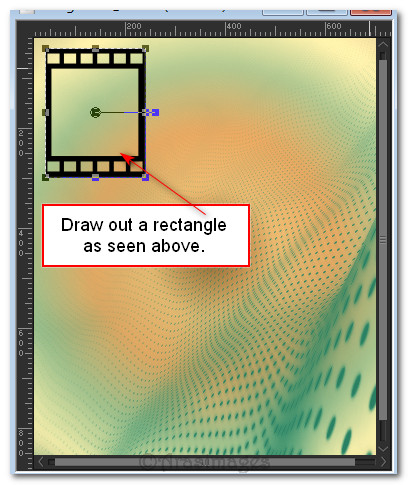
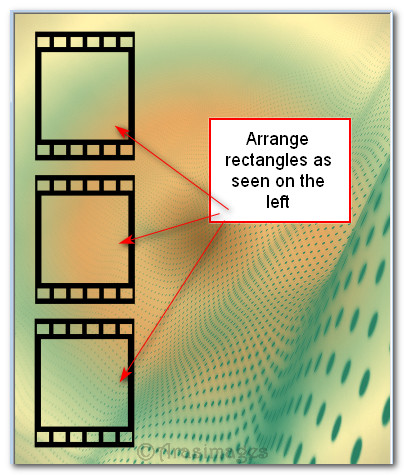
11. From the Tool bar, select the Preset Shape tool. From the shape list on the Presets bar, select pspfun_allerlei3 Preset, also shown as all105 in the drop down, Line Style: Solid, width null. Draw out the shape as shown below.
12. Convert to Raster Layer. Duplicate twice so you have 3 rectangles.
13. Arrange all three rectangles in a row on the left.
14. Using Magic Wand, click inside top rectangle to activate it.
15. Open Tribe of Three.pspimage. Using the Selections tool set to Rectangle, Add (Shift), Feather 0, select around the lady friend on the right. Copy. Go back to the working file and Paste into Selection. Selections/Select None.

16. Move down to the middle rectangle. Activate with Magic Wand like you did with the top rectangle.
17. Go to the Tribe of Three.pspimage. Using Selections tool again, select the center lady friend. Copy.
18. Go back to the working copy/Paste into Selection. Selections/Select None.
19. Repeat process with bottom rectangle and lady friend on the left Tribe of Three.pspimage. Selections/Select None.
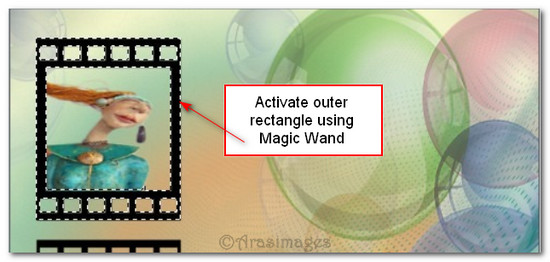
20. Using Magic Wand, click on top Rectangle outer edge to activate it. Flood fill with background color #008072.
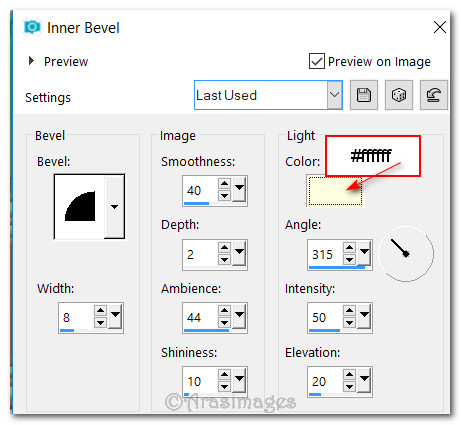
21. Effects/3D Effects/Inner Bevel. OK.
22. Selections/Select None.
23. Move to center rectangle layer. Activate center outer edge with Magic Wand. Flood fill with color #ac693a. Repeat Inner Bevel.
24. Selections/Select None.
25. Move to bottom rectangle layer. Activate bottom outer edge with Magic Wand. Flood fill with color #5b2065. Repeat Inner Bevel.
26. Selections/Select None.
27. Merge/Merge Down twice so all three rectangle layers are merged.
28. Effects/3D Effects/Drop Shadow. Vertical -5, Horizontal -8, Opacity 40, Blur 18, color #000000.
29. Adjust/Sharpness/Sharpen.
30. Open DiamondAccentedDividersByTwisted.psp. Using the Selections tool, select the green divider. Copy.
31. Go back to your working image and Paste as New Layer.
32. Effects/3D Effects/Drop Shadow. Vertical -5, Horizontal -8, Opacity 40, Blur 18, color #000000.
33. Move divider to the top of image on right side.
34. Open Time Sign.pspimage. Copy/Paste as New Layer.
35. Image/Resize/Resize by 112%/Resize all layers unchecked.
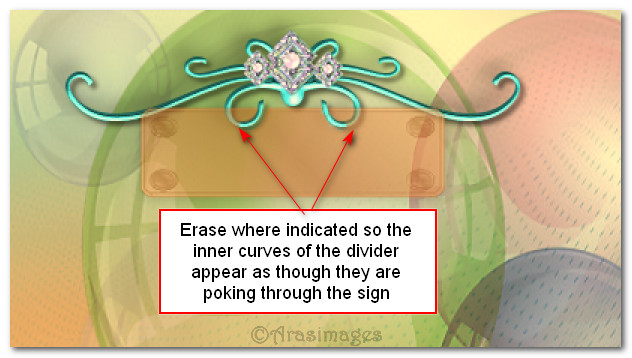
36. Adjust/Sharpness/Sharpen. Move to top over the divider inner curves.
37. Drop Opacity so you can see the divider behind it. Using Eraser tool set to size 7, carefully erase the divider inner curves as seen below. Once erased, put Opacity back to 100%.
38. Effects/3D Effects/Drop Shadow. Vertical -5, Horizontal -8, Opacity 40, Blur 18, color #000000.
39. In Materials Palette set the background color to #5b2065.
40. From Tool bar, select the font Gigi, Size 48px, Stroke width: 0.0, type the word "Friends". Convert to Raster Layer.

41. Duplicate. Merge/Merge Down. Center on sign.
42. Open Tribe of Three by Joan Allen.pspimage. Copy/Paste as New Layer.
43. Effects/3D Effects/Drop Shadow. Vertical 5, Horizontal 16, Opacity 40, Blur 35, color #000000.
44. Effects/3D Effects/Drop Shadow. Vertical -5, Horizontal -16, Opacity 40, Blur 35, color #000000.
45. Move ladies under the sign on right side of image.
46. Adjust/Sharpness/Sharpen.
47. Image/Add Borders/Add 3px border, Symmetric checked, color #ac693a.
48. Activate with Magic Wand.
49. Effects/3D Effects/Inner Bevel. Deselect.
50. Image/Add Borders/Add 5px border, Symmetric checked, color #008072.
51. Activate with Magic Wand. Apply Inner Bevel as in Step #49. Deselect.
52. Image/Add Borders/Add 10px border, Symmetric checked, color #5b2065.
53. Activate with Magic Wand. Apply Inner Bevel as in Step #49. Deselect.
54. Add your name if you wish on a new layer. Merge/Merge Visible.
This tutorial was tested by PamelaD and Evatexas. Thanks ladies!
If you are going to use this tutorial for stationery, cards or place the tutorial/tag on another site, I would appreciate you contacting me for permission, giving Arasimages credit for the original tutorial and if possible, a link back to my site. Thank you.
Copyright © Arasimages All Rights Reserved