
Puddle Pals
For an Italian, Danish, French, Dutch, Spanish and German translation, click on the flags.


For this tutorial you will need the materials in the zip file below.

Thanks go to K@rine for the tube used for the pattern, to Nikita and to the unknown photographer of the little child with ducks.
Unzip the materials into a working folder you have created on your desktop named Puddle Pals. Please duplicate and close original tubes using the copies for your work so you will not lose the originals. Place Masks in your PSP Masks folder. Export all brushes into PSP Files/Brushes. Place the Preset Tiles.jsl in your PSP Preset Shapes folder. Place the pattern into your PSP/Patterns folder. It is assumed you have a working knowledge of PSP to follow these directions. The plugins Graphics Plus/Cross Shadow and Sqirlz Program are used in this tutorial. If you don't have the Sqirlz program, mail me and I'll send it to you. It is an old program and I don't know if it is available online anymore. It is Freeware. I have used PSP2018 for this tutorial but other versions may be used.
Use the little duckie below to mark your place along the way.
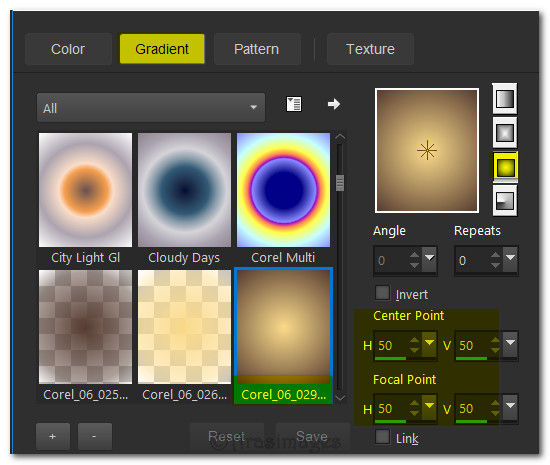
1. In Materials Palette, set Foreground to #f9d681, Background to #4b3025. Create a Gradient using Corel_06_029_foreground/background, Sunburst, Angle/Repeats/Invert all Null, Center Point/Focal Point all set to 50.
2. New/New Image 900px by 700px. Flood fill with Gradient.
3. Layers/New Raster Layer. Selections/Select All.
4. Open 1250182159_nikita_masque.jpg. Copy/Paste into Selection. Selections/Select None.
5. Layers/Blend Mode/Luminance Legacy.
6. Lower Opacity down to 30. Effects/Edge Effects/Enhance.
7. Open 640.jpg (child with ducks). Copy/Paste as New Image in your PSP workspace.
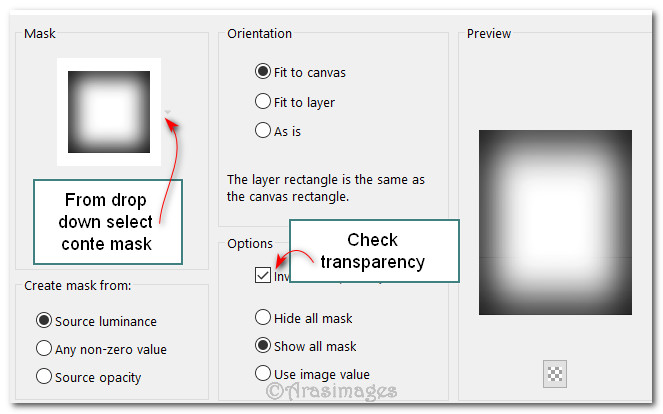
8. Using the new image, Layers/Load/Save Mask/Load Mask From Disk. Select conte.psp mask. Check Invert transparency. Load.
9. Merge/Merge Group. Copy.
10. Go back to main working image. Layers/New Raster Layer. Selections/Select All. Paste into Selection. Selections/Select None.
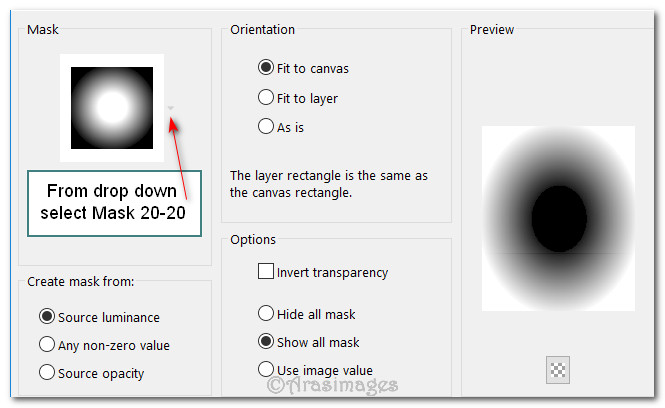
11. Open 640.jpg again. Layers/Load/Save Mask/Load Mask from Disk. Select Mask20-20. Load.
12. Merge/Merge Group. Copy.
13. Go back to main working image. Paste as New Layer.
14. Adjust/Sharpness/Sharpen.
15. Save as working .pspimage file. Merge/Merge Visible and save as a .jpg file named Puddle Pals Background for animation work later.
16. From the tool bar choose Preset Shape A. Use settings as seen below.

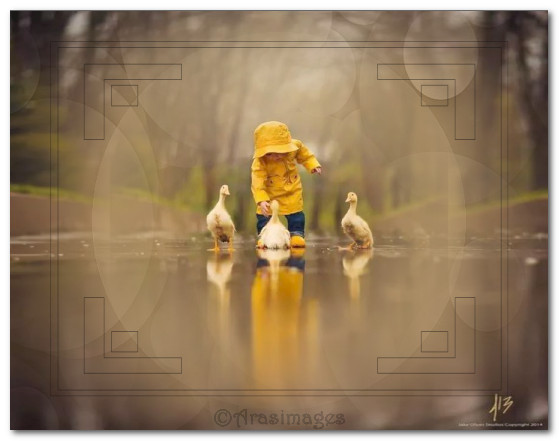
17. Draw out a Preset Shape as seen below. Convert to Raster Layer. I will highlight it in the second snapshot so you can see better where to draw.
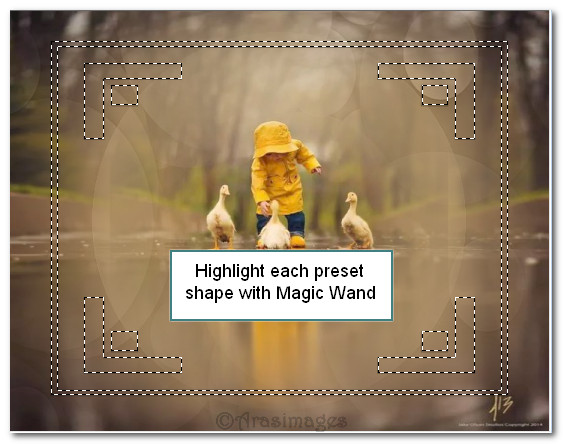
18. With Magic Wand, click on each area of the Preset Shape as seen in above snapshot.
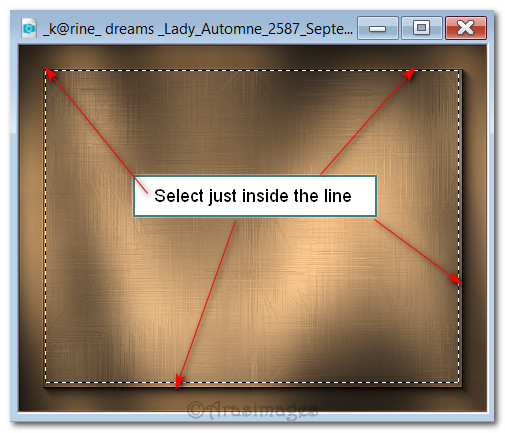
19. Open k@rine_dreams_Lady_Automne_2587_2013.pspimage. Highlight the bottom Raster 1 layer. Draw out a rectangle just inside middle lines using your Selections tool set to Rectangle. Keep open on your working space.
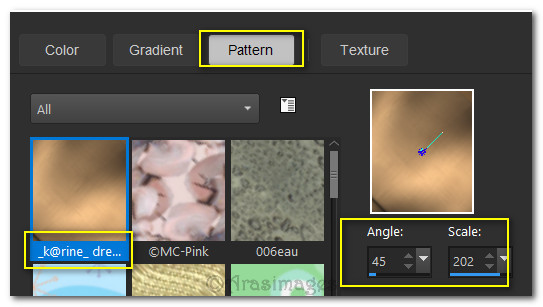
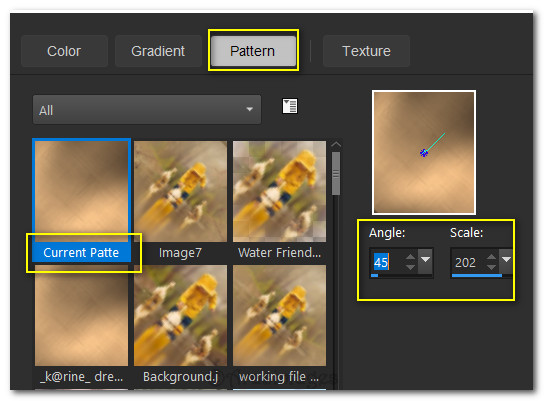
20. In Materials Palette, select Patterns, k@rine_dreams_Lady_Automne_2587_2013, Angle 45/Scale 202. (The pattern is coming from the Layer 1 image you left open.) Back to main image. Flood fill each selected area. Adjust/Sharpeness/Sharpen.
21. Effects/3D Effects/Drop Shadow. Vertical -5, Horizontal 7, Opacity 50, Blur 20, Color 000000.
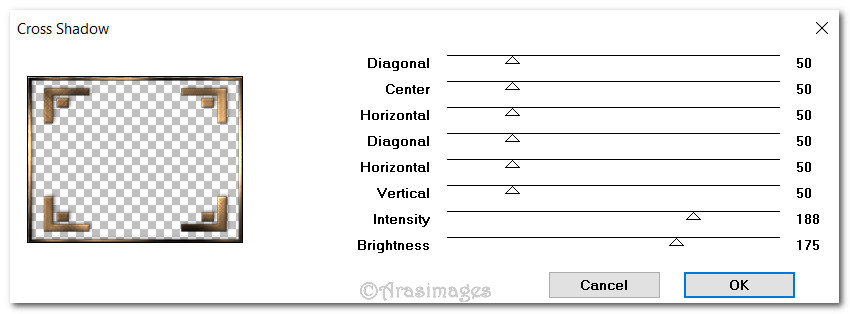
22. Effects/Graphics Plus/Cross Shadow.
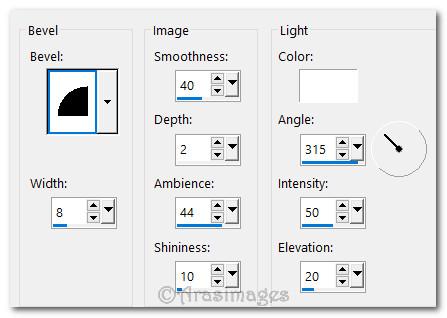
23. Effects/3D Effects/Inner Bevel. OK.
24. Lower Opacity down to 84. Selections/Select None.
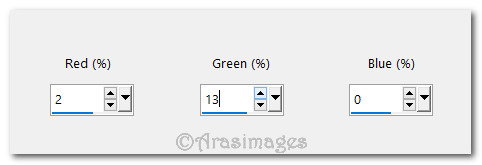
25. Adjust/Color. Red/Green/Blue.
26. Layers/New Raster Layer.
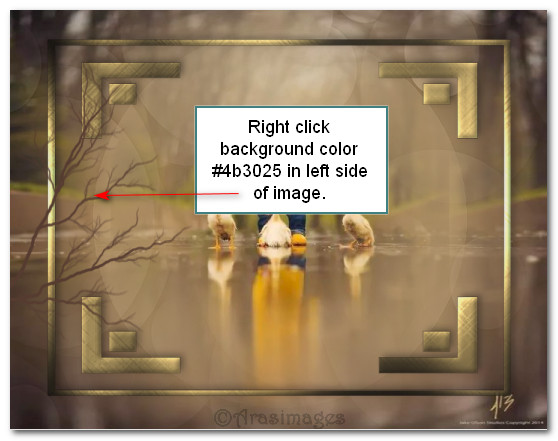
27. From tool bar select Paint Brush tool. From the brushes select Tree Bare Branch with settings as seen below. Right click background color where shown below.

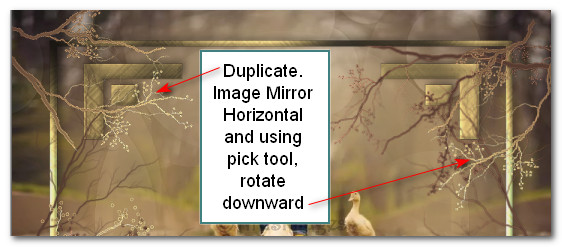
28. Duplicate. Image/Mirror/Mirror Horizontal.
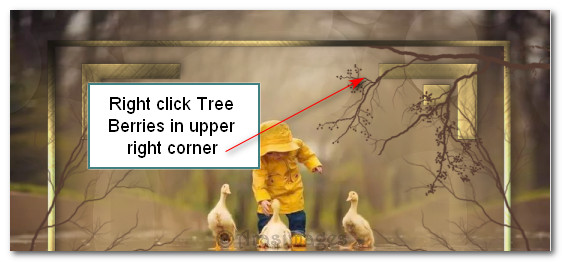
29. Select Brush Tree Berries with settings as seen below. Right click in top right corner as seen below.

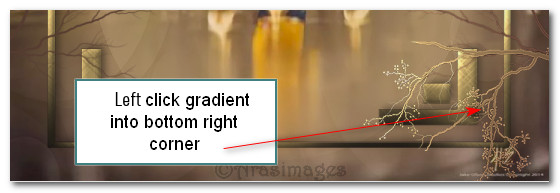
30. Using same Brush Tree Berries, left click gradient in bottom right corner. See example below.
31. Effects/Edge Effects/Enhance. Layers/New Raster Layer.
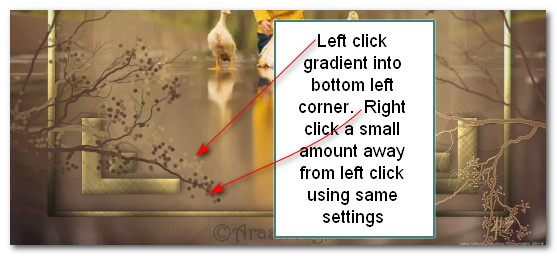
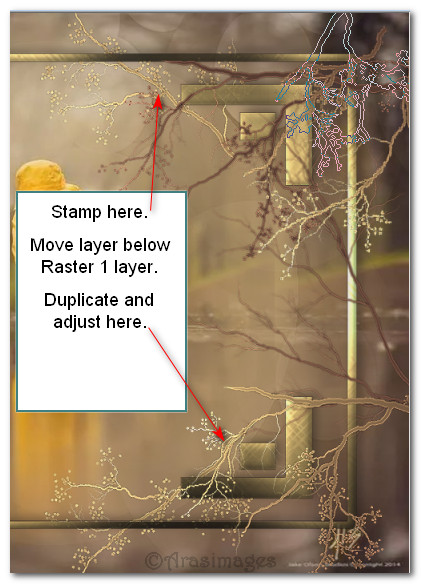
32. Select Brush Tree Branch 008 with settings as seen below. Left click gradient into bottom left corner. A small amount downward right click background color of same brush using same settings.

33. Effects/Edge Effects/Enhance. Layers/New Raster Layer.
34. Select Tree Berries again, using settings as seen below, left click in upper left corner.

35. Effects/Edge Effects/Enhance. Duplicate. Image/Mirror/Mirror Horizontal.
36. Using Pick tool, rotate so branch is pointed downward as seen in example below.
37. Layers/New Raster Layer.
38. Select Tree Branch 008, resize to 300 and leave all other settings the same. Left click gradient in upper right corner.

39. Effects/Edge Effects/Enhance. Pull layer below Raster 1 Layer. (Preset shapes).
40. Duplicate. Image/Mirror/Mirror Vertical. Move bottom flipped branch so it sets within other branches properly.
41. Go back to top layer and highlight it. Layers/New Raster Layer.
42. Sign your name or leave your watermark if you wish. Effects/Edge Effects/Enhance.
43. Close off bottom layer. Merge/Merge/Visible.
44. Selections/Select All. Modify/Contract/Contract by 9px. Invert.
45. Layers/New Raster Layer.
46. In Materials Palette, select Patterns, Current Pattern, Angle 45/Scale 202. Flood fill 9px border with Pattern. (The pattern is coming from the Layer 1 image you left open in Step #19).
47. Effects/3D Effects/Inner Bevel.
48. Adjust/Color/Red/Green/Blue.
49. Selections/Select None. Make sure your bottom layer is closed off. Merge/Merge Down.
50. Save as PSP Animation Shop (*psp) file named PuddlePalsForeground.
FOR ANIMATION USING THE PROGRAM SQIRLZ.
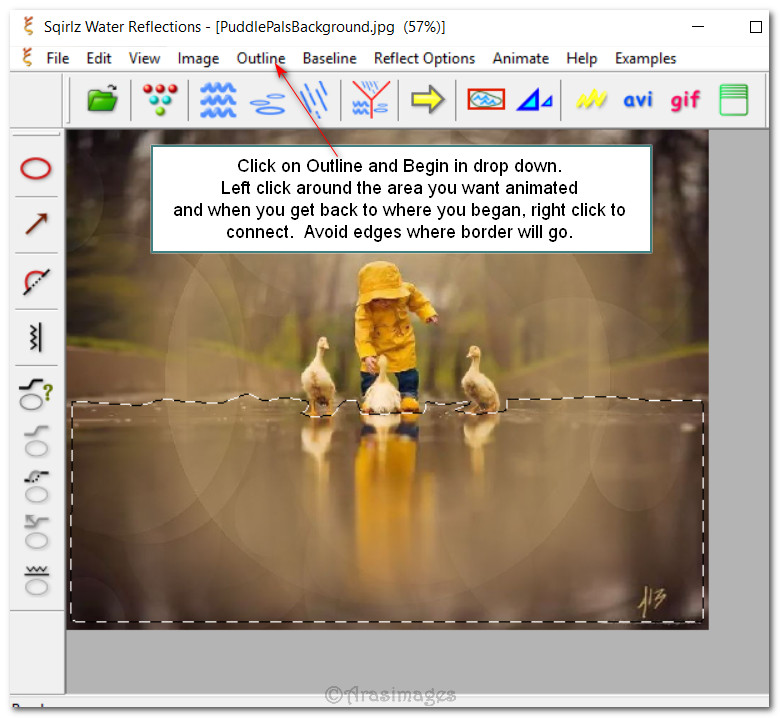
51. Open Sqirlz program. File/PuddlePalsBackground.jpg.
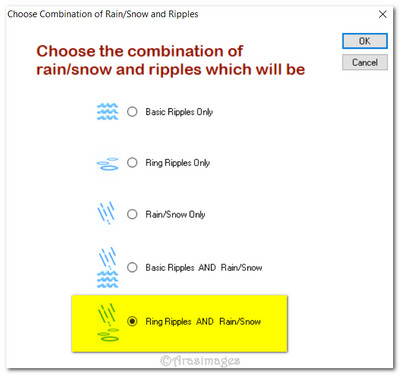
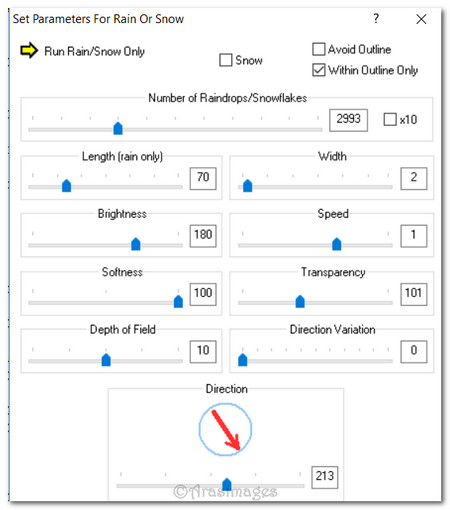
52. Click on the big red Y in top tool bar and when the box opens for you to choose which combination you wish, click on Rain/Snow and Ring Ripples. OK.
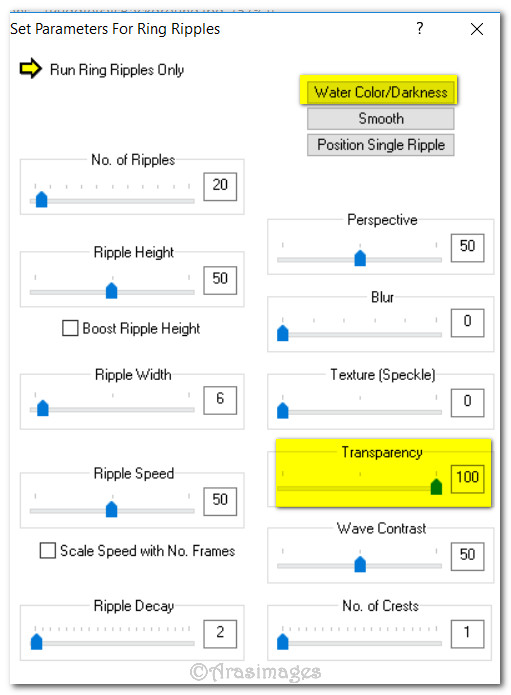
53. Click on Outline/Begin from drop down and left click around the area you wish to have animated. Right click to connect selection. NOTE: Click on the Reflect Options/Customize Ring ripples to set your transparency to 101 for a nicer look to the water.
54. You will want to click on Reflect Options/Customize Ring ripples to set the water color/darkness to No Coloring also. When you are done setting your choices, simply click the boxes closed.
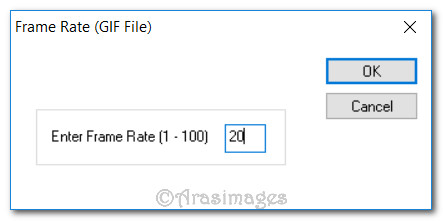
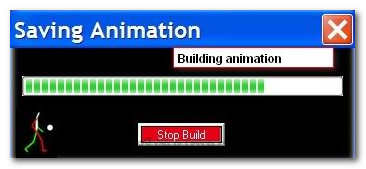
55. Click on the big yellow arrow to try out your animation. If you are satisfied with it, then save it by clicking on the Gif option. When the first box comes up, click OK. Choose where you want to save it (your working folder) and give your work a name. You will see it saving similar to the examples below. If the Frame Rate is set to 15, change it to 20.
56. Open Animation Shop. File/Open/Sqirlz.gif file. Click on the Animation button in the top tool bar to check your animation. If it works fine, then continue. Edit/Select All.
57. File/Open. Open PuddlePalsForeground.psp file. Edit/Copy. Edit/Propagate Paste.
58. Go to the PuddlePalsSqirlz.Gif image. Right click inside the first frame/Paste/Into Selected Frame. Left click to set in place without moving the mouse. All of the frames should have the Foreground in them.
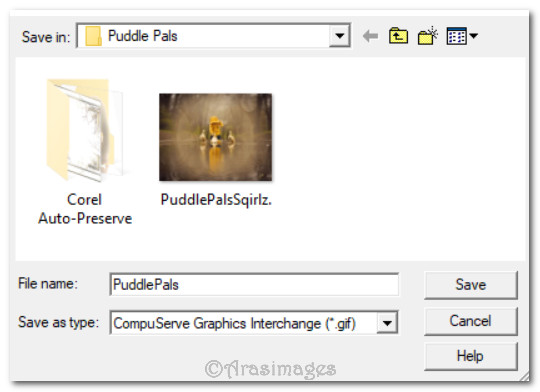
59. To save your work click on File/Save as. When the box appears give your File a name (PuddlePals, Save as type leave as is. Save in Puddle Pals working folder. Click on Save.
60. As the boxes come up, click on Next, Next, Next then Finish. Your finished .gif file should be in your working folder working beautifully!
Congratulations! I hope you enjoyed this hard and animated tutorial!
This tutorial was tested by PamelaD and Evatexas July 2018. Thanks ladies!
If you are going to use this tutorial for stationery, cards or place the tutorial/tag on another site, I would appreciate you contacting me for permission, giving Arasimages credit for the original tutorial and if possible, a link back to my site. Thank you.
Copyright © Arasimages All Rights Reserved