
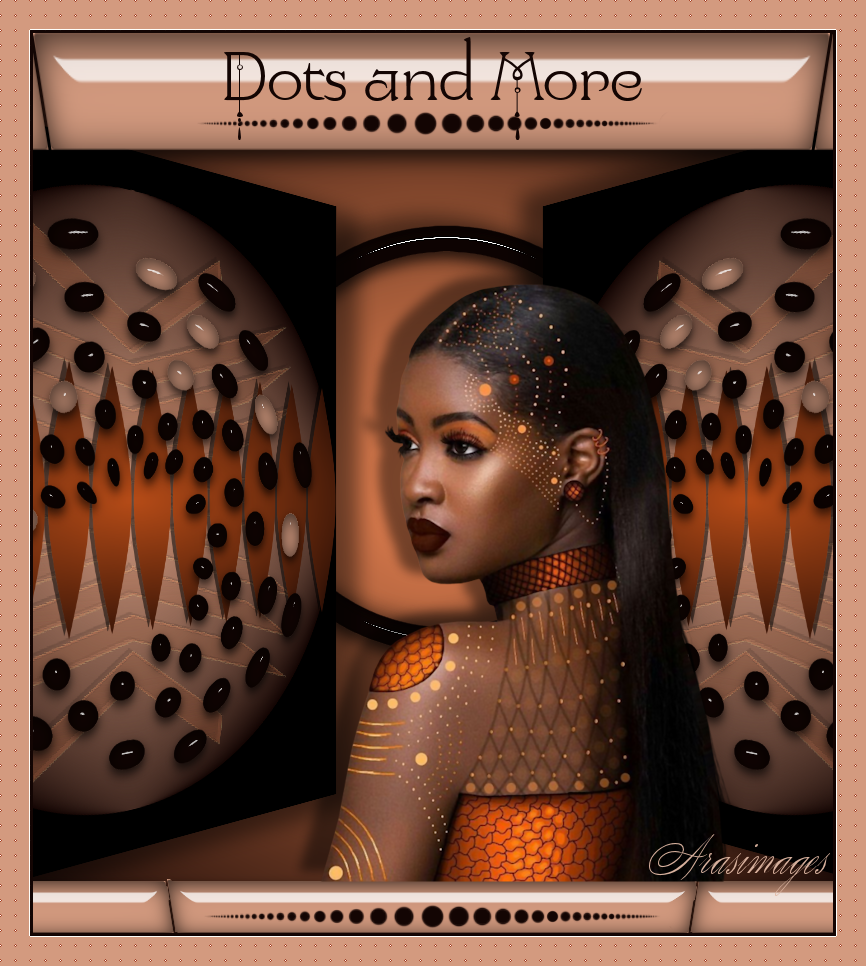
Dots and More
For Dutch, Italian, Danish, German, Spanish and French translations, click on the flags.


For this tutorial you will need the materials in the zip file below.

Thanks go to weiskes.tubes for the lady tube used in this tutorial.
Unzip the materials into a working folder you have created on your desktop named Dots and More. Please duplicate and close original tubes using the copies for your work so you will not lose the originals. Place Selection in your PSP Selections folder. Export all brushes into PSP Files/Brushes. Click on the AlienSkin/Eye Candy 5 Impact/ArasOrganic.f1s file and it will automatically go into your proper folder ready to use. Export the Dots.png file into your PSP/Brushes folder. It is assumed you have a working knowledge of PSP to follow these directions. The plugins Flaming Pear/Flexify 2, AlienSkin/Eye Candy 5 Impact/Glass, Penta/dot and cross and Andromeda/Perspective are used in this tutorial. I have used PSP2019 for this tutorial but other versions may be used.
Use the little dots below to mark your place along the way.

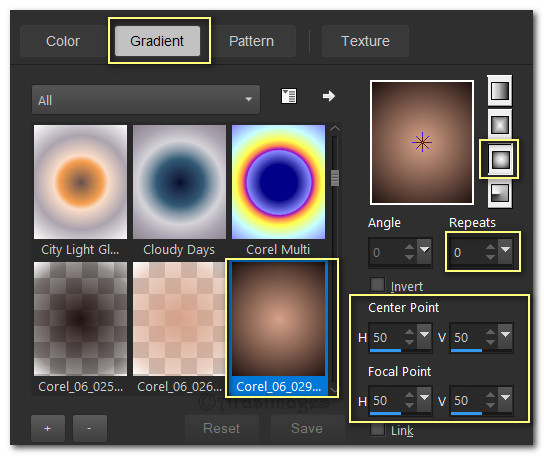
1. In Materials Palette, set Foreground to #d39a7f, Background to #130503. Create a Gradient using Corel_06_029_foreground/background, Sunburst, Angle/Null, Repeats 0, Center Point/Focal Point all set to 50.
2. New/New Image 800px by 900px. Flood fill with Gradient.
3. Effects/Geometric Effects/Circle/Color #000000.
4. From tool bar select Paint Brush/ct.2a psp Brush. Set size to 700.

5. Layers/New Layer. In Materials Palette, set Foreground color #e88352 and left click to stamp one time in center of image. Objects/Align/Center in Canvas.
6. Effects/3D Effects/Drop Shadow. Vertical -4, Horizontal -7, Opacity 53, Blur 0, Color #000000.
7. Effects/Edge Effects/Enhance.
8. Layers/New Raster Layer. In Materials Palette, change color to #b64c18 in Foreground, change back to Gradient using new color. Flood fill new layer with gradient.

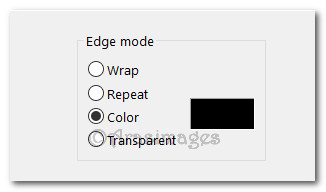
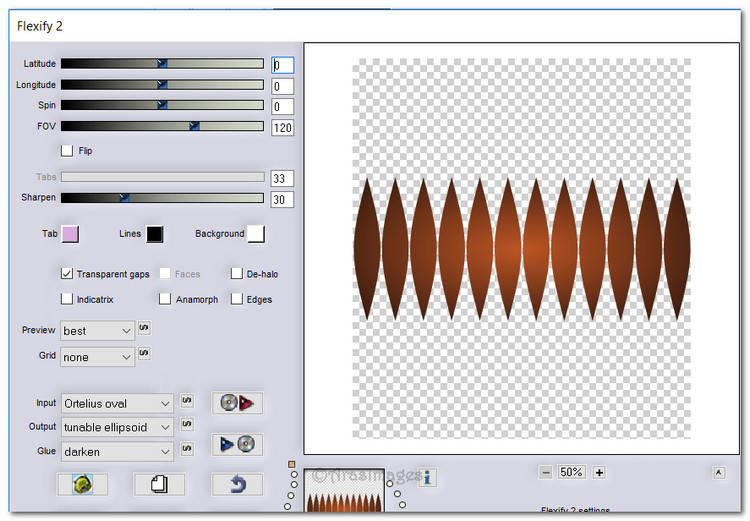
9. Effects/Flaming Pear/Flexify 2.
10. Effects/3D Effects/Drop Shadow. Vertical -4, Horizontal -7, Opacity 53, Blur 0, color #000000.
11. From tool bar select the Paint Brush tool. Choose round_dots set to Size 700.

12. Layers/New Raster Layer. In Materials Palette, using Background color set to #130503, right click in center of image. Objects/Align/Center in Canvas.
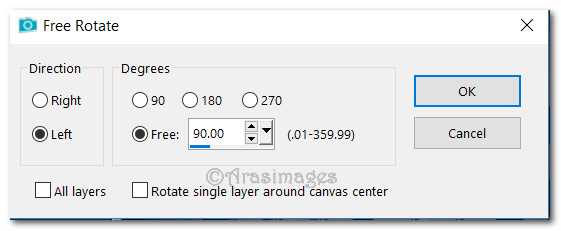
13. Image/Free Rotate/Rotate 90 degrees Left.
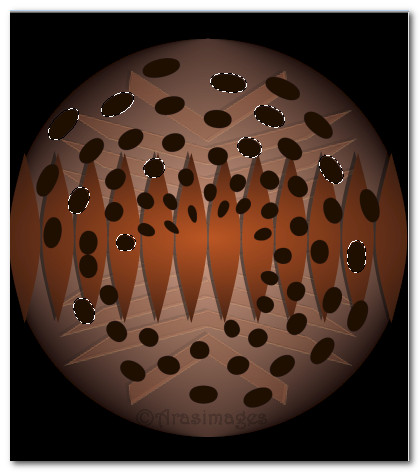
14. Using Magic Wand to activate dots, Left click on dots as you see below.
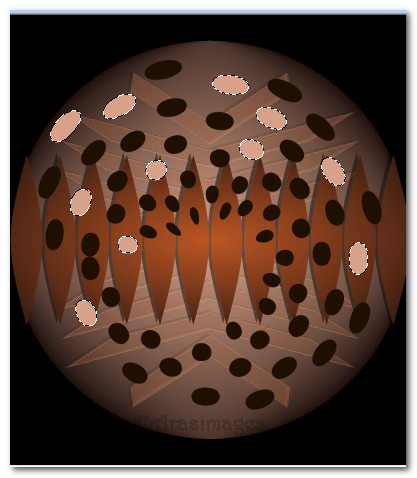
15. In Materials Palette change Foreground color to #d39a7f. Left click to flood fill activated dots to color them all with Foreground color. Deselect.
16. Using Magic Wand, click in center of image to select all dots. Selections/Invert so only dots are selected.
17. Effects/AlienSkin Eye Candy 5: Impact/Glass. Choose ArasClearOrganic under User Settings. Click OK.
![]()
18. Selections/Select None.
19. Merge/Merge Visible.
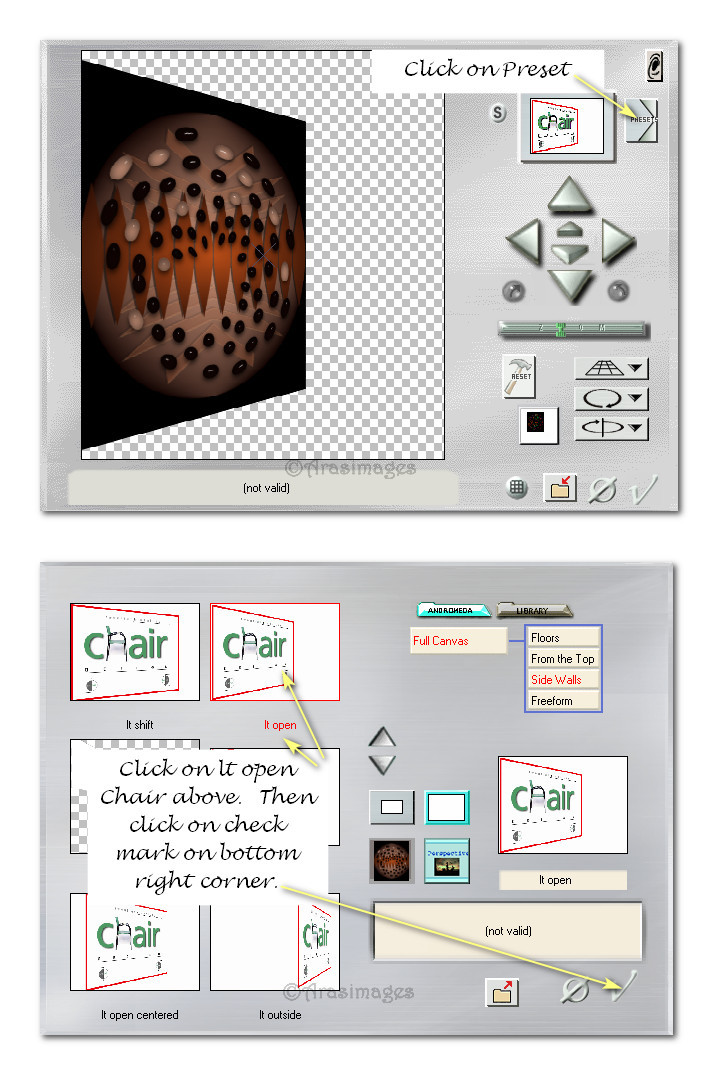
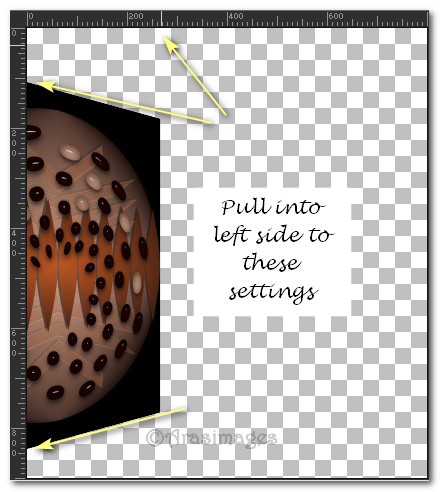
20. Effects/Andromeda/Perspective. Click on Presets in upper right corner. When box appears, select lt open/Chair and then click on the check mark in lower right corner. Click on the check mark once again. See settings below.
21. Pull image into left side as seen below. Duplicate and Image/Mirror/Mirror Horizontal.
22. On left side image apply Effects/3D Effects/Drop Shadow. Vertical 10, Horizontal 22, Opacity 45, Blur 30, color #000000.
23. On Duplicate layer, activate and repeat drop shadow except change Vertical to -10, Horizontal -22.
24. Layers/New Raster Layer. Pull to bottom in layers palette.
25. In Materials Palette, change Foreground color to #e88352. Change to Gradient. Flood new layer with Gradient.
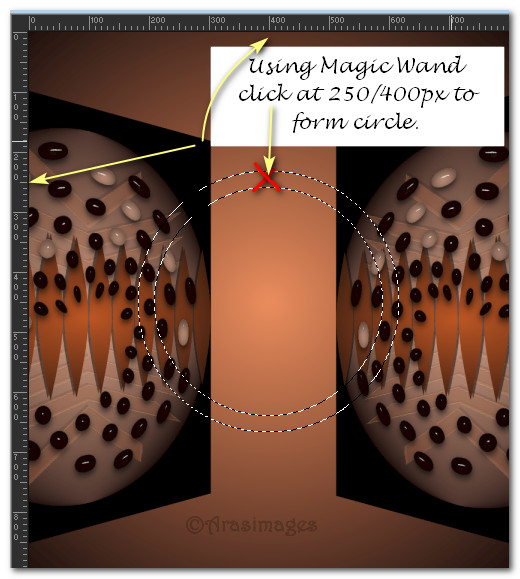
26. Using Magic Wand set to Tolerance 3/Feather 0/Outside, click in upper center at 250px by 400px to form an activated circle.
27. Layers/New Raster Layer. Flood fill circle with Background color. Selections/Select None.
28. Effects/AlienSkin Eye Candy 5: Impact/Glass. Choose ArasClearOrganic under User Settings. Click OK. You might have to adjust the circle after you place the woman on image to surround her face.
29. Effects/3D Effects/Drop Shadow. Vertical -10, Horizontal -22, Opacity 45, Blur 30, color #000000.
30. Go to top of layer palette to continue.
31. Selections/Select/Load Save Selection. Load Selection from Disk. Choose ArasOrganic from drop down. Load.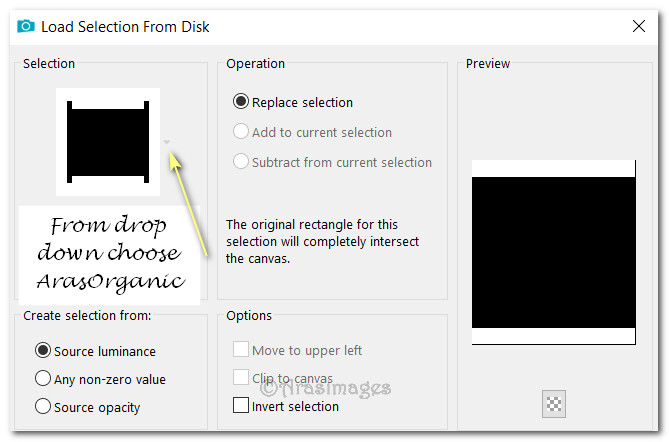
32. Layers/New Raster Layer. Flood fill with Foreground color #d39a7f.
33. Effects/AlienSkin Eye Candy 5: Impact/Glass. Choose ArasClearOrganic under User Settings. Click OK.
34. Selections/Select None.
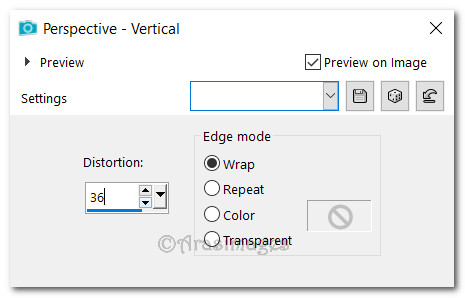
35. Effects/Geometric Effects/Perspective-Vertical.
36. Open wieskes tube 712.png of woman. Copy/Paste as New Layer.
37. Use Eraser tool to erase Wieske watermark.
38. Effects/3D Effects/Drop Shadow. Verical -10, Horizontal -22, Opacity 45, Blur 15, color #000000.
39. Move woman to the bottom and to the left almost in center of image with bottom at selection.
40. Adjust/Sharpness/Sharpen.
41. Using tool bar find the Text tool. Select text Yolanda Princess, Size 96, Font color #130503. Type out the words "Dots and More". Convert to Raster Layer.

42. Objects/Align/Horizontal Center.
43. Layers/New Raster Layer. From tool bar select Paint Brush tool. Choose Stalks7, size 489, Rotation 90 and right click with Background color #130503 below the words. Erase the large dot on the right of Stalks7. Adjust both so they fit nicely on the top bar.

44. Duplicate. Pull down to place on bottom bar. Objects/Align/Horizontal Center.
45. Image/Add Borders/Add 3px border, Symmetric checked, color #130503.
46. Image/Add Borders/Add 30px border, Symmetric checked, color #d39a7f.
47. Using Magic Wand highlight 30px border.
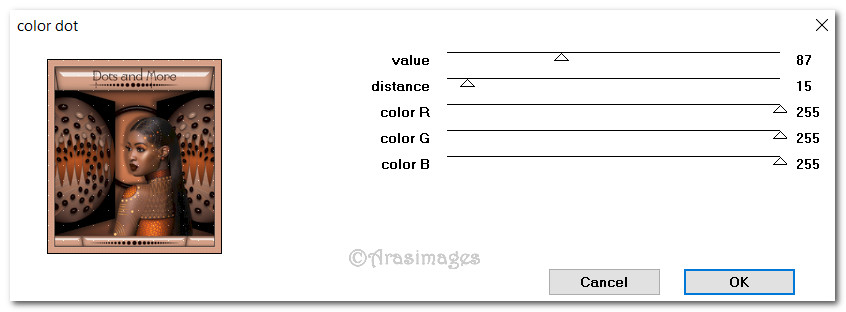
48. Effects/Penta/Color Dot. Use settings below.
49. Effects/Edge Effects/Enhance. Deselect.
50. Stamp your name or watermark on tag if you wish.
If you are going to use this tutorial for stationery, cards or place the tutorial/tag on another site, I would appreciate you contacting me for permission, giving Arasimages credit for the original tutorial and if possible, a link back to my site. Thank you.
This tutorial was tested by PamelaD and Evatexas April 2019. Thanks ladies!
Copyright © Arasimages All Rights Reserved