
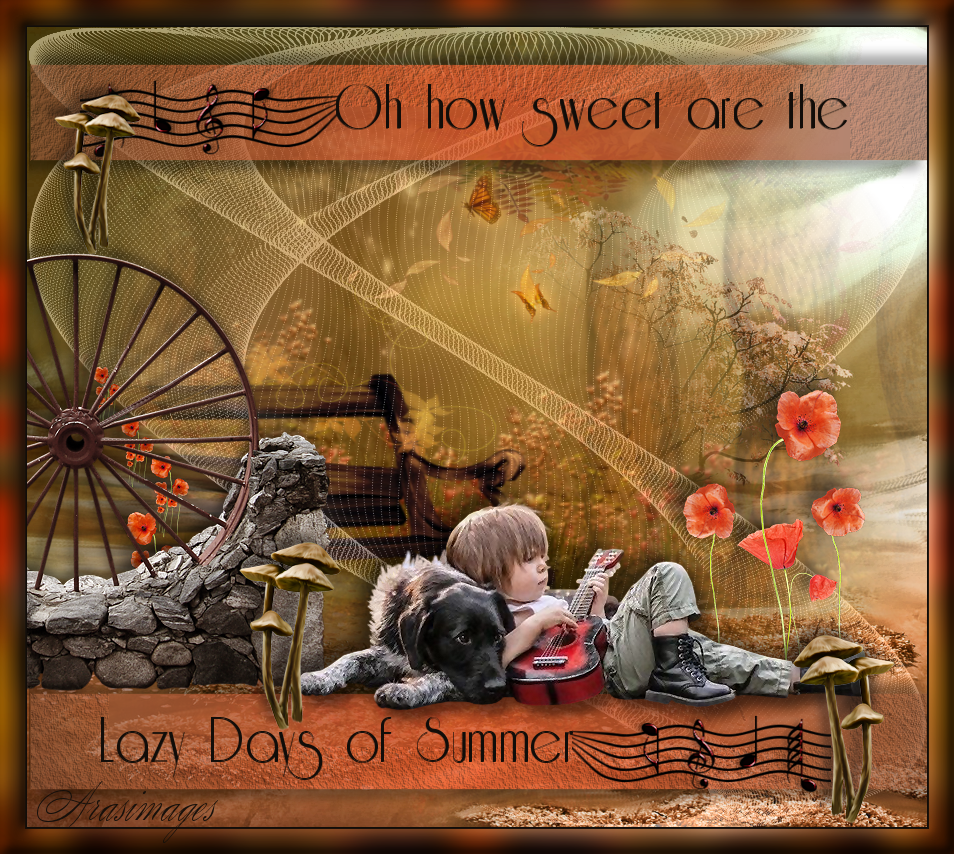
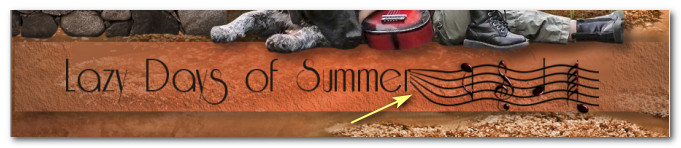
Lazy Days of Summer
For a German, French, Danish, Italian, Dutch and Spanish translation, click on the flags.


For this tutorial you will need the materials in the zip file below.

Thanks go to Wieskes for the little boy and dog tube and to the owners of the other various images I found on the net.
Use the flower below to mark your place along the way.

Unzip the materials into a working folder you have created on your desktop named Lazy Days of Summer. Please duplicate and close original tubes using the copies for your work so you will not lose the originals. Place Selection in your PSP Files/Selections folder. Place Mask 20-20 into PSP Files/Masks folder. Place GD-Wire.cfg Presets File (*cfg) into the Dragonfly/SinedotsII folder. If you already have it, simply replace and ArasimagesLazyDayofSummer will show. It is assumed you have a working knowledge of PSP to follow these directions. Plugins AAA Frames/Texture, V Kiwi's Oelfilter/3.5 Promilee and Dragonfly/Sinedots II/LazyDaysofSummer.cfg have been used. I have used PSP2019 for this tutorial but other versions may be used. Please note that I have used Ctrl+A in place of Select All. Ctrl+A is a short cut for Select All and Ctrl+D is a short cut for Deselect.
1. In Materials Palette, set Foreground to #ec572d, Background to #7f4e33.
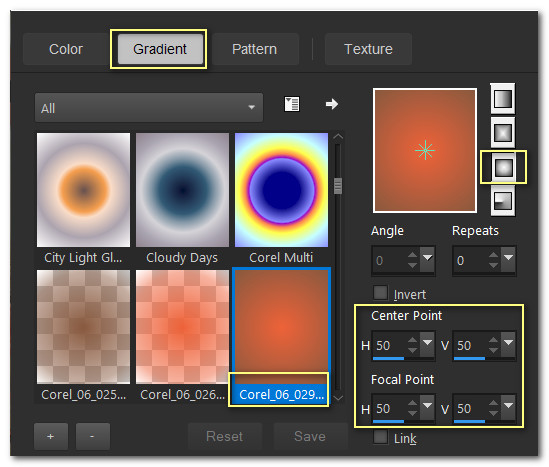
2. Create a Gradient using Foreground/Background colors, Sunburst, Invert unchecked, Corel_06_029 Foreground/Background and Center and Focal Points all set to 50.
3. New/New Image 900px by 800px. Flood fill with Gradient.
4. New/New Raster Layer. Ctrl+A.
5. Open 0_9c3c4_fb96a295_XXL.png background image. Copy. Paste into Section. Ctrl+D.
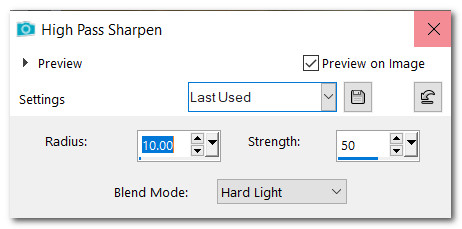
6. Image/Mirror/Mirror Horizontal. Adjust/Sharpness/High Pass Sharpen.
7. Layers/New Raster Layer. Ctrl+A.
8. Open 0_9d5f6_6e884a83_XXL.png image of fence background. Copy. Paste/Into Selection. Ctrl+D.
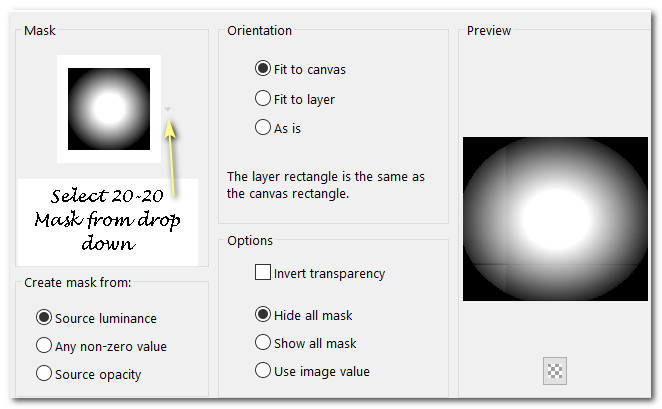
9. Layers/Load/Save Mask/Load Mask from Disk. From drop down select 20-20 Mask. Load.
10. Merge/Merge Group. Image/Mirror/Mirror Horizontal.
11. Layers/New Raster Layer.
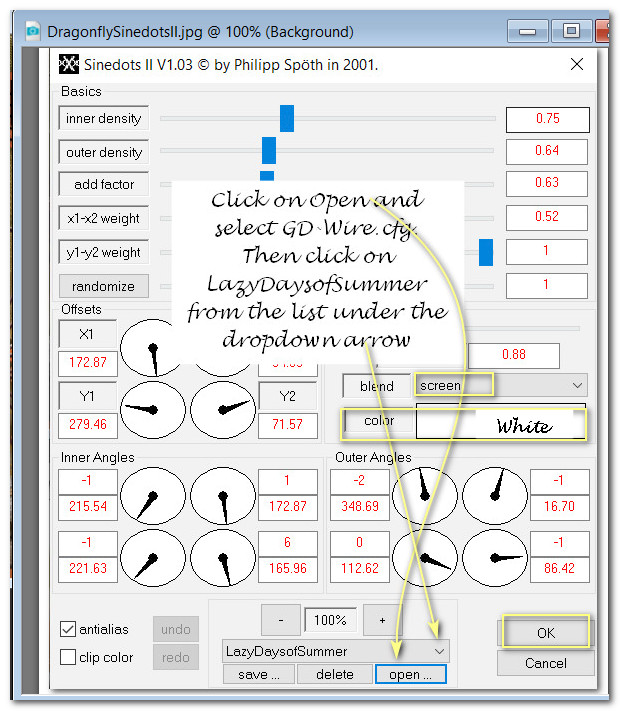
12. Effects/Dragonfly/Sinedots II. Click on Open and find GD-Wire.cfg presets. From drop down arrow, click on LazyDaysofSummer.cfg file. Make sure color is set to #ffffff, blend is set to screen. Click OK.
13. Set to Luminance(L), Opacity to 50.
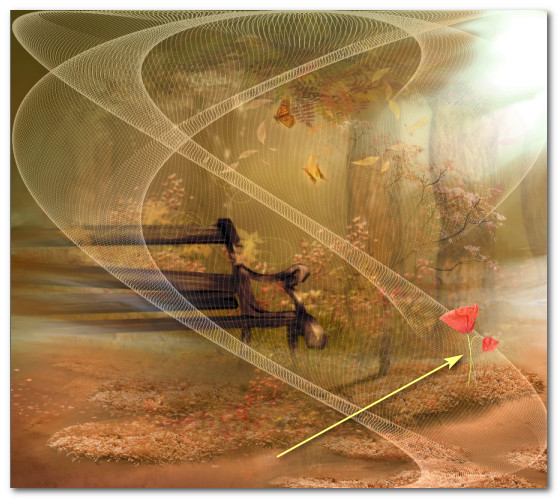
14. Open 0_a6bd0_108c8cf5_L.png flower. Image/Resize/Resize by 28%/Resize all layers checked.
15. Adjust/Sharpness/Sharpen. Copy/Paste as New Layer. Move in to place as seen below.
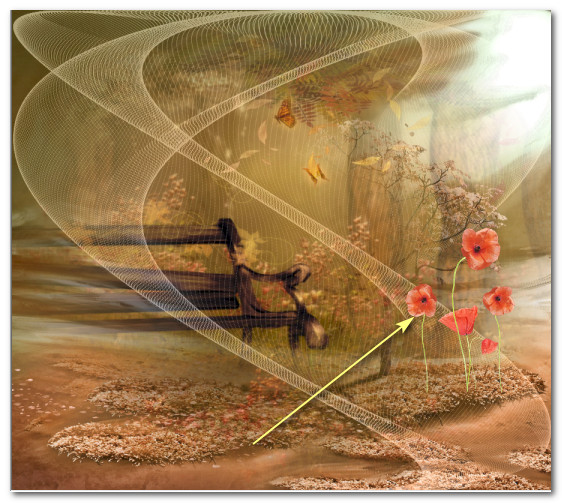
16. Open 0_a6bd2_e3437af1_L.png three flowers. Image/Resize/Resize by 55%/Resize all layers checked.
17. Adjust/Sharpness/Sharpen. Copy/Paste as New Layer. Move in to place as seen below.
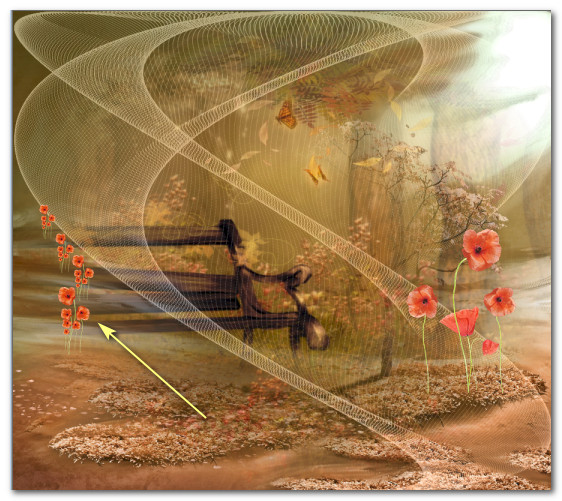
18. Open 0_a6bd4_b424b4f1_L.png group of flowers. Image/Resize/Resize by 53%/Resize all layers checked.
19. Adjust/Sharpness/Sharpen. Copy/Paste as New Layer.
20. Image/Mirror/Mirror Horizontal. Move into place as seen below.
21. Merge/Merge Down Raster 5 with Raster 4. Repeat with Raster 3 so all flowers are on one layer.
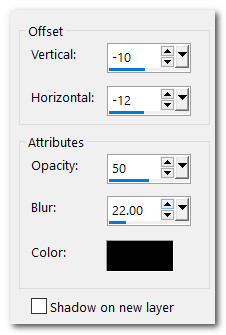
22. Effects/3D Effects/Drop Shadow. Vertical -10, Horizontal -12, Opacity 50, Blur 22, Color #000000.
23. Open Wheel.png image. Copy/Paste as New Layer.
24. Effects/3D Effects/Drop Shadow. Vertical -8, Horizontal -4, Opacity 50, Blur 14, Color #000000.
25. Adjust/Sharpness/Sharpen. Place to the left side of image.
26. Layers/New Raster Layer.
27. Selections/Load/Save Selection/Load Selection from Disk. Select ArasimagesLazyDaysofSummer selection from drop down. Load.
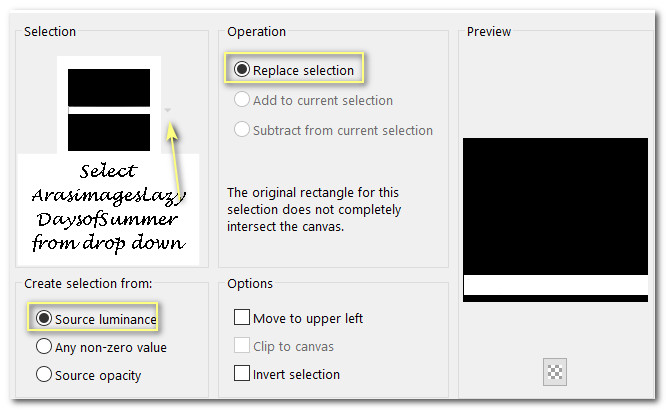
28. Flood fill Selection with Gradient.
29. Effects/3D Effects/Drop Shadow. Vertical -10, Horizontal -10, Opacity 50, Blur 16, color #000000.
30. Effects/3D Effects/Drop Shadow. Vertical 10, Horizontal 10, Opacity 50, Blur 16, color #000000.
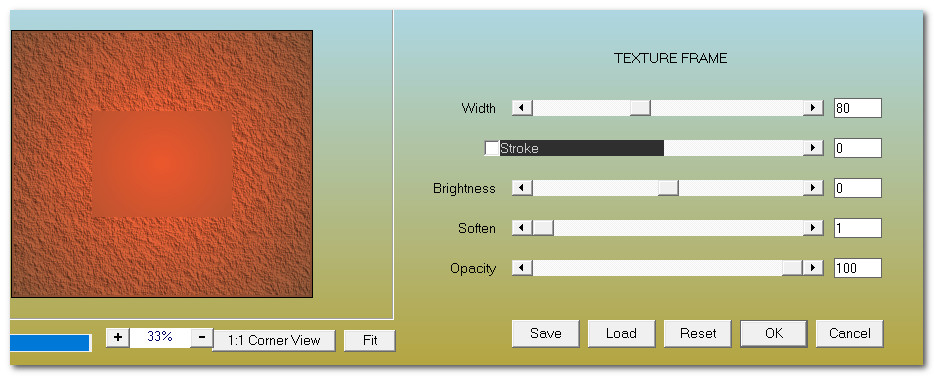
31. Effects/AAA Frames/Texture. Ctrl+D.
32. Layers/Opacity set to 70.
33. Duplicate. Image/Mirror/Mirror Vertical. You now have one selection near bottom and top of image.
34. Open wieskes tube 862.png of little boy and dog. Copy/Paste as New Layer.
35. Using Eraser tool or Selection tool, erase Wieses watermark.
36. Move in front of bench near rocks and a little over Selection. Adjust/Sharpness/Sharpen.
37. Effects/3D Effects/Drop Shadow. Vertical -10, Horizontal -10, Opacity 50, Blur 22, Color #000000.
38. Effects/3D Effects/Drop Shadow. Vertical 10, Horizontal 10, Opacity 50, Blur 22, Color #000000.
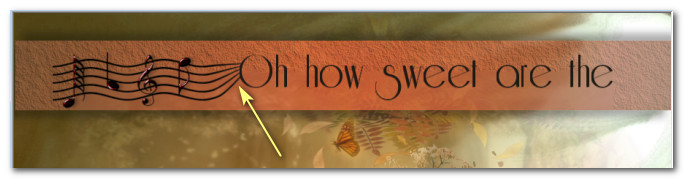
39. From the tool bar, select the text tool. Choose RieslingSize 72 Bold. Color #110d09/Stroke width 0.0.

40. Type out the words "Oh how sweet are the". Convert to Raster Layer.
41. Place on the right side of the top selection. You may have to adjust later.
42. Type out the words "Lazy Days of Summer". Convert to Raster Layer.
43. Place on the left side of bottom selection. You may have to adjust later.
44. Open MusicNotes.png. Copy/Paste as New Layer.
45. Image/Resize/Resize by 80%/Resize all layers unchecked.
46. Place Music Notes to the left of words on the top selection. Adjust so they look as in example below.
47. Duplicate MusicNotes. Image/Mirror/Mirror Horizontal. Place to the right of the bottom words adjusting so they look like example below.
48. Open 0_691ba_ce028eb5_XL.png of toadstools. Image/Resize/Resize by 25%/Resize all layers checked.
49. Copy/Paste as New Layer. Place in front of rocks to left of dog.
50. Effects/3D Effects/Drop Shadow. Vertical -10, Horizontal -10, Opacity 50, Blur 16, Color #000000.
51. Adjust/Sharpness/High Pass Sharpen.
52. Duplicate. Image/Resize/Resize by 85%/Resize all layers checked .
53. Place at the top of the wheel by music notes.
54. Paste toadstools as New Layer again.
55. Image/Mirror/Mirror Horizontal. Place to the right bottom corner of image.
56. Effects/3D Effects/Drop Shadow. Vertical -10, Horizontal -10, Opacity 50, Blur 16, Color #000000.
57. Adjust/Sharpness/High Pass Sharpen.
58. Image/Add Borders. Add 2px border, Symmetric checked, color #110d09.
59. Image/Add Borders. Add 25px border, Symmetric checked, color #ec572d.
60. Select 25px border with Magic Wand. Flood fill with Gradient Foreground #ec572d/Background #110d09, settings the same as Step #2.
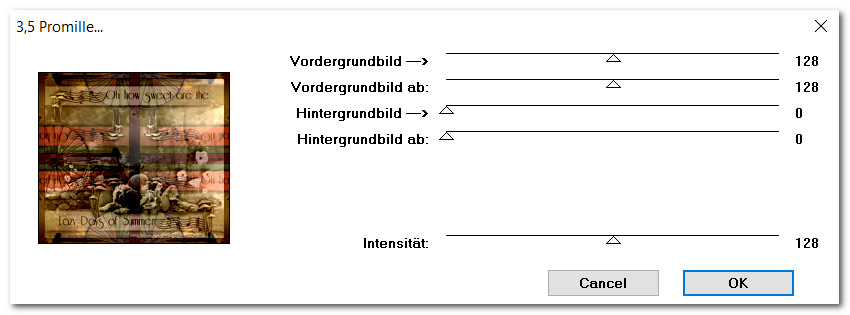
61. Effects/v Kiwis Oelfilter/3.5 Promille.
62. Adjust/Blur/Gaussian Blur. Radius set to 15.
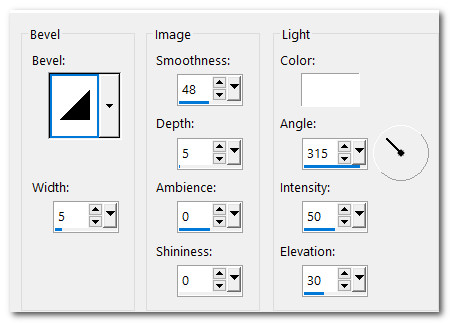
63. Effects/3D Effects/Inner Bevel. Ctrl+D.
64. Image/Add Borders. Add 2px border, Symmetric checked, color #ec572d.
65. Add your name or watermark and save as .jpg or .png file.
Thanks go to Evatexas and PamelaD for their testing of this tutorial July 2019. Thanks Ladies!.
If you are going to use this tutorial for stationery, cards or place the tutorial/tag on another site, I would appreciate you contacting me for permission, giving Arasimages credit for the original tutorial and if possible, a link back to my site. Thank you.
Copyright © Arasimages All Rights Reserved