
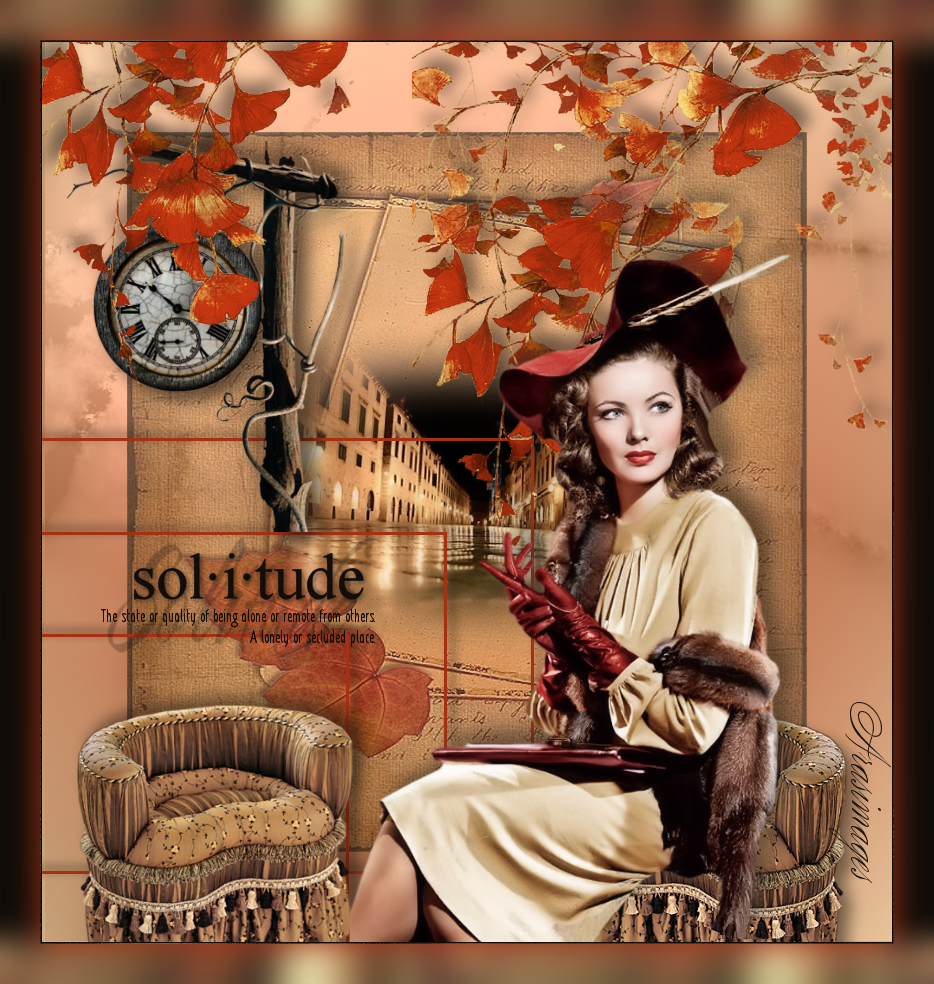
Sitting in Solitude
For a Danish, Italian, Spanish, French and German translation, click on the flags.


For this tutorial you will need the materials in the zip file below.

Thanks go to Nikita for the city scene tube and to the owners of the other various images I found on the net.
Unzip the materials into a working folder you have created on your desktop named Sitting in Solitude. Please duplicate and close original tubes using the copies for your work so you will not lose the originals. It is assumed you have a working knowledge of PSP to follow these directions. Plugins Filter Forge 6/Misc/Sunburst and Toadies/Bitches Crystal and have been used. (NOTE: If you do not have Filter Forge 6, I have included in the materials the layer it would have made for you. Copy and paste where indicated.) I have used PSP2019 for this tutorial but other versions may be used. Please note that I have used Ctrl+D in place of Deselect. Ctrl+D is a short cut for Deselect.
Use the bookmark below to mark your place along the way.

1. In Materials Palette, set Foreground to #a63112, Background to #d1ae85.
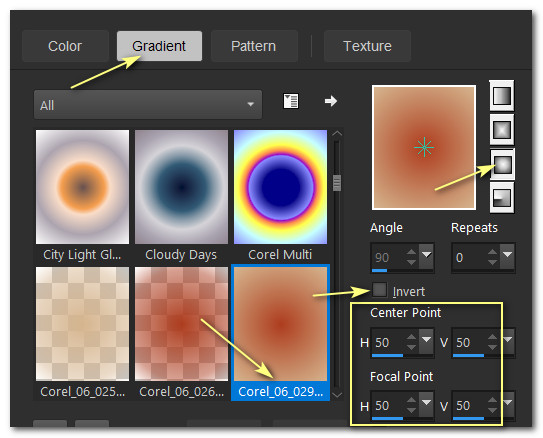
2. Create a Gradient using Foreground/Background colors, Sunburst, Invert unchecked, Corel_06_029 Foreground/Background. Center and Focal Points all set to 50.
3. New/New Image 850px by 900px. Flood fill with Gradient.
4. New/New Raster Layer.
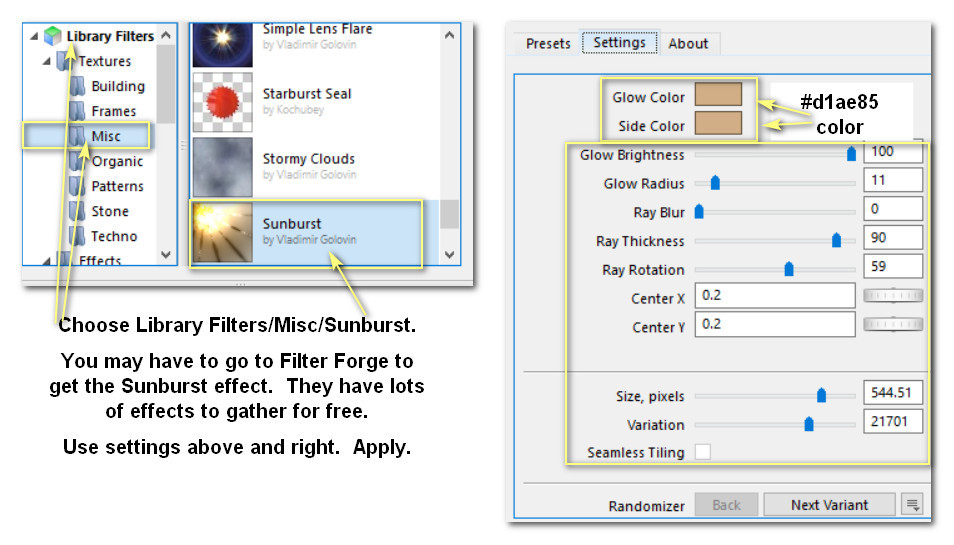
5. Effects/Filter Forge 6/Misc/Sunburst. Apply.
6. Set Blend Mode to Luminance (Legacy)/Opacity to 56.
7. Open K8TwiKOICxEPiaiTsNbC3Jdc4pA@500x643.pspimage. Copy/Paste as New Layer.
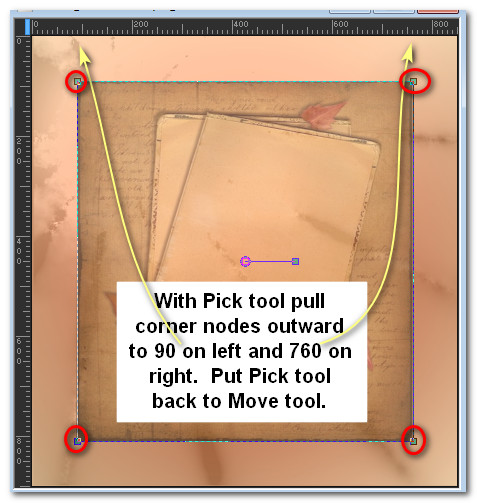
8. Image/Resize/Resize by 112%/Resize all layers unchecked. Use pick tool, corner nodes to pull outward to left 90px/right 760px. Objects/Align/Center in Canvas./
9. Drop Opacity down to 58. Effects/Edge Effects/Enhance.
10. Open downloads_paysages_1250147485_paysages.jpg of city. Copy Groupe layer/Paste as New Layer.
11. Open Furniture156_dhdey.psp of chair. Copy/Paste as New Layer. Image/Mirror/Mirror Horizontal.
12. Effects/3D Effects/Drop Shadow. Vertical 10, Horizontal 10, Opacity 50, Blur 22, color #000000.
13. Move chair into bottom right corner.
14. Adjust/Sharpness/Sharpen.
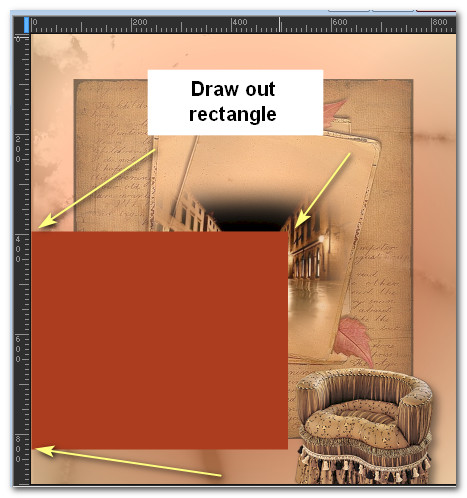
15. Layers/New Raster Layer.
16. Using Selections tool, from about 400px draw right to 490px and down to 830px creating a rectangle. Flood fill with #a63112.
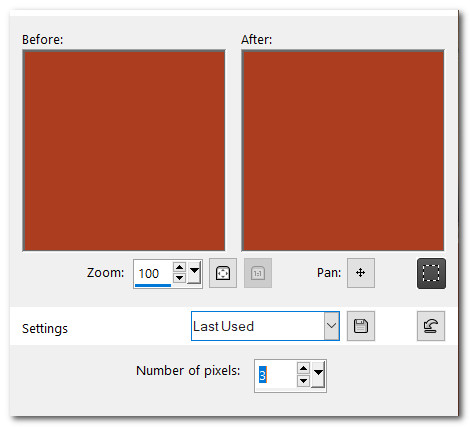
17. Selections/Modify/Contract by 3px. Delete. CRTL+D.
18. Duplicate. Follow my snapshot for placement. Repeat for a 3rd time.
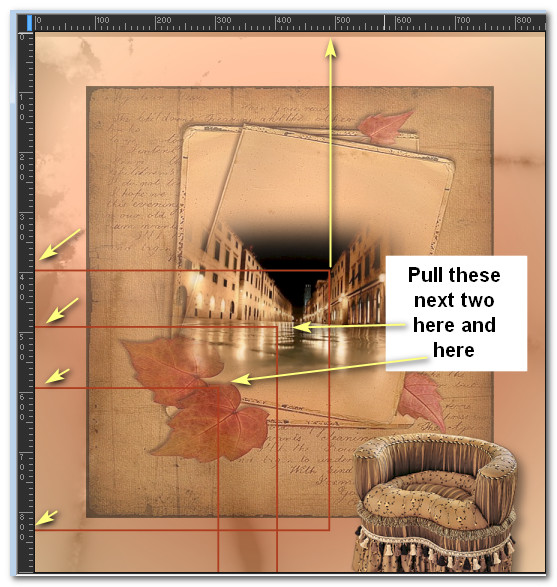
19. Merge/Merge Down Copy of Raster 2 with Raster 2. Merge/Merge Down Copy (2) of Raster 2 so all rectangles are in one layer.
20. Effects/3D Effects/Drop Shadow. Vertical -4, Horizontal 7, Opacity 80, Blur 15, color #000000.
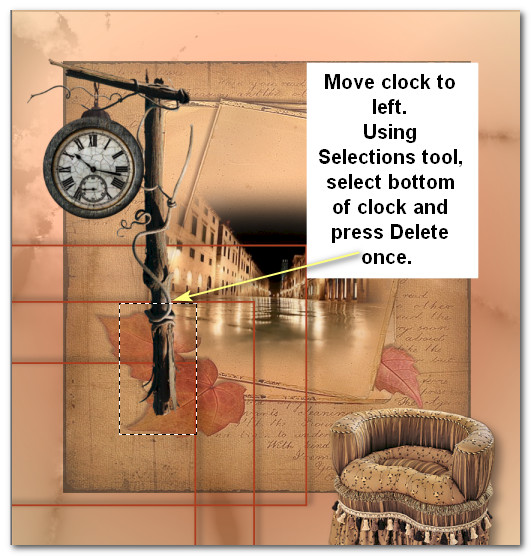
21. Open Clock.pspimage. Copy/Paste as New Layer.
22. Move to left side of image. Using Selection tool select bottom of clock and Delete. CTRL+D. (See snapshot for where to delete).
23. Effects/3D Effects/Drop Shadow. Vertical -10, Horizontal 10, Opacity 50, Blur 22, color #000000.
24. Open Furniture156_dhedey.psp. Copy/Paste as New Layer.
25. Effects/3D Effects/Drop Shadow. Vertical -10, Horizontal 10, Opacity 50, Blur 22, color #000000.
26. Move to bottom left corner.
27. Open Leaves.pspimages. Copy/Paste as New Layer.
28. Image/Mirror/Mirror Horizontal. Move into top left corner.
29. Effects/3D Effects/Drop Shadow. Vertical -10, Horizontal 10, Opacity 50, Blur 22, color #000000.
30. Paste leaves again as New Layer. Mirror/Mirror Horizontal. Place into top right corner. See snapshot for both sets of leaves.
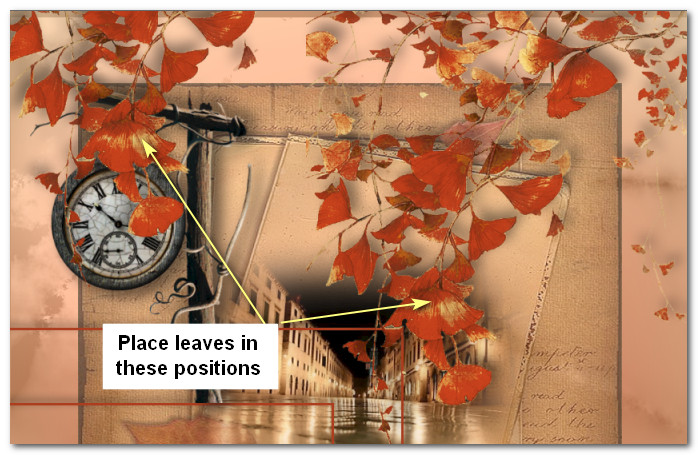
31. Effects/3D Effects/Drop Shadow. Vertical -10, Horizontal 10, Opacity 50, Blur 22, color #000000.
32. Open YEcwt0x6L4H1bhLW4uk7Vo4e9ug@500x724.pspimage of woman. Copy/Paste as New Layer.
33. Effects/3D Effects/Drop Shadow. Vertical-15, Horizontal 15, Opacity 50, Blur 30, color #000000.
34. Place woman into right chair in bottom right corner.
35. Adjust/Sharpness/HighPassSharpen.
36. Layers/New Raster Layer.
37. From Brush tool select Solitude text, Size 305, color #110d09 in background of Materials Palette. Right stamp brush between center and bottom orange lines. Adjust as needed.
38. Duplicate. Merge/Merge Down.
39. Image/Add Borders/Add 2px border, Symmetric checked, color #110d09.
40. Image/Add Borders/Add 40px border, Symmetric checked, color #a63112.
41. Using Magic Wand activate 40px border. Layers/New Raster Layer.
42. Open Background.jpg. Copy/Paste into Selection.
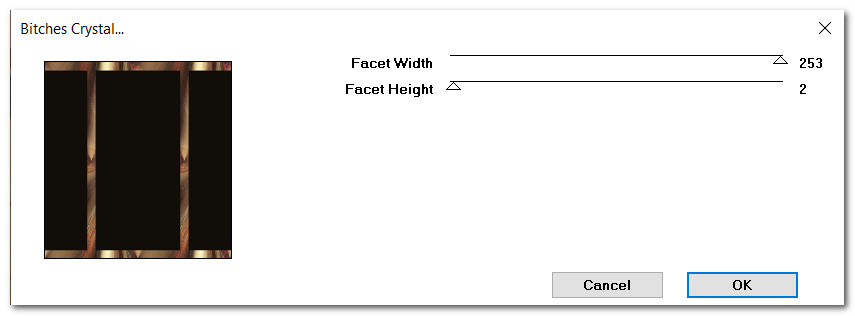
43. Effects/Toadies/Bitches Crystal.
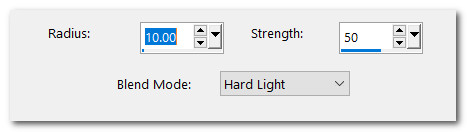
44. Adjust/Blur/Gaussian Blur. Radius 15. CTRL+D.
45. Merge/Merge Visible.
46. Add your watermark or name if you wish. Save as .jpg or .png file for use.
If you are going to use this tutorial for stationery, cards or place the tutorial/tag on another site, I would appreciate you contacting me for permission, giving Arasimages credit for the original tutorial and if possible, a link back to my site. Thank you.
This tutorial was tested by PamelaD and Evatexas September 2019. Thanks ladies!
Copyright © Arasimages All Rights Reserved