

Catching Your Heart
For this tutorial you will need the materials in the zip file below.

For a Danish, Italian, German, Spanish, French and Dutch translation, click on the flags.


Unzip the materials into a working folder you have created on your desktop named Catching Your Heart. Please duplicate and close original tubes using the copies for your work so you will not lose the originals. Click on the Alien Skin Eye Candy:5/Impact TwoHearts.f1s to install it. This tutorial was written using Alien Skin Eye Candy:5 Impact/Bevel, Simple/Top Left Mirror, AAA Frames/Frame Works and effects of PSP. To work this tutorial, it is assumed you have some working knowledge of Paint Shop Pro. I used PSP2020 for this tutorial.
Thanks go to SDT to Nikita and to Cibi for their work used in this tutorial.
Use the heart below to mark your place along the way.

1. In Materials Palette, set the Foreground color to #644a55 and Background color to #281e22.
2. New/New Image 850px by 700px. Selections/Select All.
3. Open Squares3.jpg. Copy/Paste into Selection. Selections/Select None.
4. Using Magic Wand, select outer black square to activate it. Use settings below.

5. Layers/New Raster Layer.
6. Open nikita_reveries_d_19_03.08.jpg of piano keys. Copy/Paste into Selection.
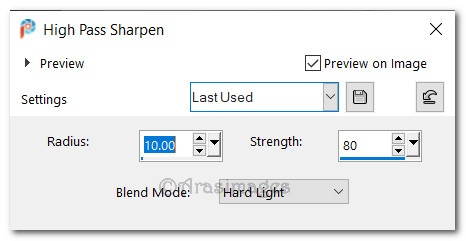
7. Adjust/Sharpness/High Pass Sharpen. Adjust/Sharpness/Sharpen More.
8. Selections/Select None.
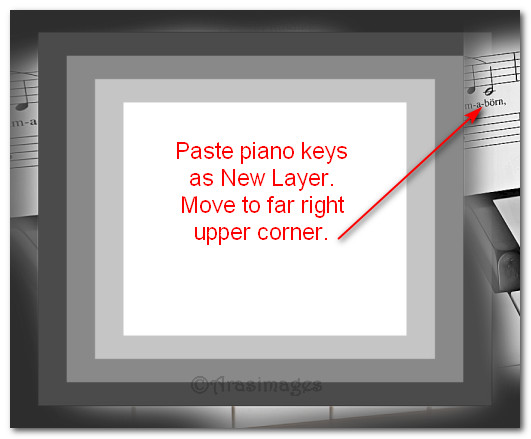
9. Paste piano keys as New Layer. Move to far right side and up a little as seen below. Lower Opacity to 50.
10. Adjust/Sharpness/High Pass Sharpen. Adjust/Sharpness/Sharpen More.
11. Highlight bottom layer.
12. Using Magic Wand, Tolerance set to 20, activate second square inward.
13. Layers/New Raster Layer. Flood fill with Background color #281e22.
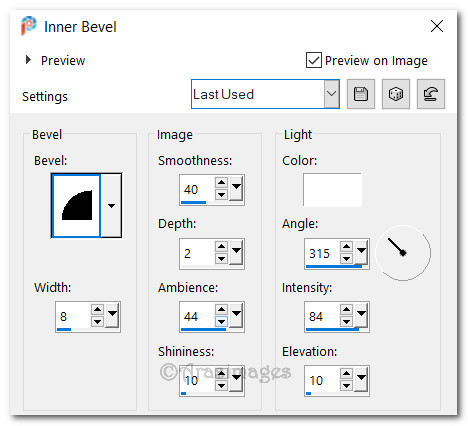
14. Effects/3D Effects/Inner Bevel. Selections/Select None.
15. Highlight bottom layer again. Using Magic Wand, activate third square inward. Flood fill with Foreground color #644a55. Selections/Select None.
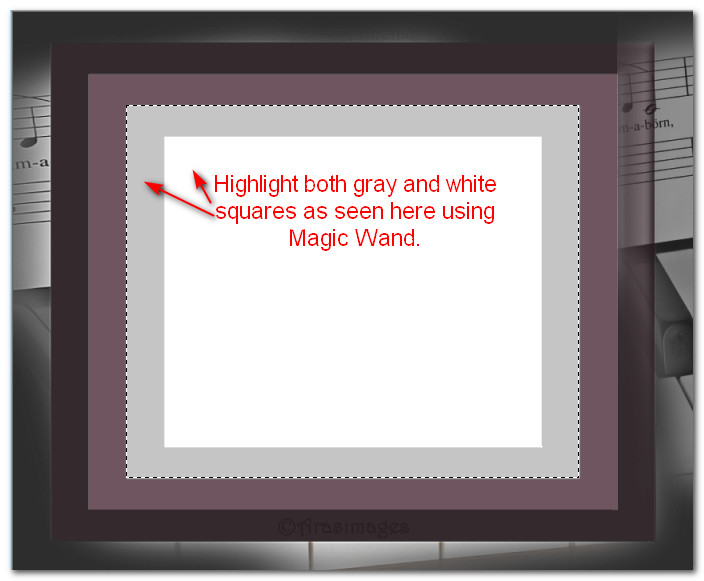
16. Keeping bottom layer highlighted, click on fourth (gray) square and white center square to highlight them.
17. Paste nikita_reveries_d_19_03.08.jpg of piano keys into Selection. (They should still be on clipboard).
18. Adjust/Sharpness/Sharpen More. Selections/Select None. Highlight top layer to continue.
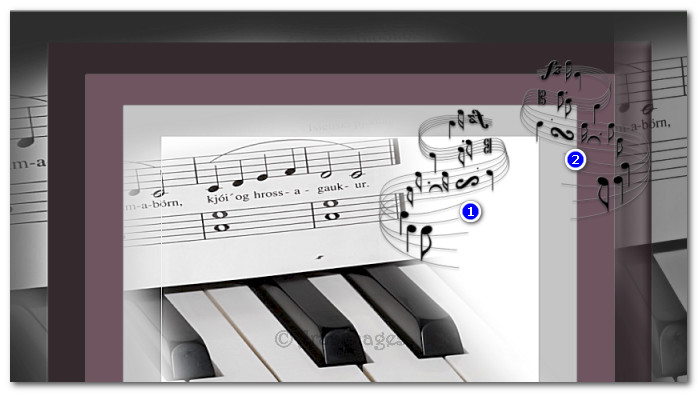
19. Open music-notes.pspimages. Copy/Paste as New Layer.
20. Image/Mirror/Mirror Horizontal.
21. Move to right side toward top. Paste notes again and move to the right of first notes. See placement below.
22. Open Beauty-Lara_HB_by_CibiBijoux.pspimage. Copy/Paste as New Layer.
23. Select watermark and delete. Deselect.
24. Image/Resize/Resize by 80%/Resize all layers unchecked.
25. Adjust/Blur/Gaussian Blur. Radius set to 10.
26. Move lady to right side between notes.
27. Move lady layer down between notes layers. Go to top layer, highlight to continue.
28. Open Tube2203_Love_16_01_09_sdt.psp of hearts. Copy/Paste as New Layer.
29. Image/Resize/Resize by 80%/Resize all layers unchecked.
30. Move hearts so they set on top of gray square, black ribbon in upper left corner and other side of ribbon will not extend all the way.
31. Using Magic Wand select the black heart.
32. Effects/Alien Skin Eye Candy 5: Impact/Bevel. Click on TwoHearts settings. OK. Deselect.
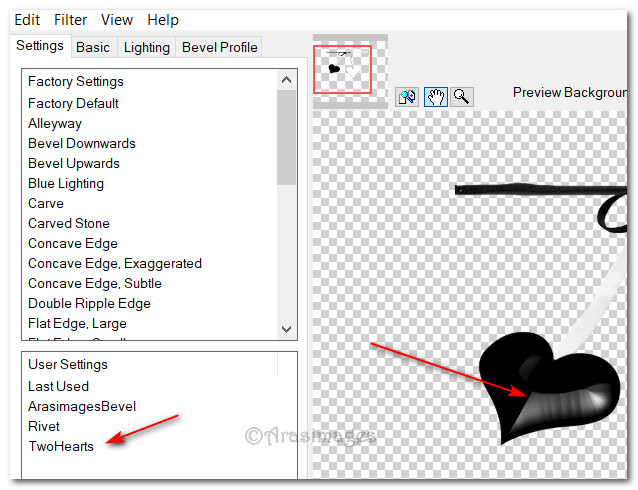
33. Effects/3D Effects/Drop Shadow. Vertical 6, Horizontal -8, Opacity 45, Blur 11, color #000000.
34. Open Beauty-Lara_HB_by_CibiBijoux.pspimage. Copy/Paste as New Layer.
35. Select watermark and delete. Deselect.
36. Image/Resize/Resize by 85%/Resize all layers unchecked.
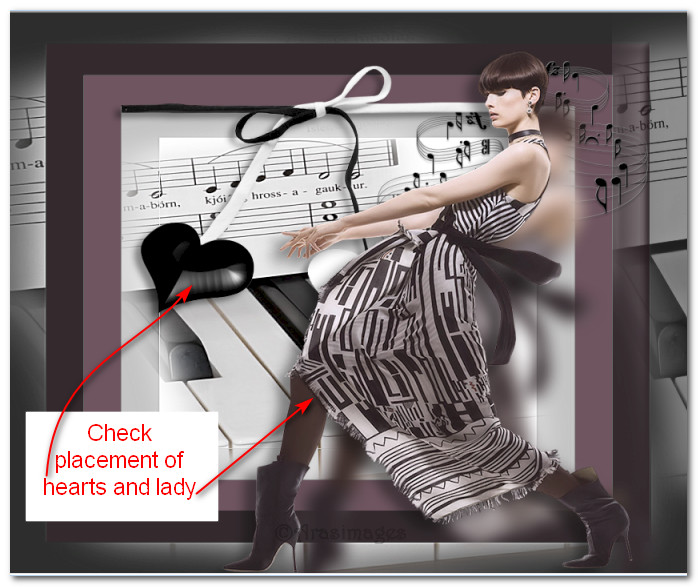
37. Move lady to the left of first blurred lady.
38. Adjust/Sharpness/Sharpen.
39. Effects/3D Effects/Drop Shadow. Vertical 11, Horizontal -15, Opacity 45, Blur 20, color #000000.
40. See image below for placement of hearts and lady.
41. Open Joy-hart.pspimage. Copy/Paste as New Layer.
42. Place heart to hang from ribbon and the two hearts at the top.
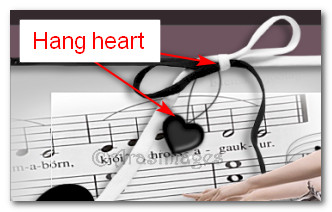
43. Effects/3D Effects/Drop Shadow. Vertical 6, Horizontal -8, Opacity 45, Blur 11, color #000000.
44. Open square.pspimage. Copy/Paste as New Layer. Place square in upper left corner.
45. Flood fill transparent section of square with color #e7dee6.
46. Repeat drop shadow as in Step 43.
47. Effects/Simple. Top Left Mirror.
48. Add Borders/Add 25px border, Symmetric checked, color #e7dee6.
49. In Materials Palette, set Foreground to #e7dee6/Background to #644a55. Create a Gradient with Linear, Angle45/Repeats3, Corel_06_029, Invert unchecked, Center and Focal Points all null.
50. Use Magic Wand on 25px border. Flood fill with Gradient. Deselect.
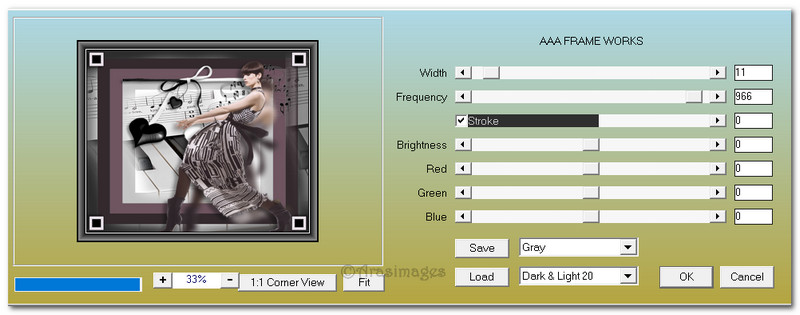
51. Effects/AAA Frames/Frame Works.
52. Image/Add Borders/Add 3px border, Symmetric checked, color #e7dee6.
53. Sign your name or leave your watermark if you wish.
Thanks to PamelaD and EvaTexas for checking this tutorial for me. January 2020.
If you are going to use this tutorial for stationery, cards or place the tutorial/tag on another site, I would appreciate you contacting me for permission, giving Arasimages credit for the original tutorial and if possible, a link back to my site. Thank you.
Copyright © Arasimages All Rights Reserved