
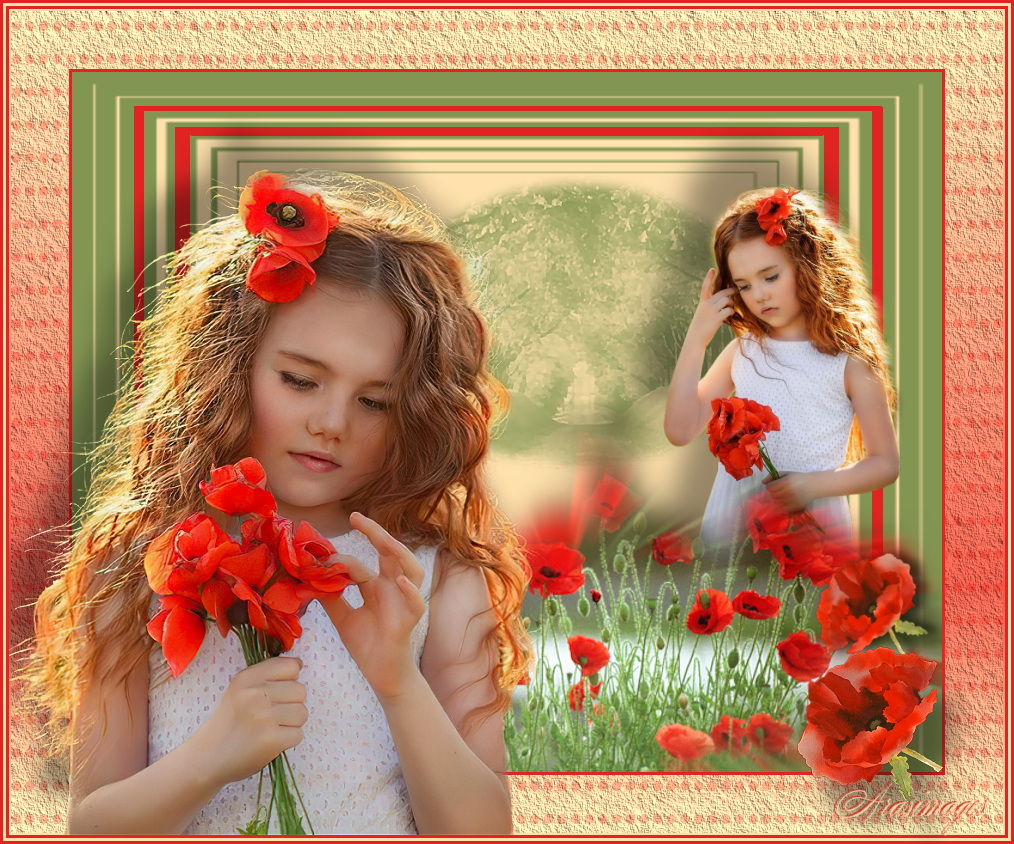
Poppy Twins
For this tutorial you will need the materials in the zip file below.

For an Italian, Danish, German, Spanish, French and Dutch translation click on the flags.


Unzip the materials into a working folder you have created on your desktop named Poppy Twins. Please duplicate and close original tubes using the copies for your work so you will not lose the originals. Export Brush gh_places10 into your PSP Files/Brushes folder. Place Mask jd-mask112 in to your PSP Files/Mask folder. This tutorial was written using MuRa's Seamless/Polkadot and Seamless by Mirror and effects of PSP. To work this tutorial, it is assumed you have some working knowledge of Paint Shop Pro. I used PSP2020 for this tutorial.
Thanks go to Yoka, to Nikita, to Gerry and to PamelaD of Arasimages for their lovely tubes.
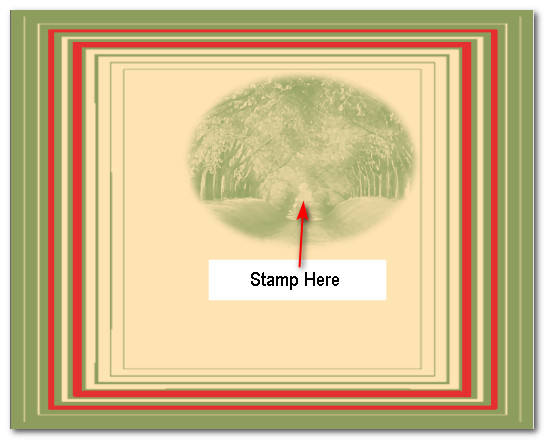
Use the poppy below to mark your place along the way.

1. New/New Image of 870px by 700px. Set Background color to #839552. Flood fill Image with this color.
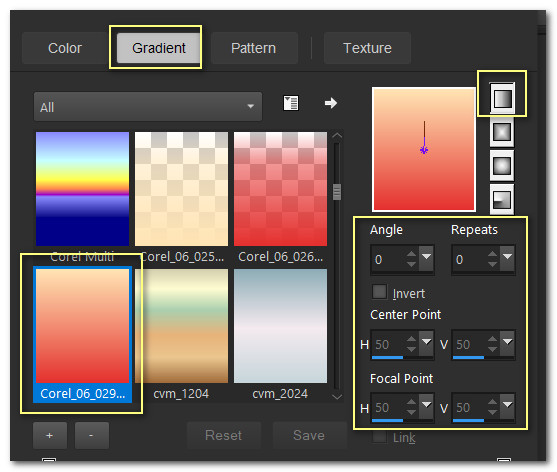
2. In Materials Palette, set Foreground color to #e12422, Background color to #ffe1ac. Create a gradient using these colors, Corel_06_029, Use Linear and Invert unchecked. Angle/Repeats set to 0, Center Point/Focal Point null.
3. Layers/New Raster Layer. Flood fill with Background color #ffe1ac.
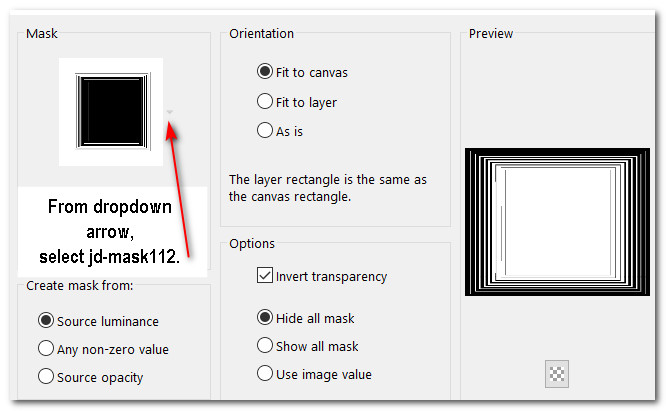
4. Layers/Load/Save Mask/Load Mask from Disk. Select Mask jd-mask112. Load.
5. Merge/Merge Group.
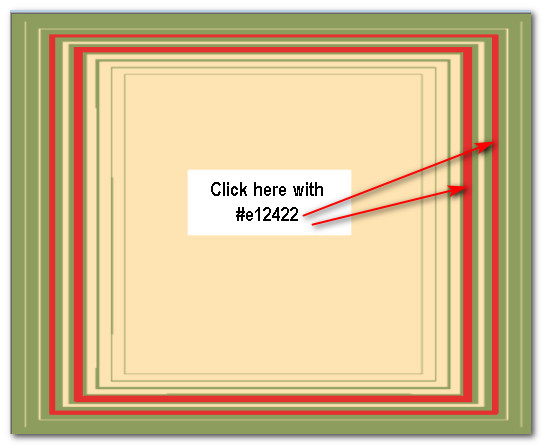
6. Using the Foreground color #e12422, click in these two outlines.
7. Layers/New Raster Layer. Change Background color to #839552.
8. Find Brush gh_places10. Set the size to 400 and right stamp the brush in the upper right quadrant of the image.

9. Open FlowerGirl.pspimage. Copy/Paste as New Layer.
10. Image/Resize/Resize by 56%/Resize all layers unchecked.
11. Image/Mirror. Mirror/Horizontal.
12. Effects/3D Effects/Drop Shadow. Vertical -41, Horizontal -27, Opacity 40, Blur 31, color #000000.
13. Move FlowerGirl to right side of image.
14. Open KaraT17882.pspimage. Copy/Paste as New Layer.
15. Image/Resize/Resize by 120%/Resize all layers unchecked.
16. Move to bottom and right side of image.
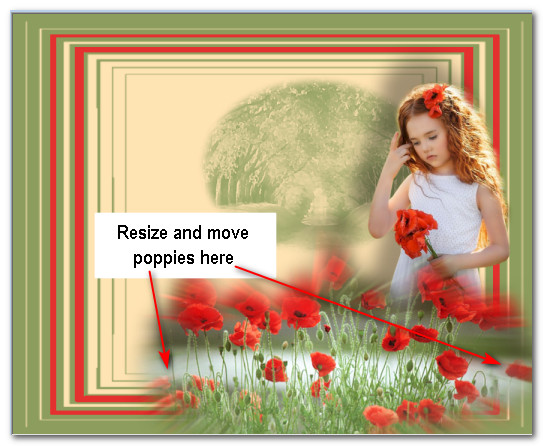
17. Open SmallPoppy.png. Place SmallPoppy near right bottom corner to right of flowers.
18. Image/Add Borders/Add 3px border, Symmetric checked, color #e12422.
19. Image/Add Borders/Add 60px border, Symmetric checked, color #ffe1ac.
20. Using Magic Wand, select the 60px border to activate it. Change Background color back to #ffe1ac/Make original gradient. Flood fill with gradient.
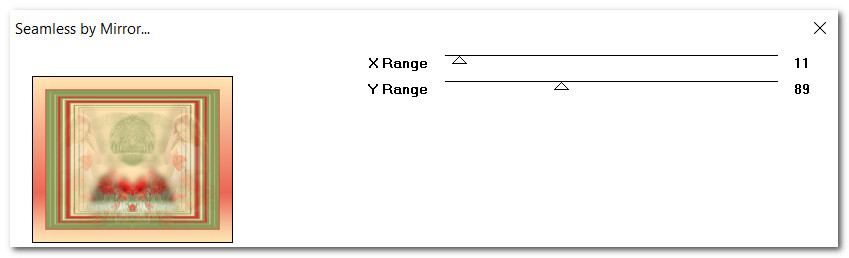
21. Effects/MuRa's Seamless/Seamless by Mirror. Repeat.
22. Layers/New Raster Layer.
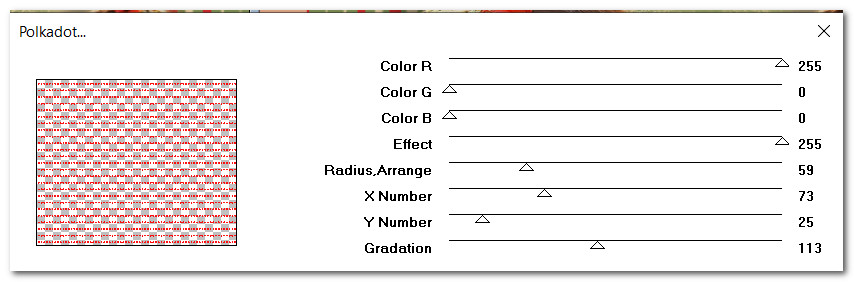
23. Effects/MuRa's Seamless/Polkadot.
24. Drop Opacity down to 25. Deselect. Merge/Merge Down.
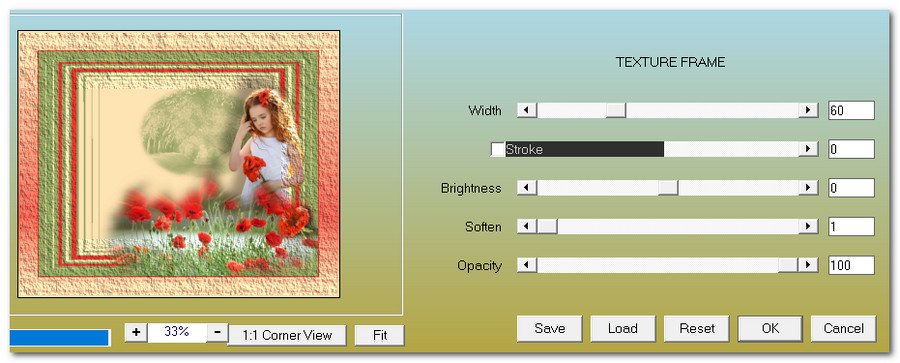
25. Effects/AAA Frames/Texture Frames.
26. Open 1293385642_enfants_nikita.png. Copy/Paste as New Layer.
27. Image/Resize/Resize by 86%/Resize all layers unchecked.
28. Using Selections tool, select Nikita's watermark and press Delete. Deselect.
29. Effects/3D Effects/Drop Shadow. Vertical -41, Horizontal -27, Opacity 40, Blur 31, color #000000.
30. Adjust/Sharpness/Sharpen. Place little girl in bottom left corner.
31. Image/Add Borders/Add 3px border, Symmetric checked, color #e12422.
32. Image/Add Borders/Add 3px border, Symmetric checked, color #ffe1ac.
33. Image/Add Borders/Add 3px border, Symmetric checked, color #e12422.
34. Open Yoka-Poppie-050408-small.pspimage. Copy/Paste as New Layer.
35. Image/Resize/Resize by 50%/Resize all layers unchecked.
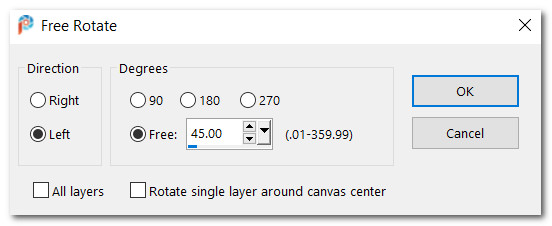
36. Image/Free Rotate/Rotate Left by 45 degrees.
37. Effects/3D Effects/Drop Shadow. Vertical 38, Horizontal 23, Opacity 40, Blur 31, color #000000.
38. Adjust/Sharpness/Sharpen.
39. Place poppy to the bottom right side in corner by red border.
40. Add your watermark or name if you wish, Merge/Merge Visible and save as .jpg or .png file.
Thank you PamelaD and EvaTexas for checking this tutorial for me. May 28, 2020.
If you are going to use this tutorial for stationery, cards or place the tutorial/tag on another site, I would appreciate you contacting me for permission, giving Arasimages credit for the original tutorial and if possible, a link back to my site. Thank you.
Copyright © Arasimages All Rights Reserved