
For an Italian, French, Spanish and German translation click on the flags.


For this tutorial you will need the materials in the zip file below.

Create a folder on your desktop named Come Into Fall's Orb. Unzip the materials zip file into this folder. Place the mask 1250182062_nikita_masqe in your PSP Files/Masks folder. I have used the plugins Graphics Plus/Vertical Mirror, Xero/Fritillary and Bordermania/Ripple in this tutorial as well as effects of the PSP. I used PSP 2020. To work this tutorial, it is assumed you have some working knowledge of Paint Shop Pro.
Thanks go to Margit for her leaves tube, Maryse for her lady with leaves and Suzi Sgai for her woodland tube.
Use the FollowMe Leaf below to mark your place along the way.

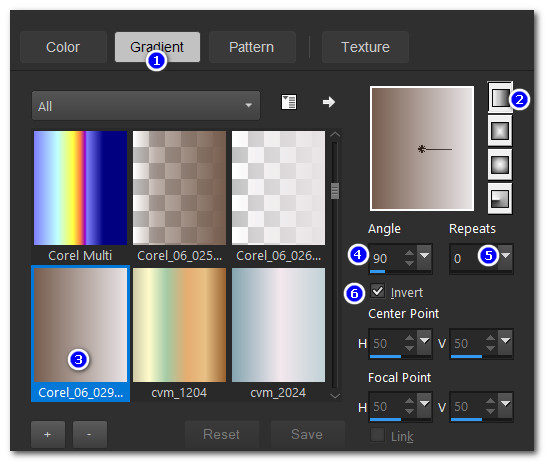
1. In Materials Palette, set the Foreground to color #e8e3e5, Background color to #765d4e Create a Gradient using Corel_06_29 foreground/background, Linear, Angle 90/Repeats 0, Invert checked.
2. File/New/New Image. 900px X 700px. Selections/Select All.
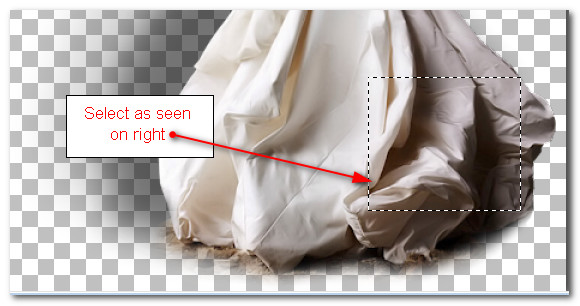
3. Open MR_Sasha autumn.png lady. With Selections tool set to Rectangle/Add (Shift)/Feather 0, select a section of the lady's skirt as seen below. Copy.
4. On New Image, Paste/Paste into Selection. Selections/Select None.
5. Layers/New Raster Layer. Flood fill with Background color #765d4e. Pull below Raster 1.
6. Set Raster 1 to Luminance (L). Merge/Merge Down.
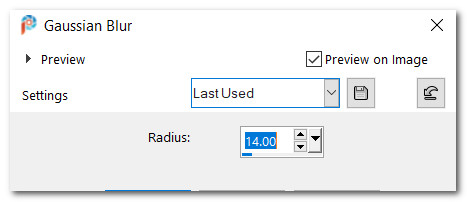
7. Adjust/Blur/Gaussian Blur/Radius set to 14.
8. Effects/Image Effects/Seamless Tiling.
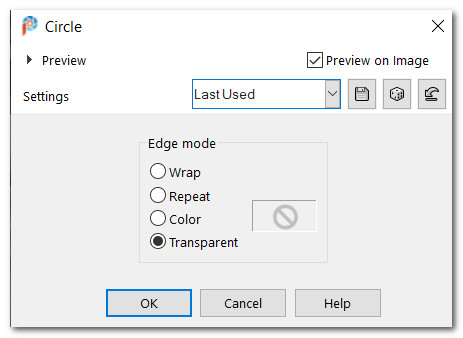
9. Duplicate. Effects/Geometric Effects/Circle.
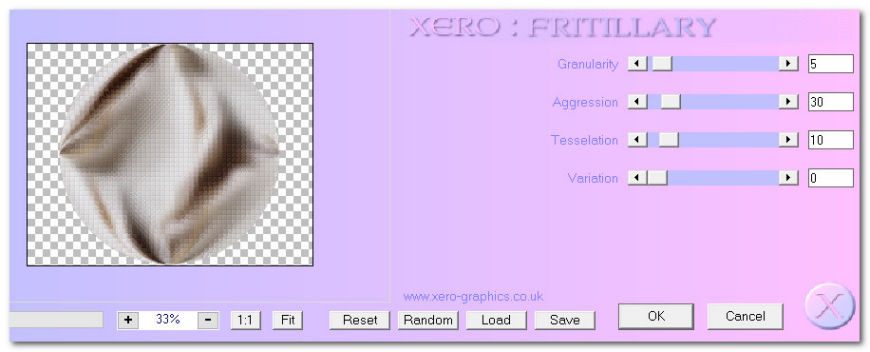
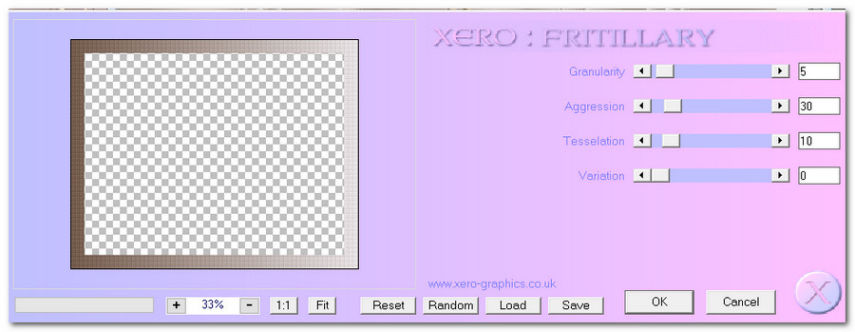
10. Effects/Xero/Frittilary.
11. Effects/Edge Effects/Enhance.
12. Layers/New Raster Layer. Flood fill with color #f7dfa2.
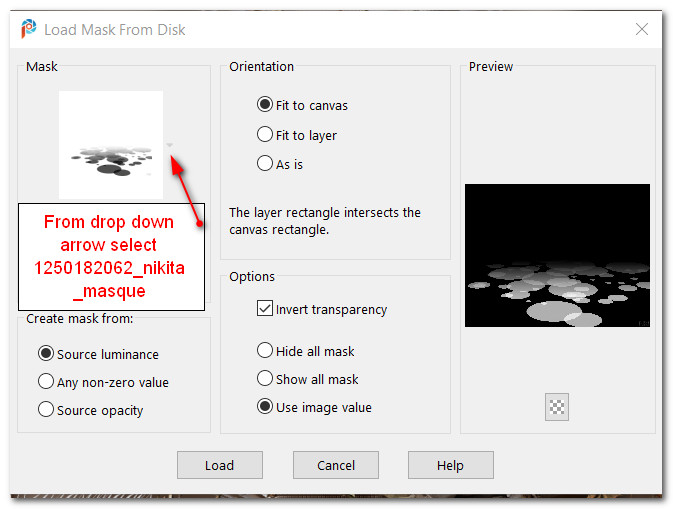
13. Layers/Load/Save Mask/Load Mask from Disk. Choose 1250182062_nikita_maskqe. Load.
14. Merge/Merge Group.
15. Open SS_57.pspimage. Copy/Paste as New Layer.
16. Lower Opacity down to 62.
17. Open rayspngegg.png. Copy/Paste as New Layer.
18. Drop Opacity down to 40. Move rays to top of image.
19. Layers/New Raster Layer. Flood fill with Gradient.
20. Effects/Geometric Effects/Circle.
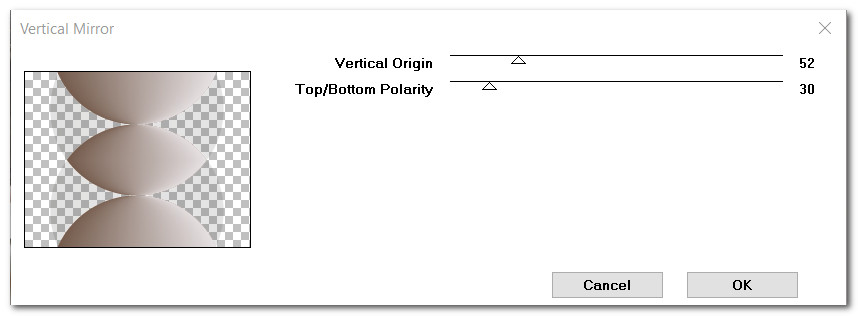
21. Effects/GraphicsPlus/Vertical Mirror.
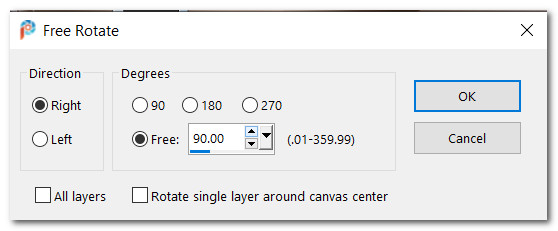
22. Image/Free Rotate/Rotate by 90 Degrees.
23. Move to right side of image beyond the edge about 20px.

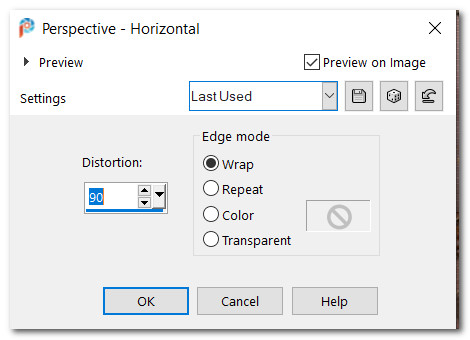
24. Effects/Geometric Effects/Perspective-Horizontal.
25. Effects/Geometric Effects/Circle.
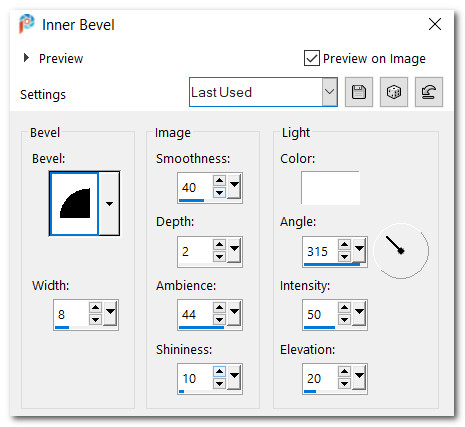
26. Effects/3D Effects/Inner Bevel.
27. Move to the right a little bit, about 50px.
28. Effects 3D Effects/Drop Shadow. Vertical 0, Horizontal 18, Opacity 100, Blur 40, color #765d4e.
29. Duplicate. Image Mirror. Mirror-Horizontal.
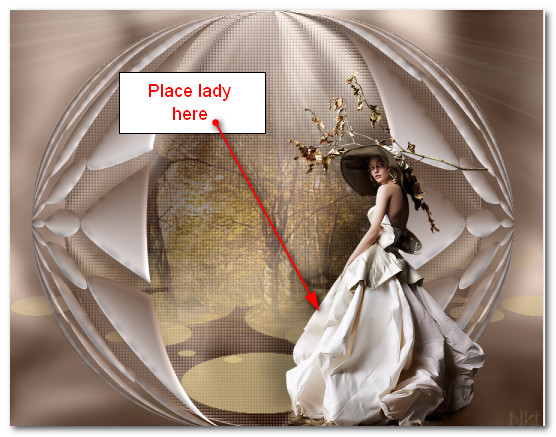
30. Open MR_Sasha autumn.png. Create a copy and close original so as not to lose it. On copy, delete Maryse's watermark. Copy lady. Minimize on workspace as we are not finished with the copy yet.
31. Paste as New layer on main image.
32. Adjust/Sharpness/Sharpen.
33. Effects/3D Effects/Drop Shadow. Vertical -23, Horizontal -35, Opacity 30, Blur 42, color #000000.
34. Place lady in bottom lower right corner.
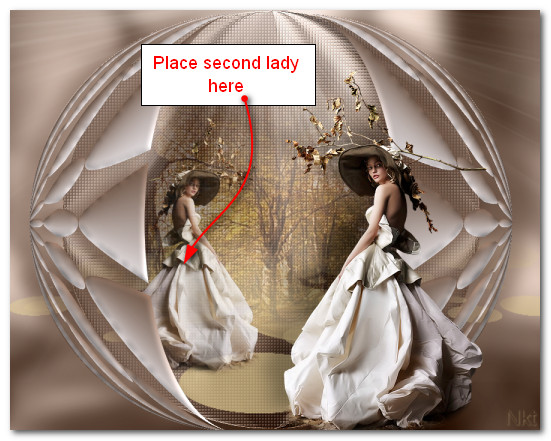
35. Again Paste as New Layer on main image.
36. Image/Mirror. Mirror Horizontal.
37. Image/Resize/Resize by 70%. Resize all layers unchecked.
38. Effects/3D Effects/Drop Shadow. Vertical -23, Horizontal -35, Opacity 30, Blur 42, color #000000.
39. Pull second lady layer below Copy of Raster 4 layer. Lower Opacity down to 80%.
40. Place second lady inside the outer orb on the left.
41. Duplicate. Image/Mirror. Mirror Horizontal.
42. Image/Resize/Resize by 70%. Resize all layers unchecked.
43. Effects/3D Effects/Drop Shadow. Vertical -23, Horizontal -35, Opacity 50, Blur 42, color #000000.
44. Effects/3D Effects/Drop Shadow. Vertical 23, Horizontal 35, Opacity 50, Blur 42, color #000000.
45. Lower Opacity of third lady to 70. Go back to top layer to continue.
46. Maximize MR_Sasha autumn.png of lady which you have minimized on your workspace. Using Selections tool set to Freehand Selection/Add(Shift)/Feather 0, select around the leaves on lady's hat. See below.
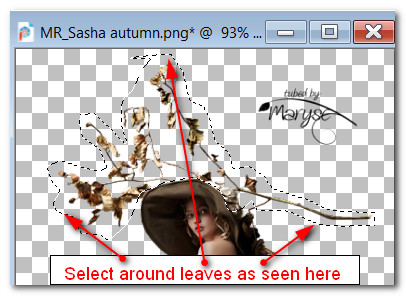
47. Copy/Paste as New Image on a blank spot on your workspace. Close the lady image you have maximized.
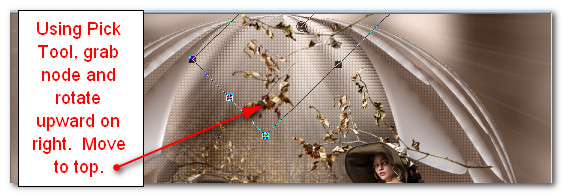
48. Paste as New Layer on main image. Using Pick Tool/move node, pull branch upwards on right and place at center top.
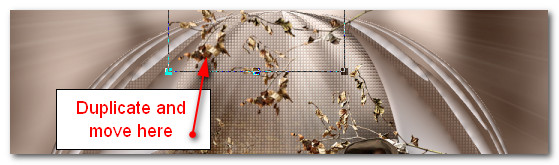
49. Duplicate. Using Move tool move duplicated leaves on left of first leaves at the top.
50. On the New Image of leaves, Copy. Paste as New Layer on main image.
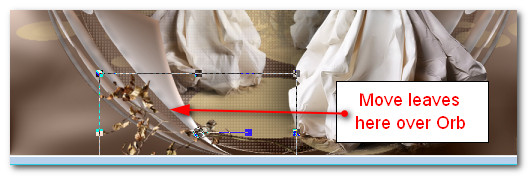
51. Image/Mirror. Mirror Vertical. Use the Pick tool/move node and drop branch downward on right.
52. Move toward bottom left corner over Orb.
53. Open margit_Autumn_leaves2_AO_1pspimage.
54. Copy/Paste as New Layer. Image/Mirror. Mirror Horizontal.
55. Image/Resize/Resize by 25%/Resize all layers unchecked.
56. Effects/3D Effects/Drop Shadow. Vertical -10, Horizontal -10, Opacity 40, Blur 20, color #000000.
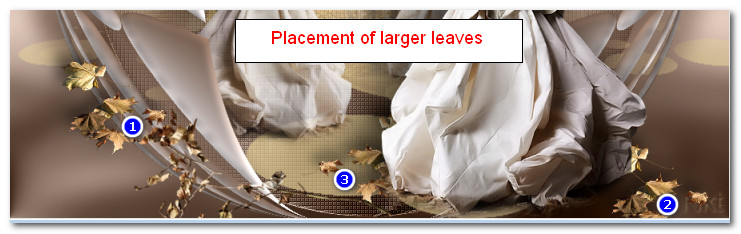
57. Move leaves to left side of image over edge of Orb.
58. Adjust/Sharpness/Sharpen.
59. Duplicate. Move leaves to bottom right corner. Pull this layer below layer of largest lady image.
60. Duplicate. Image/Mirror. Mirror Horizontal. Pull these leaves in front of lady's skirt. (They will appear as though they are behind it.)
61. Apply drop shadow as in step #56.
62. Go back to top layer to continue.
63. Image/Add Borders/Add 45px border, Symmetric checked, color #748155.
64. Using Magic Wand, select the 45px border.
65. Layers/New Raster Layer. Flood fill with Gradient.
66. Effects/Xero/Frittilary.
67. Effects/Edge Effects/Enhance.
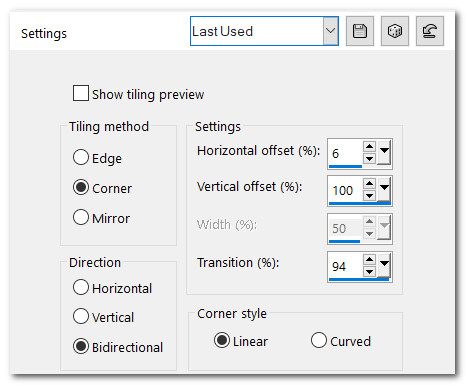
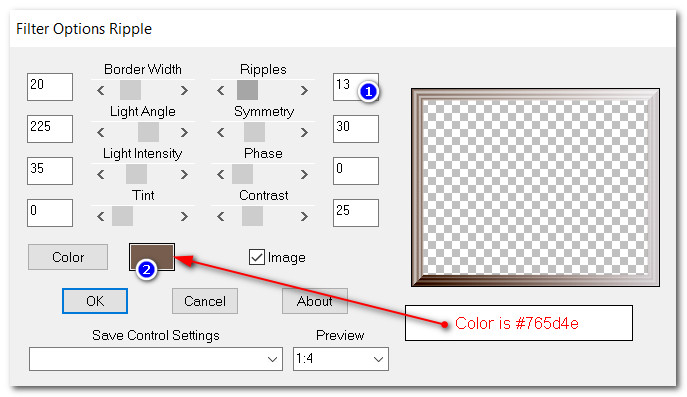
68. Effects/Bordermania/Ripple.
69. Adjust/Sharpness/Sharpen. Deselect.
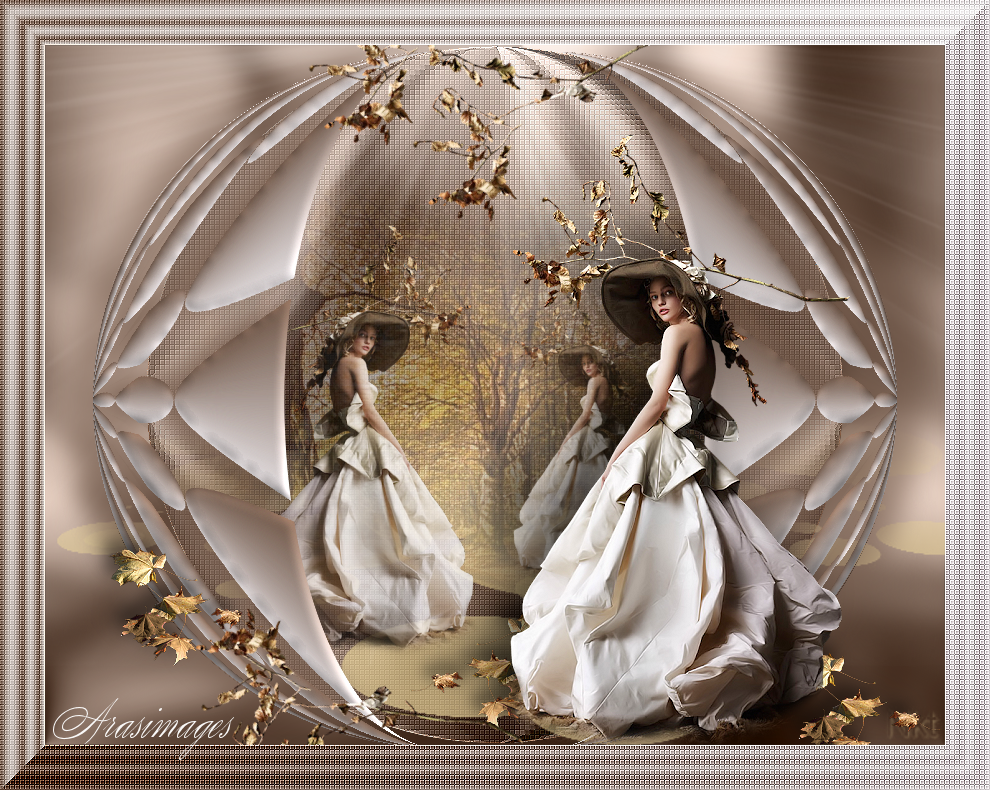
70. Add your name if you wish and save as .jpg or .png.
Thank you PamelaD for your faithfulness in testing my tutorials. November 2022.
If you are going to use this tutorial for stationery, cards or place the tutorial/tag on another site, I would appreciate you contacting me for permission, giving Arasimages credit for the original tutorial and if possible, a link back to my site. Thank you.
Copyright © Arasimages All Rights Reserved