
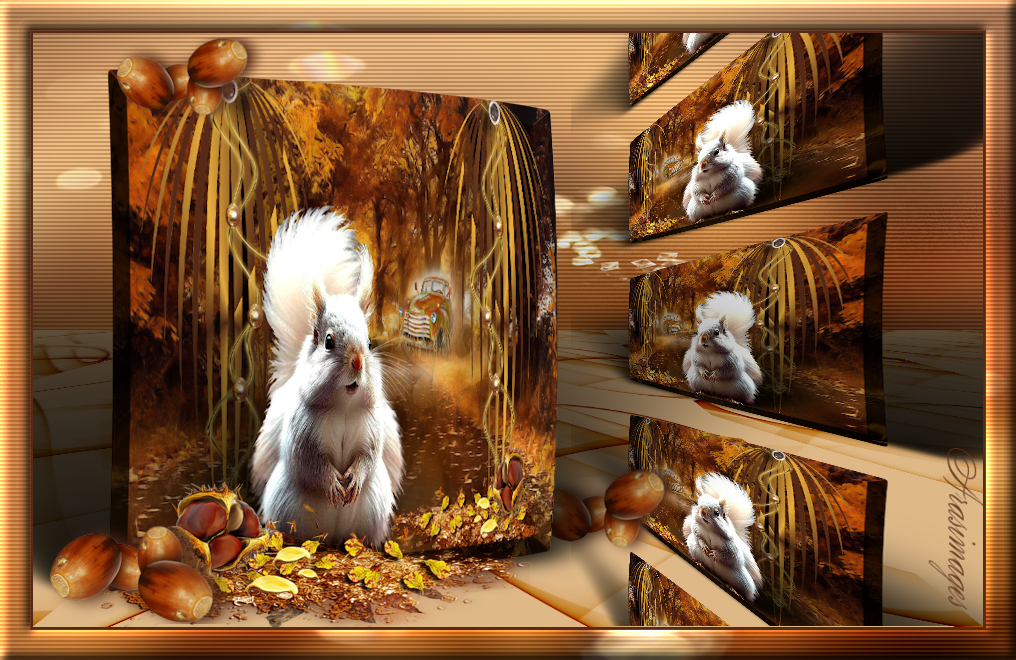
Simply Nutty
For this tutorial you will need the materials in the zip file below.

For a Spanish, Italian, French, German and Dutch translation click on the flags.


This tutorial was written using PSP 2019 Ultimate. To work this tutorial, it is assumed you have some working knowledge of Paint Shop Pro. Place the Preset Shape gethtrien28-1209803261 in your Presets Shapes Folder. Plugins used are Filter Forge/Filter Forge 6/Creative/Cut It Out, Abstract Curves/Fantasy#4, MuRa's Meister/Perspective Tiling, Alien Skin|Eye Candy 5 Impact/Perspective Shadow (click on the Arasimages Squirrel .f1s file and it auto installs. Do the same with Squirrel.f1s file), PhotoEffects/Scanlines and effects of PSP.
Thanks go to PamelaD of Arasimages for the squirrel tube.
Use the bookmark below to mark your place along the way.

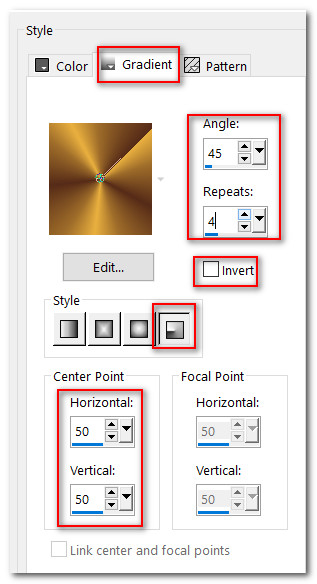
1. In Materials Palette set the Foreground to color #e9b03f, Background to color #552b18. Create a Gradient using these colors, set to Radial, Angle 45, Repeats to 4, Center Points at 50, Invert unchecked and Gradient set to Corel_06_029 foreground-background.
2. Open Graphico.png. Promote Background Layer. Copy/Paste as New Image.
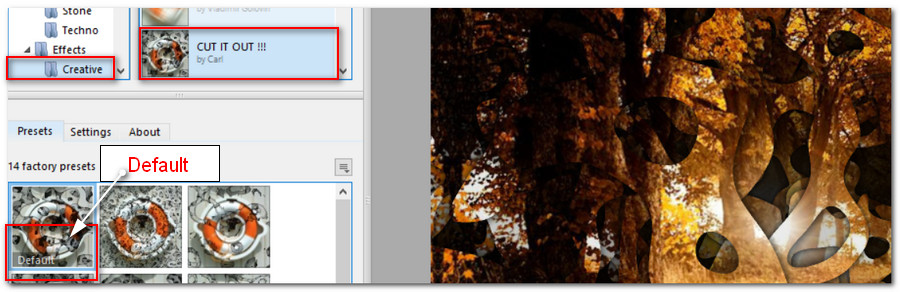
3. Effects/Filter Forge/FilterForge6/Creative/CutItOut. Apply.
4. Paste as New Layer. (Image will still be in memory).
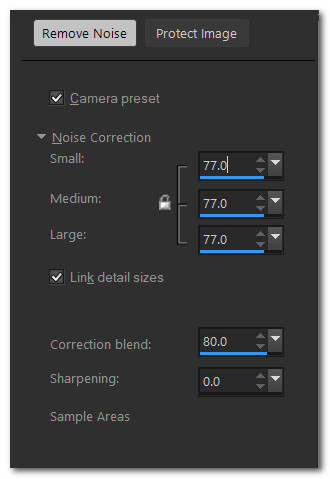
5. Adjust/Digital Noise Removal.
6. Drop Opacity down to 80. Adjust/Sharpens/Sharpen.
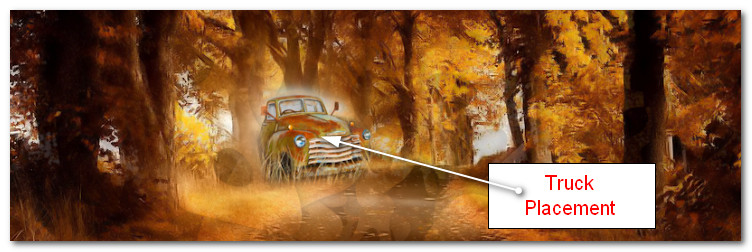
7. Open old_truck.png. Copy/Paste as New Layer.
8. Image/Resize/Resize by 25%/Resize all layers unchecked.
9. Image/Mirror. Mirror Horizontal.
10. Place old truck on right side of tree.
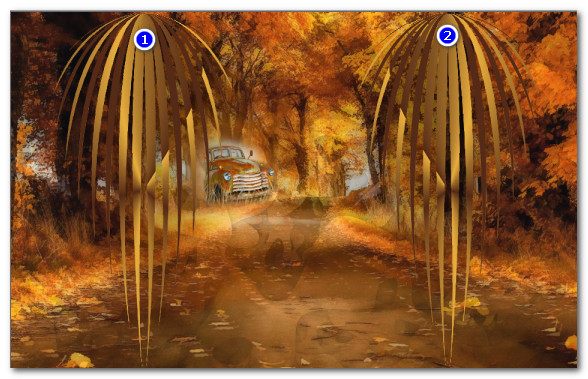
11. From Tool Bar select Preset Shapes/Preset Shape gethtrien28/-1209803261. Draw from bottom to top using the Ruler to help you place the Preset Shape.

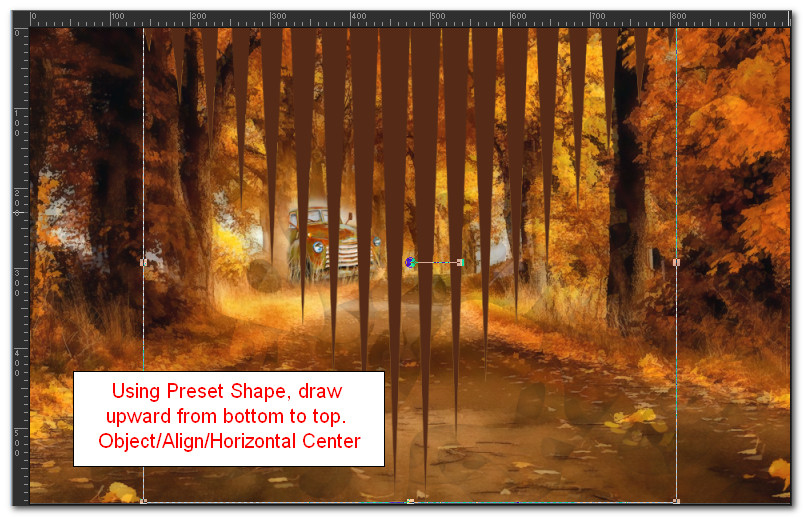
12. Object/Align/Horizontal Center. Convert Vector to Layer.
13. Using the Selection/Magic Wand, select the center 4 points and every other one on each side.
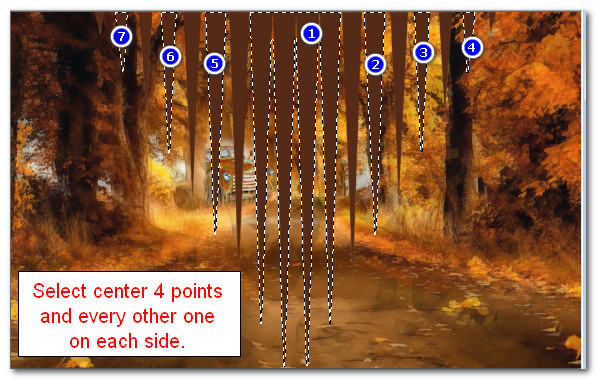
14. Flood fill points with Gradient. Deselect.
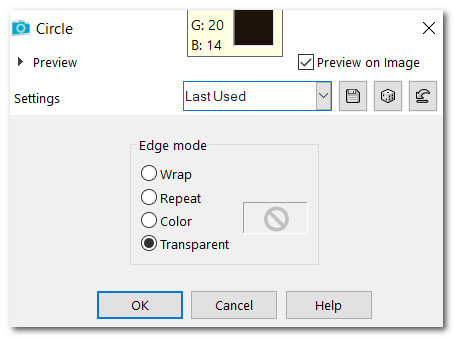
15. Effects/Geometric Effects/Circle.
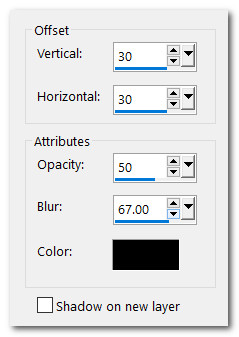
16. Effects/3D Effects/Drop Shadow. Vertical 30, Horizontal 30, Opacity 50, Blur 67, color #000000.
17. Move circle points to left side of image. Duplicate. Image/Mirror. Mirror Horizontal.
18. Open 0_81667_81662deb_XL.png. Copy/Paste as New Layer.
19. Move over the left circle points. Adjust/Sharpness/Sharpen.
20. Duplicate. Image/Mirror. Mirror Horizontal.
21. Open knopf.png. Copy/Paste as New layer. Place at the top center of left circle points.
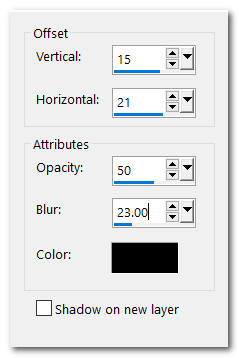
22. Effects/3D Effects/Drop Shadow. Vertical 15, Horizontal 21, Opacity 50, Blur 23, color #000000.
23. Duplicate. Image/Mirror. Mirror Horizontal.
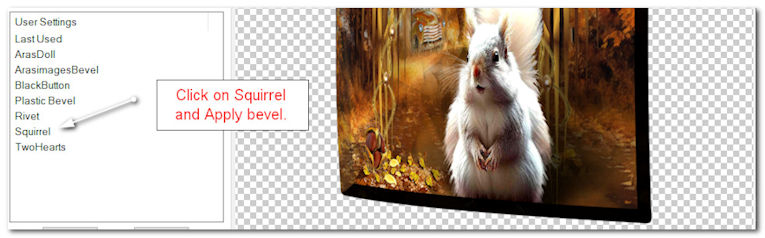
24. Open White Squirrel 2023_Arasimages.pspimage. Copy/Paste as New Layer.
25. Image/Resize/Resize by 50%/Resize all layers unchecked.
26. Move Squirrel to middle right. Adjust/Sharpness/Sharpen.
27. Effects/Alien Skin|Eye Candy 5 Impact/Perspective Shadow.

28. Open mod_article37881596_4f2522c45c19a.png. Copy/Paste as New Layer.
29. Place in bottom left next to Squirrel.
30. Merge/Merge Visible.
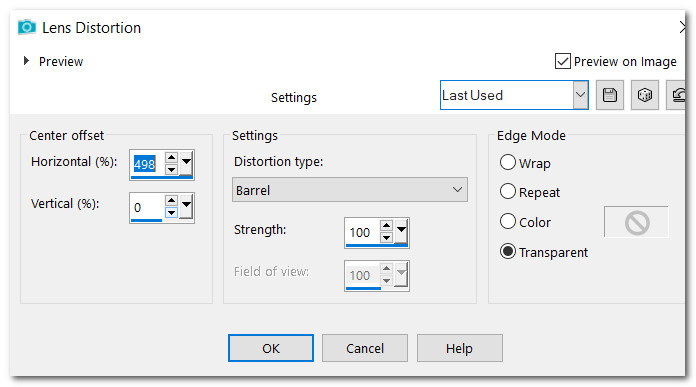
31. Effects/Distortion Effects/Lens Distortion.
32. Image/Resize/Resize by 88%/Resize all layers unchecked.
33. Effects/Alien Skin|Eye Candy 5 Impact|Bevel.
34. Effects/Alien Skin|Eye Candy 5 Impact|Perspective Shadow.

35. Duplicate. Image/Mirror. Mirror Horizontal. Move Copy of Merged (top layer) to left side of image. (Close eye of layer).
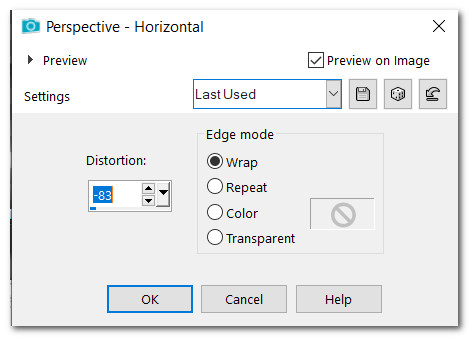
36. On merged copy (bottom layer) apply Effects/Geometric Effects/Horizontal Perspective set to -83.
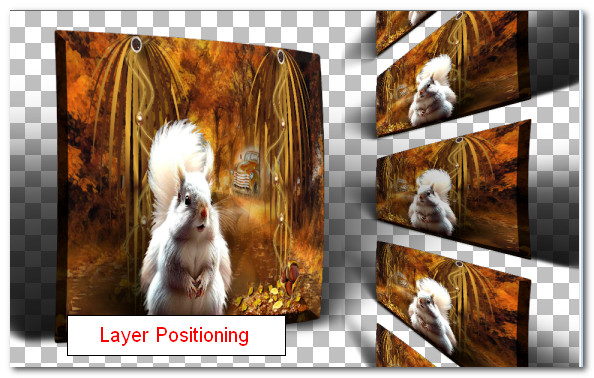
37. Open eye of image on top layer and adjust both layers into position.
38. Layers/New Raster Layer. Selections/Select All.
39. Open 0_9aef8_2d6d2538_XXL.pspimage. Copy/Paste/Paste into Selection. Deselect.
40. Pull new layer down to bottom.
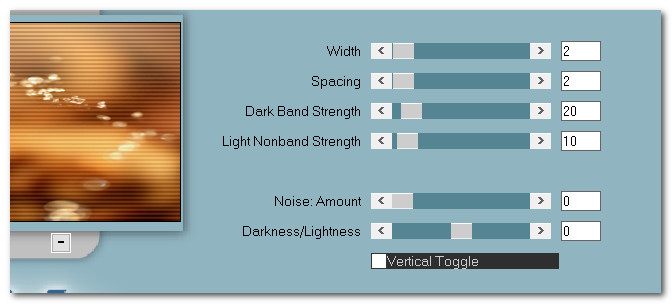
41. Effects/PhotoEffex/Scanlines.
42. Adjust/Sharpness/Sharpen.
43. Layers/New Raster Layer. Flood fill with Gradient.
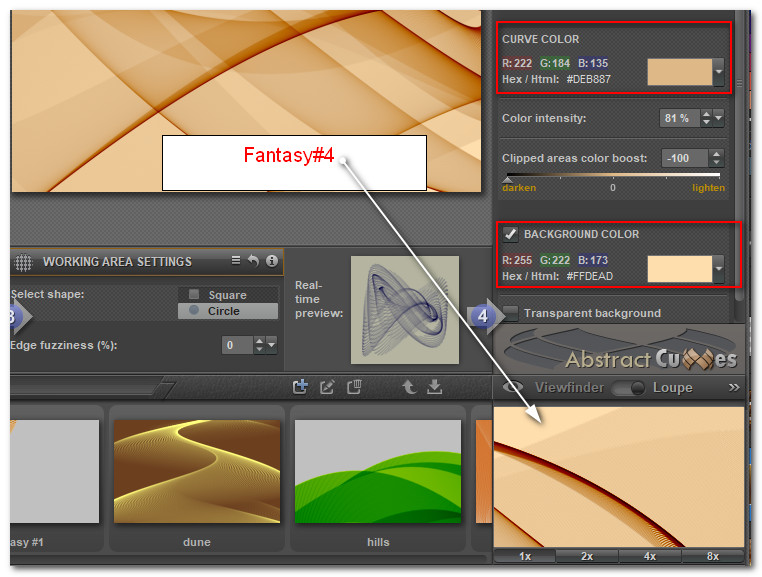
44. Effects/Abstract Curves/Abstractions(12)/curve color #DEB887/fantasy#4.
45. Effects/MuraMeister/Perspective Tiling.

46. Go to top layer to continue. Open mod_article37881596_4f2522c45c19a.png. Copy/Paste as New Layer.
47. Place at bottom left over Squirrel.
48. Open Nuts.png. Copy/Paste as New Layer.
49. Place at top left of left squirrel image.
50. Duplicate. Place behind main inside image (Copy of Merged layer) by moving nut layer below main image layer. Go back to top to continue.
51. Open LargerNuts.png. Copy/Paste as New Layer.
52. Place at the bottom left corner of inside image.
53. Image/Add Borders/Add 3px border, Symmetric checked, Color #552b18.
54. Image/Add Borders/Add 30px border, Symmetric checked, Color #e9b03f.
55. Activate 30px border using Selections/Magic Wand. Open 0_9aef8_2d6d2538_XXL.pspimage. Copy/Paste/Paste into Selection.
56. Effects/PhotoEffects/Scanlines.
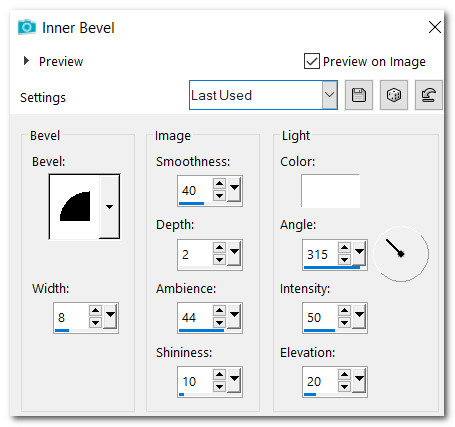
57. Effects/3D Effects/Inner Bevel. Apply twice. Deselect.
58. Layers/New Raster Layer. Add your watermark or name, duplicate.
59. Merge/Merge Visible and save as .jpg or .png.
Thank you PamelaD for checking this tutorial for me. May 2023.
If you are going to use this tutorial for stationery, cards or place the tutorial/tag on another site, I would appreciate you contacting me for permission, giving Arasimages credit for the original tutorial and if possible, a link back to my site. Thank you.
Copyright © Arasimages All Rights Reserved