
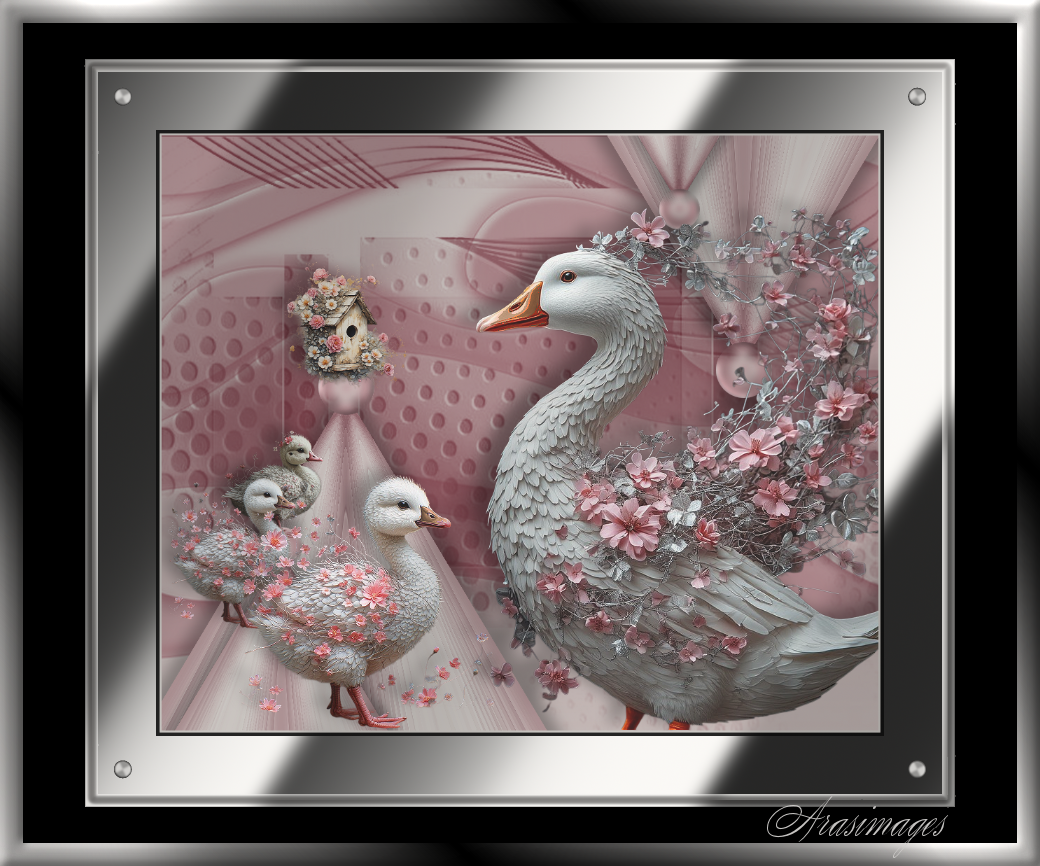
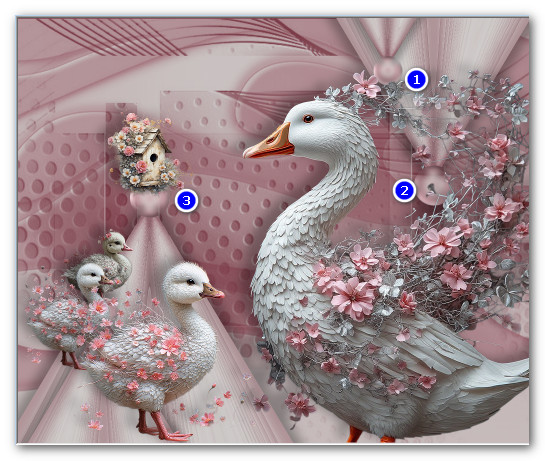
Geese in Springtime
For this tutorial you will need the materials in the zip file below.

For a French, Italian, Spanish and German translation click on the flags.


This tutorial was written using Paint Shop Pro 2020 Ultimate 32 bit. Plugins used in this tutorial are Filter Forge 6 and effects of PSP itself. Place the masks in your PSP Plugins/Masks folder. Unzip the Materials in a folder you make on your desktop called Geese in Springtime. Duplicate the tubes and use the duplicates to work with. Close out the originals to keep them from getting deleted. Save your work often! To work this tutorial, it is helpful if you have some working knowledge of Paint Shop Pro.
The tubes used in this tutorial I have made in an AI generator. (There are hundreds of new free AI tubes in my PSP tubes/AI section; please feel free to use these any way you wish).
Use the bookmark below to mark your place along the way.

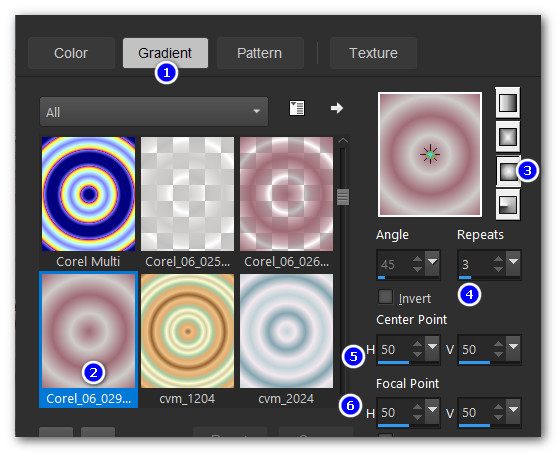
1. In Materials Palette, set the Foreground to color #a06b75, Background color to #ceccca. Create a gradient using these colors, Corel_06_29 foreground/background, Angle 0/Repeats 3, Sunburst, Center Point/Focal Point H&V all set to 50.
2. File/New. New Image 1024px by 850px. Flood fill with background color.
3. Layers/New Raster Layer. Flood fill with Foreground color.
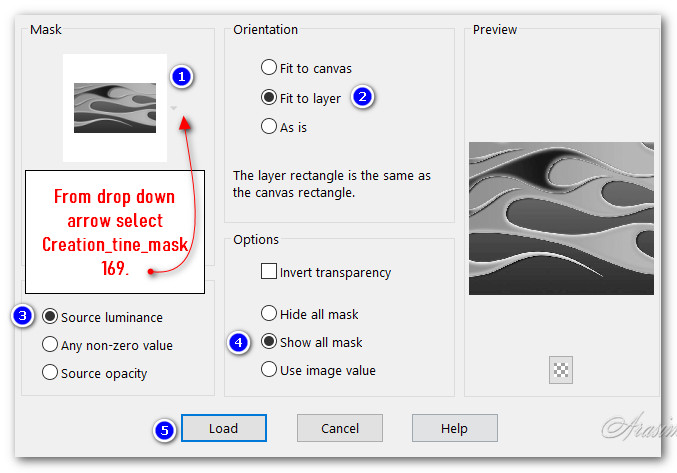
4. Layers/Load/Save Mask. Save Mask from Disk. Select Creation-tine_mask 169. Load.
5. Merge/Merge Group.
6. Image/New Raster Layer. Flood fill with Foreground color.
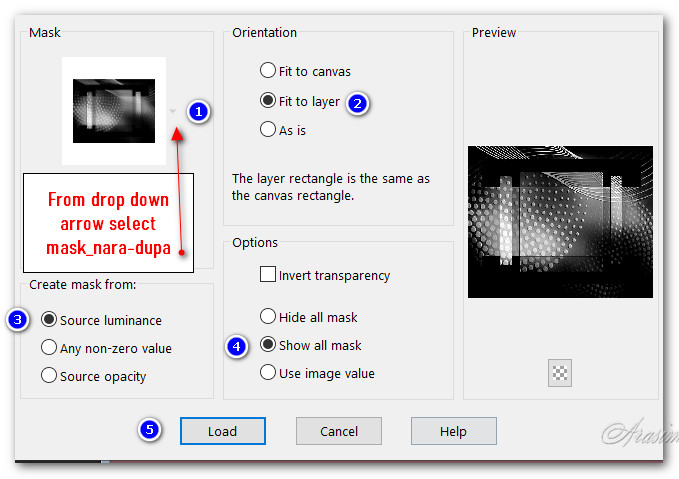
7. Layers/LoadSave Mask. Save Mask from Disk. Select mask-nara-dupa. Load.
8. Merge/Merge Group.
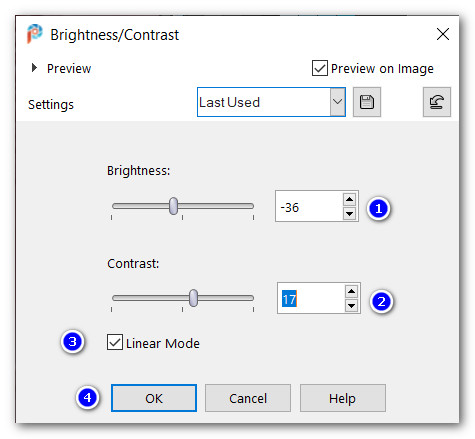
9. Adjust/Brightness and Contrast. Brightness/Contrast.
10. Layers/New Raster Layer. Flood fill with Gradient.
11. Effects/Distortion Effects/Pixelate.
![]()
12. Effects/Edge Effects/Enhance.
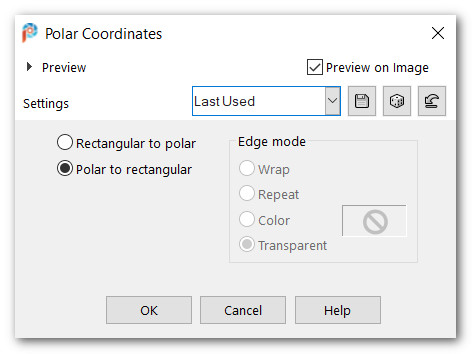
13. Effects/DistortionEffects/Polar Coordinates.
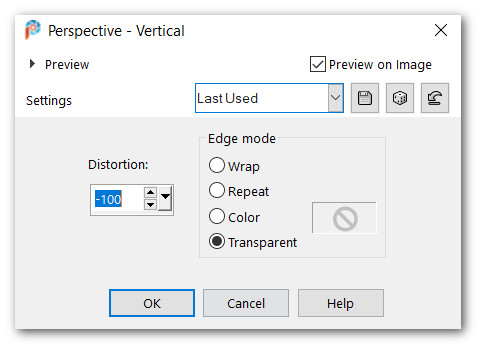
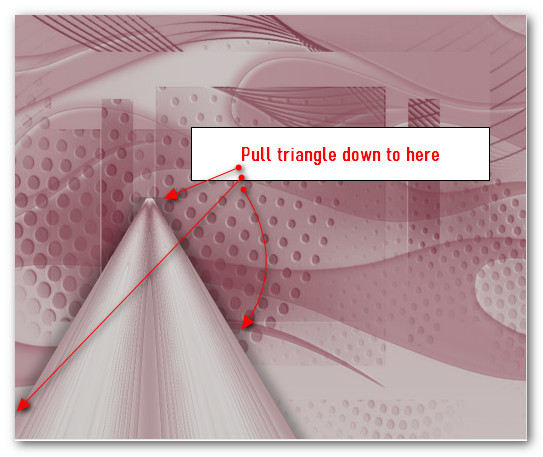
14. Effects/Geometric Effects/Perspective-Vertical.
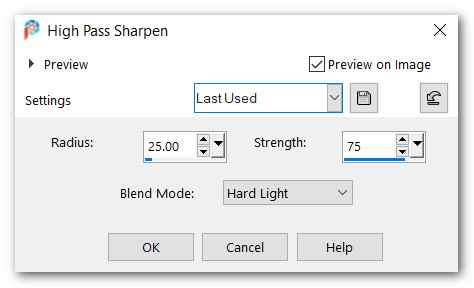
15. Adjust/Sharpness/High Pass Sharpen.
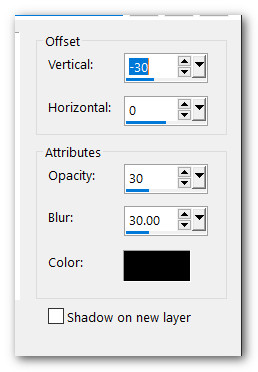
16. Effects/3D Effects/Drop Shadow. Vertical -30, Horizontal 0, Opacity 30, Blur 30, color #000000.
17. Pull triangle down to here.
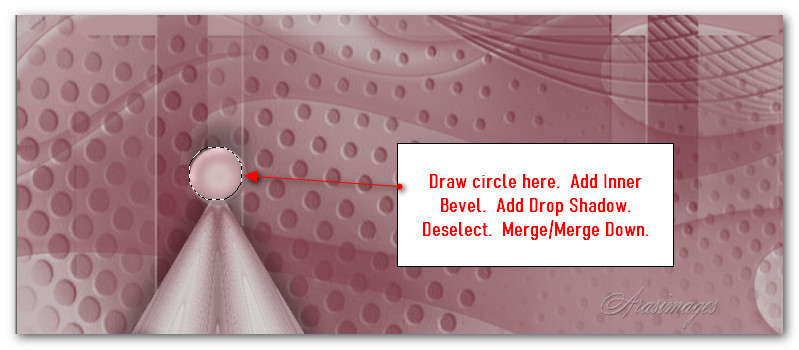
18. Using the Selection tool set to Circle, draw a circle at the top of the triangle. Flood fill it with Gradient.

19. Adjust/Blur/Gaussian Blur, Radius set to 7.
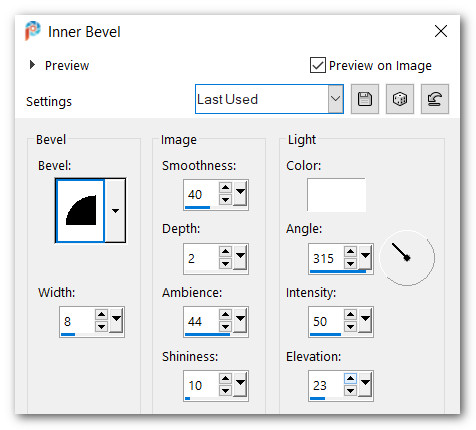
20. Effects/3D Effects/Inner Bevel.
21. Effects/3D Effects/Drop Shadow. Vertical -30, Horizontal 0, Opacity 30, Blur 30, color #000000.
22. Deselect. Duplicate.
23. Image/Resize/Resize by 73%/Resize all layers unchecked.
24. Move duplicated triangle with circle over bottom left of first triangle.

25. Merge/Merge Down.
26. Duplicate. Image/Mirror. Mirror vertical. Pull to right corner.
27. Open BirdHouse.png. Copy/Paste as New Layer.
28. Place BirdHouse on top of the circle of bottom left triangle.
29. Effects/3D Effects/Drop Shadow. Vertical -11, Horizontal -22, Opacity 30, Blur 30, color #000000.
30. Adjust/Sharpness/Sharpen.
31. Open Gosling3.png. Copy/Paste as New Layer.
32. Image/Resize/Resize by 23%/Resize all layers unchecked.
33. Place Gosling3 so she stands on circle on left.
34. Effects/3D Effects/Drop Shadow. Vertical -11, Horizontal -22, Opacity 30, Blur 30, color #000000.
35. Adjust/Sharpness/Sharpen.
36. Open Gosling2.png. Copy/Paste as New Layer.
37. Image/Resize/Resize by 30%/Resize all layers unchecked.
38. Apply drop shadow and sharpen as in Steps 34 and 35. Place gosling2 over gosling 3.
39. Paste again Gosling2.png as New Layer. (She is still in memory).
40. Image/Resize/Resize by 50%/Resize all layers unchecked.
41. Apply drop shadow and sharpen as in Steps 34 and 35. Place gosling2 to right of other two goslings.
42. Open MainGoose.png. Copy/Paste as New Layer.
43. Apply drop shadow and sharpen as in Steps 34 and 35.
44. Place large goose in bottom right corner.
45. Adjust triangles with circles and birdhouse so circles will show. See snapshot below.
46. Image/Add Borders/Add 3px border, Symmetric checked, color #ceccca.
47. Image/Add Borders/Add 5px border, Symmetric checked, color #000000.
48. Highlight 5px border with Magic Wand. Apply Inner Bevel with settings you have been using. Deselect.
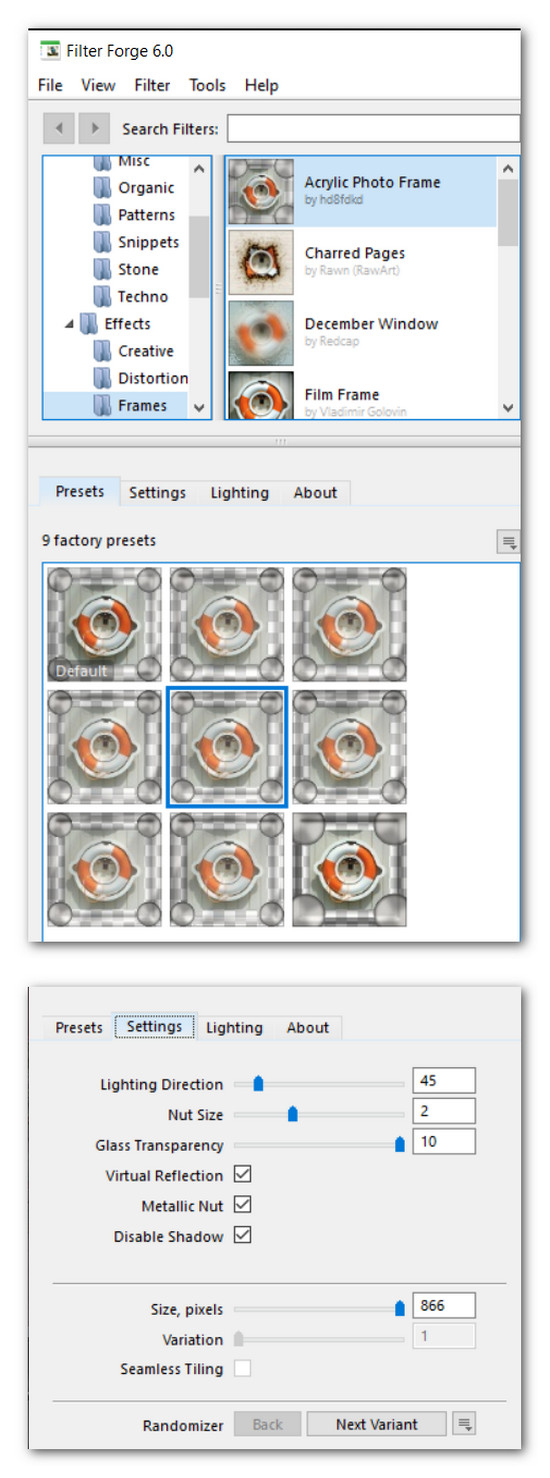
49. Effects/Filter Forge/Filter Forge 6. Frames/Acrylic Photo Frame. Select middle frame.
50. Selections/Select All. Modify/Contract by 23px. Invert.
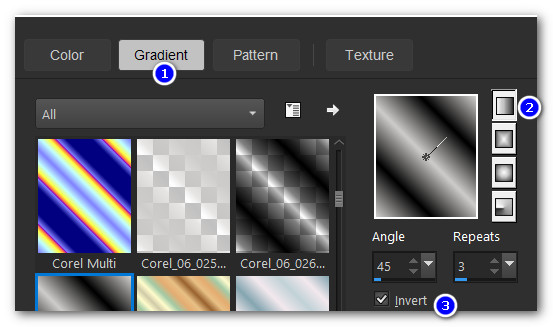
51. Set Foreground to #000000. Create a Gradient using Corel_06_029 gradient, Linear set to Angle 45, Repeats 3, Invert checked.
52. Flood fill selection with gradient.
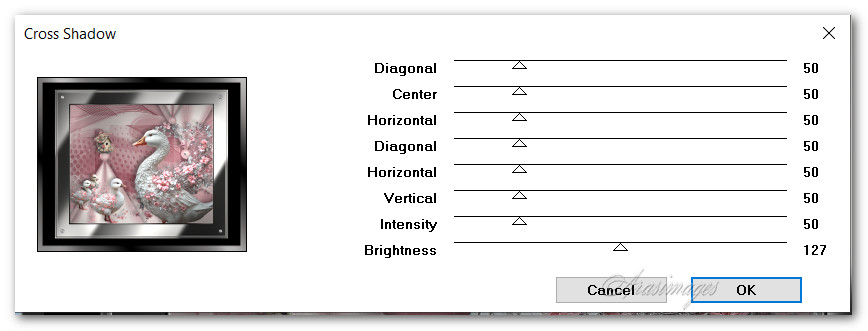
53. Effects/Graphics Plus/Cross Shadow.
54. Apply Inner Bevel with settings you have been using. Deselect.
55. Apply your watermark or name.
56. Save your work as a .jpg or .png.
Thank you Pam for checking this tutorial for me. I appreciate all of your PSP work you help me with. March 29, 2026.
If you are going to use this tutorial for stationery, cards or place the tutorial/tag on another site, I would appreciate you contacting me for permission, giving Arasimages credit for the original tutorial and if possible, a link back to my site. Thank you.
Copyright © Arasimages All Rights Reserved