
Monarch Contemplation
For this tutorial you will need the materials in the zip file below.

This tutorial was written using Paint Shop Pro 2020 Ultimate. Plugins used in this tutorial are Tronds Filters II, Caroline and Sensibility, AAA Filters and effects of PSP itself. The program Animation Shop is also used. Unzip the Materials in a folder you make on your desktop called Monarach Comtemplation. Place the ArasSchizofrenia.PspSelection in your PSP Files/Selections folder. Duplicate the tubes and use the duplicates to work with. Close out the originals to keep them from getting deleted. Save your work often! To work this tutorial, it is helpful if you have some working knowledge of Paint Shop Pro.
The Butterfly was tubed by PamelaD and the woman and background were found in my huge collection, probably generated in AI and the woman was tubed by me. (There are hundreds of new free AI tubes in my PSP tubes/AI section; please feel free to use these any way you wish).
Use the FollowMeButterfly.png below to mark your place along the way.

1. In Materials Palette, set the Foreground to color #e78219, Background color to #000000.
2. Open OrangeFlowerCluster.png. Right click in Layers Palette/Promote to Raster Layer.
3. Adjust/Blur/Gaussian Blur. Radial set to 20.
4. Layers/New Raster Layer. Flood fill with #e78219.
5. Selections/Load/Save Selection. Load Selection from Disk. Load.
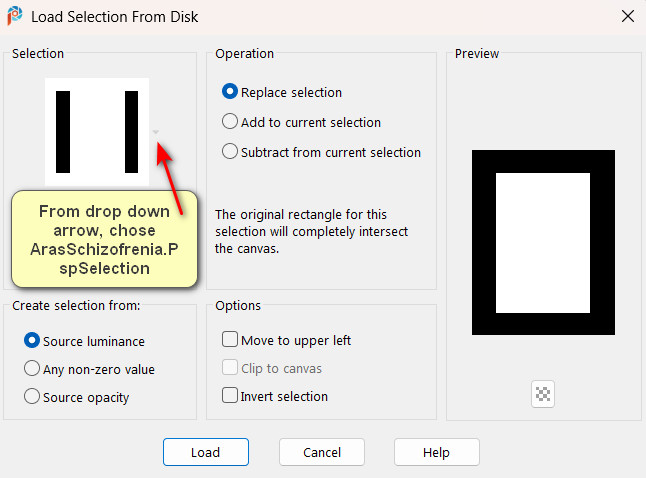
6. Delete. Selections/Selections Invert.
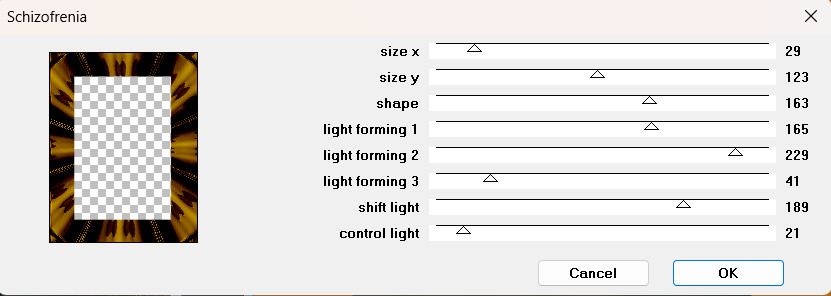
7. Effects/Tronds Filters II/Schizsofrenia.
8. Drop Opacity down to 50%.
9. Adjust/Sharpness/Sharpen. Adjust/Sharpness/Sharpen More.
10. Selections/Invert. Layers/New Raster Layer.
11. Flood fill with #000000.
12. Selections/Modify/Contract by 3px. Delete.
13. Flood fill with color #c2bbb0. Selections/Modify/Contract by 4px. Delete.
14. Flood fill with #000000.
15. Selections/Modify/Contract by 3px. Delete.
16. Selections/Modify/Expand by 10px.
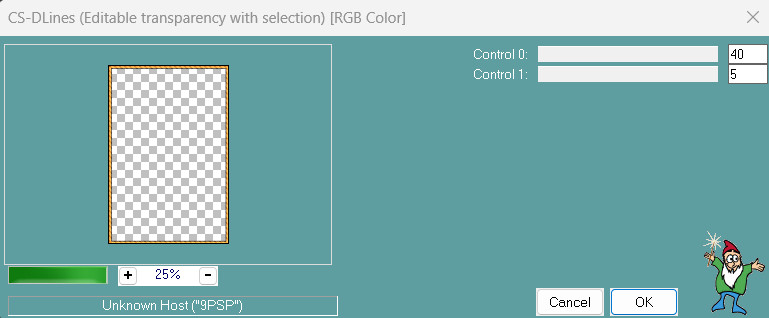
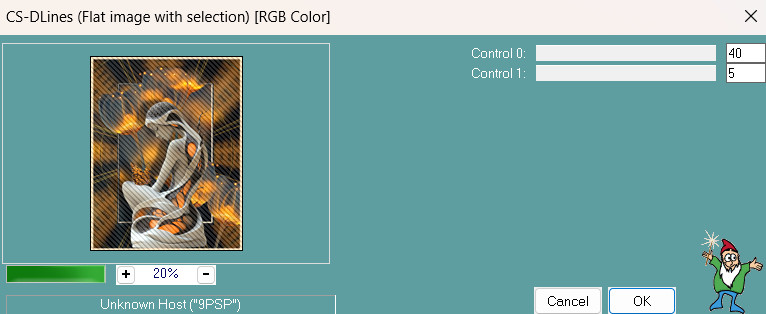
17. Effects/Caroline and Sensibility/CS-DLines. Apply twice.
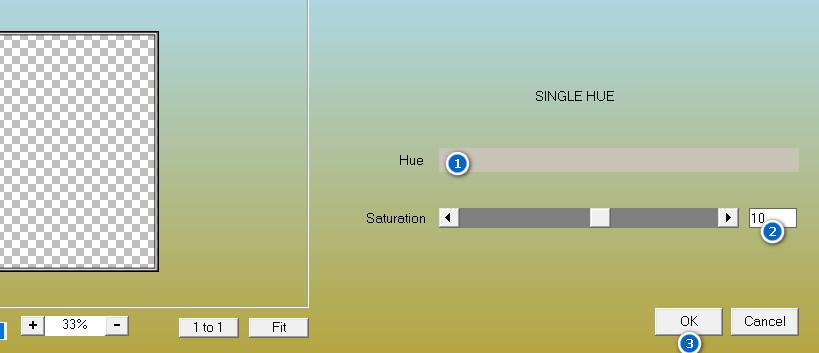
18. Effects/AAA Filters/Single Hue. Click the color and set to #c7c3b5.
19. Effects/3D Effects/Inner Bevel.
20. Adjust/Sharpness/Sharpen. Deselect.
21. Open OrangeFlowers.png. Copy/Paste as New Layer.
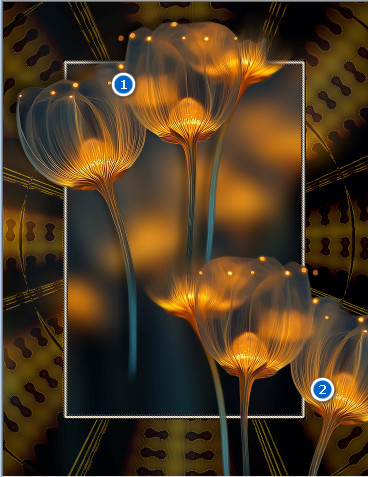
22. Move flowers upward so they are close to top and left side borders.
23. Adjust/Sharpness/Sharpen.
24. Effects/3D Effects/Drop Shadow. Vertical -13, Horizontal -13, Opacity 50, Blur 22, color #000000.
25. Paste as New Layer (image still in memory).
26. Image/Mirror. Mirror Horizontal.
27. Adjust/Sharpness/Sharpen.
28. Effects/3D Effects/Drop Shadow. Vertical -13, Horizontal -13, Opacity 50, Blur 22, color #000000.
29. Place in bottom right corner. (See image for both flower placements).
30. Open ContemplativeWoman.png. Copy/Paste as New Layer.
31. Image/Resize/Resize by 75%/Resize all layers unchecked.
32. Adjust/Sharpness/Sharpen.
33. Effects/3D Effects/Drop Shadow. Vertical -14, Horizontal -46, Opacity 50, Blur 22, color #000000.
34. Move woman so she sits on bottom border just right of center.
35. Open MonarchButterfly.png. Copy/Paste as New Layer.
36. Image/Resize/Resize by 75%/Resize all layers unchecked.
37. Adjust/Sharpness/Sharpen.
38. Effects/3D Effects/Drop Shadow. Vertical 13, Horizontal -13, Opacity 50, Blur 22, color #000000.
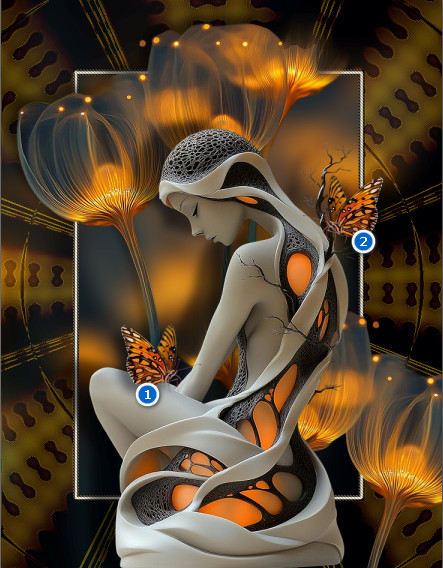
39. Place butterfly on woman's leg near her arm.
40. Duplicate butterfly. Image Mirror. Mirror Horizontal.
41. Move it so it is over the inner border, next to little black branch. (See image below.)
42. Image/Add Borders. Add 7px border, Symmetric checked, color #e78219.
43. Using the Selections tool set to Magic Wand set to Replace/RGB Value/Tolerance 20/Feather 0, activate the 7px border.
44. Effects/Caroline and Sensibility/CS-DLines. Apply two times.
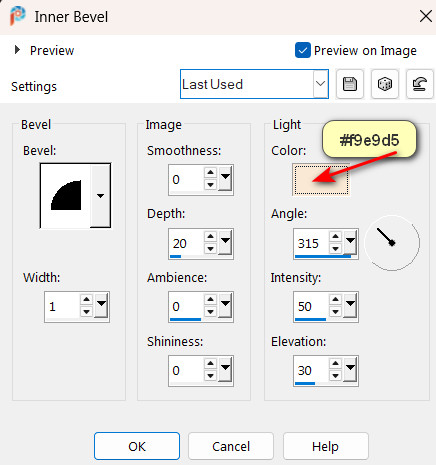
45. Effects/3D Effects/Inner Bevel. Color #f9e9d5.
46. Adjust/Sharpness/Sharpen. Deselect.
47. Sign your name or leave watermark if you wish. Save as .jpg file named MonarchContemplation.
48. Copy. Open Animation Shop. In blank working space, right click and Paste as New Animation.
49. Open SimoneAni514-MNG.mng file. Note that it has 18 frames. Click within first frame. Edit/Select All. Right click on blue top border/COPY.
50. Go to the main image you pasted in workspace. Duplicate it until you have 18 frames (matching 18 frames of animation).
51. Click within first frame. Edit/Select All.
52. Right click in first frame and place your animation in top left corner. Paste/Into Selected Frame. Left click to set in place.
53. Repeat the same motions for animation at the top of lower flowers in image bottom corner.
54. To check your work, go to top tool bar/View Animation. If you don't like what you have done, click on back arrow in tool bar and redo your placement.
55. When you are satisfied with your work, then we will save it. File/Save As. When the Save As box appears, Name where you will save your work, give your work the file name and Save as type (*gif). Click on Save.
56. As the boxes change, click on Next/Finish. There will be 3 of Next and last one is Finish.
Thank you Pam for checking this tutorial for me. I appreciate all of your PSP work you help me with. June 16, 2026.
If you are going to use this tutorial for stationery, cards or place the tutorial/tag on another site, I would appreciate you contacting me for permission, giving Arasimages credit for the original tutorial and if possible, a link back to my site. Thank you.
Copyright © Arasimages All Rights Reserved